I’m SO excited to share this project with you! I’ve partnered with Krylon to give you the lowdown on their new product, Krylon Dual Paint + Primer.
Here’s the thing. You know I usually don’t use spray paint on furniture I sell. Definitely love it, but I usually add several steps for proper coverage.
Well, this paint might be changing my mind. See what you think…
Do you have any of these? Tray tables? Or something like them in your home…something that sits untouched. Something you’re uninspired by?
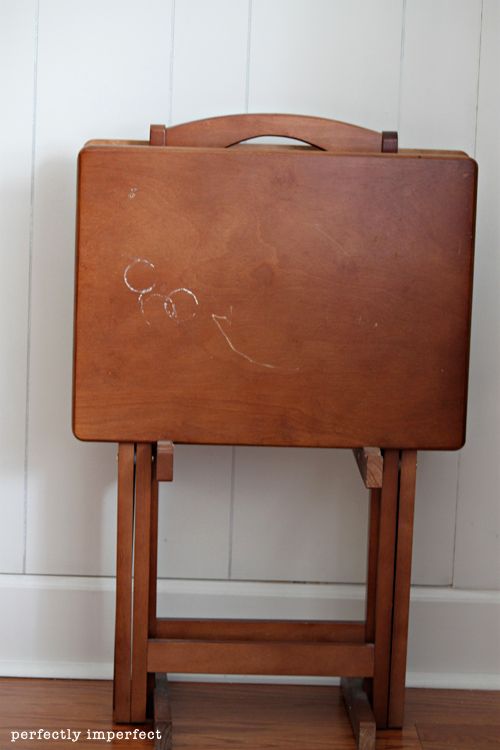
That’s how this little project began. These tables could be used for nearly everything. But I don’t like them, therefore, I never look at them.
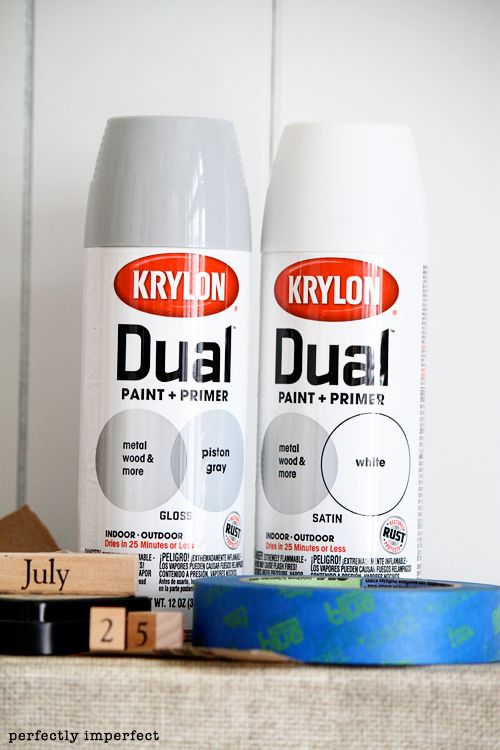
Want to turn your tray tables (or piece of furniture) from drab to fab? Here’s what you’ll need:
Krylon Dual Paint + Primer
Edging tape
220 Grit Sandpaper (or sanding block)
Stamp with Ink (or any other personal touch)
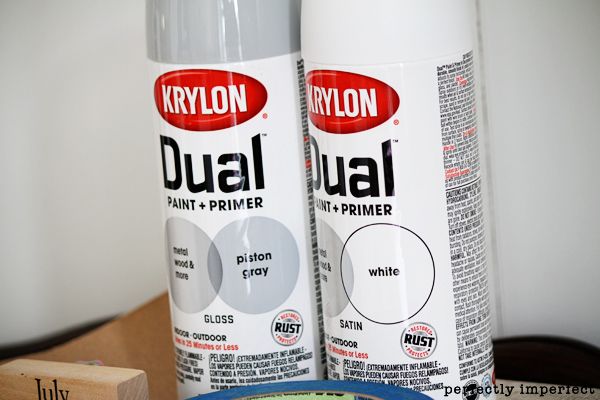
Krylon sent me Dual paint in White in Satin, and Piston Gray in Gloss. This is a GORGEOUS gray, by the way, and this will definitely not be the last time I’ll use it. I was also super excited that the nozzle rotated, allowing me to get into every corner and difficult-to-reach spot.
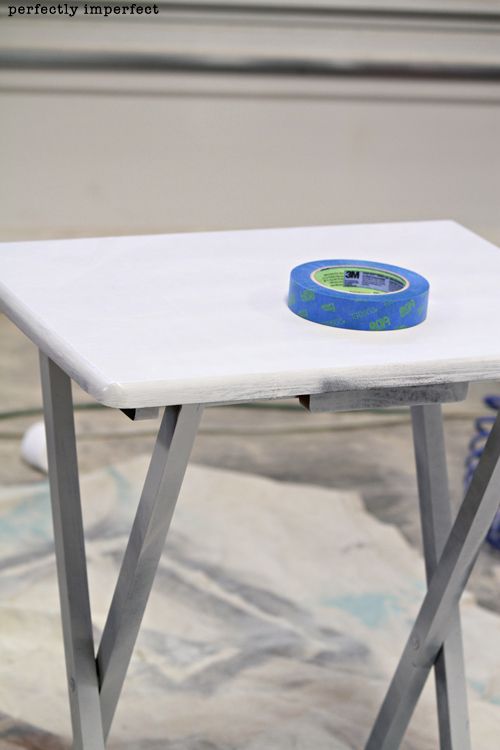
Start by spraying your table in a base coat–in my case, 2 coats of Piston Gray. Because we’ll be taping for a pattern, allow your piece to dry for several hours or overnight.
Here is where I also must interject that 2 coats with this paint is nothing like 2 coats with other spray paint. I almost left my table as is….a beautiful glossy gray after 2 applications.
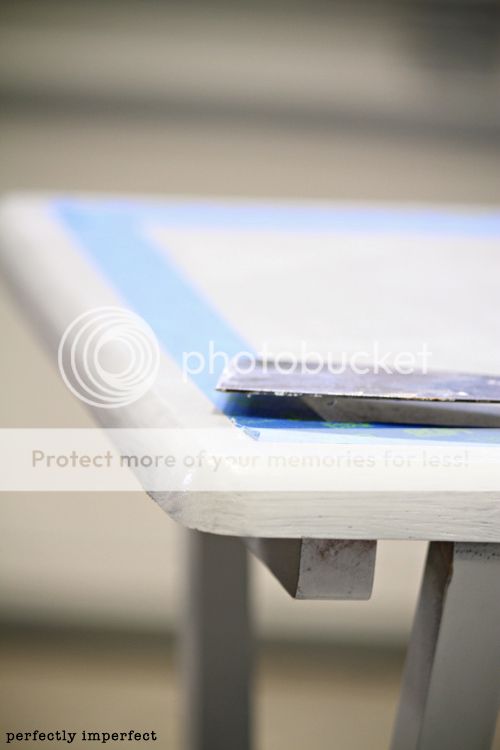
Tape off your pattern. In my case, it was a simple rectangle. Here’s a tip: When taping off to spray a pattern, use a putty knife to gently nudge the edges to form straight lines and sharp corners. No cutting necessary.
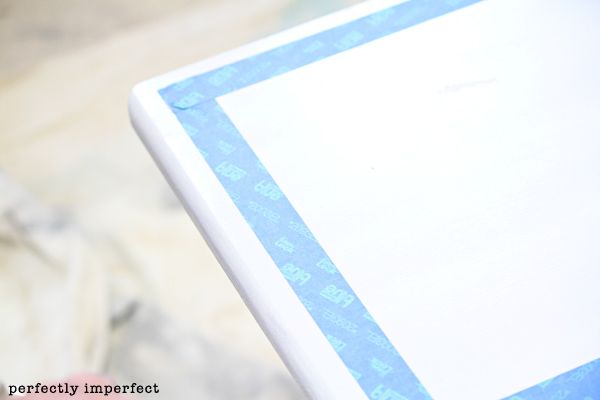
Leaving the legs alone (coated in gray), spray the table top with your top coat twice. In my case, I added 2 more coats of White.
While the paint is still wet, gently lift tape corners with your putty knife and remove.
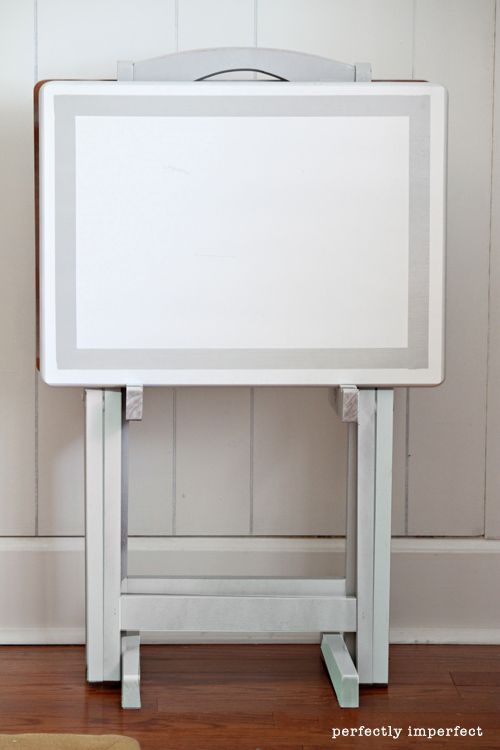
See what I mean?? This paint is so rich in pigment, easy to apply, and fast-drying. I was hooked after this first table.
For the second table…
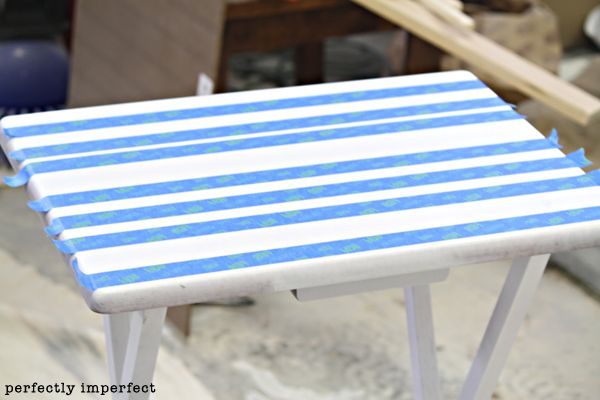
Choose what colors you’ll work with…I chose White for my base coat and legs.
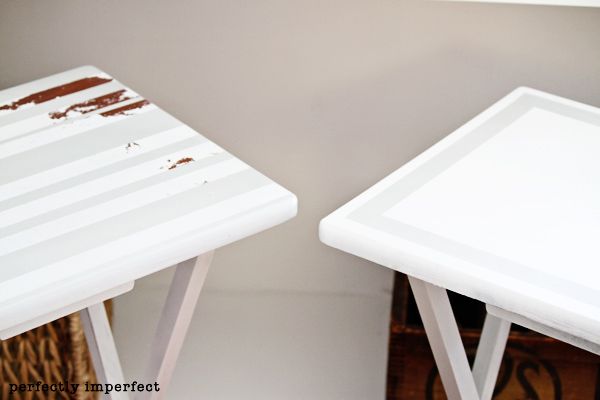
After painting 2 coats of your base, tape off your top in another pattern. This time it was all about the stripes.
As a matter of fact, this set of barstools inspired this table….
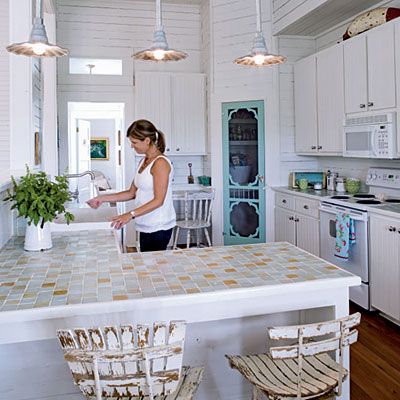
I just couldn’t get those chippy lines out of my head….so why not chippy stripes on my table?
Get ready….this is good info. Or, at least, I think it is. Chippy paint finishes are super easy to create with spray paint…especially good spray paint.
Use tape to pull off pieces of the finish while the paint is still tacky. The picture above? The paint was still tacky to the touch when I applied the strips of tape.
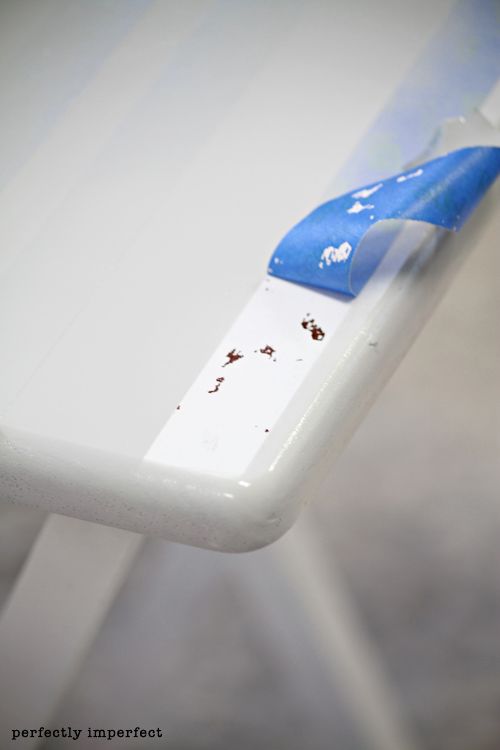
Spray with an immediate top coat (in my case, Piston Gray). When you begin pulling off the tape, you’ll see it will pull off flecks and chunks for an authentic chippy-looking finish.
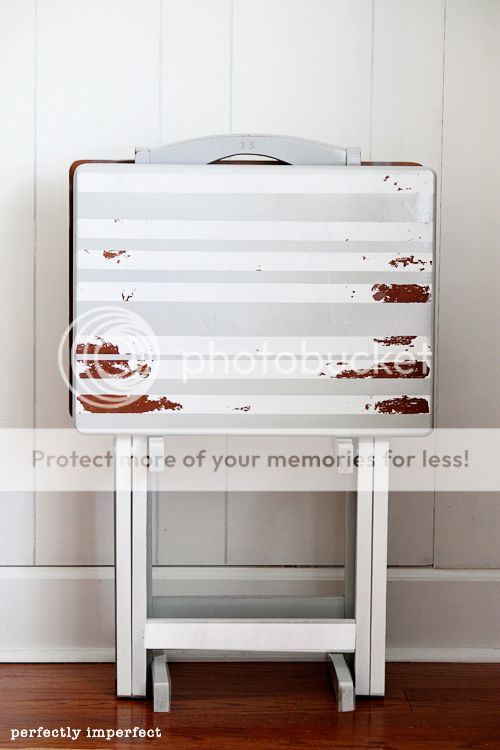
This one makes my heart go pitter-pat.
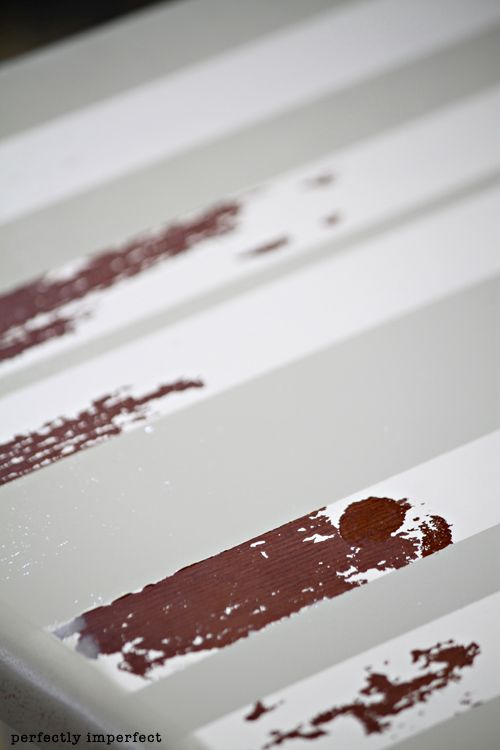
You can even take some tape and dab it in other spots to remove more flecks as you go. Easy, right?
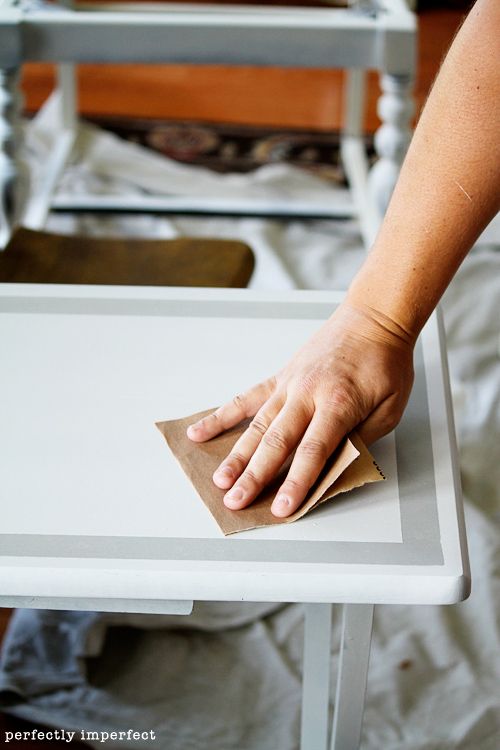
After your tables are completely dry (a few hours later), use a piece of 220 grit sandpaper to subtly distress edges and smooth your finish.
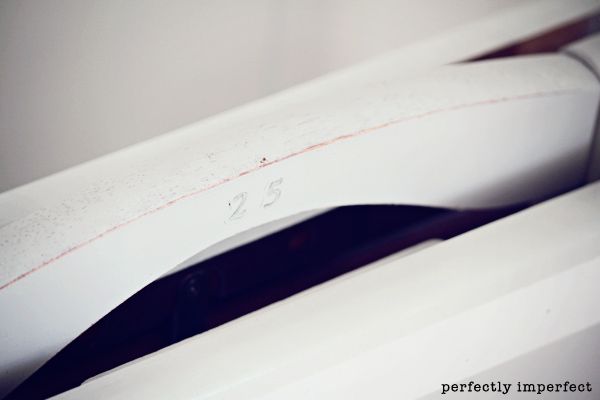
This is also when I stamped the small touch of our favorite number to the top of my table-stand….also painted in Piston Gray.
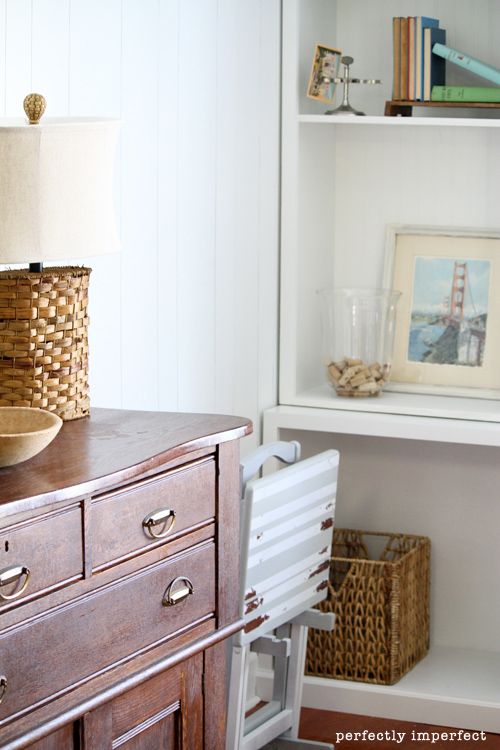
Don’t these make such a cool addition to the almost-completed dining room? You’re getting quite a sneak peek, aren’t you? What do you think of the finish? I just may have fallen for Dual Paint +Primer. I do love the tables there…
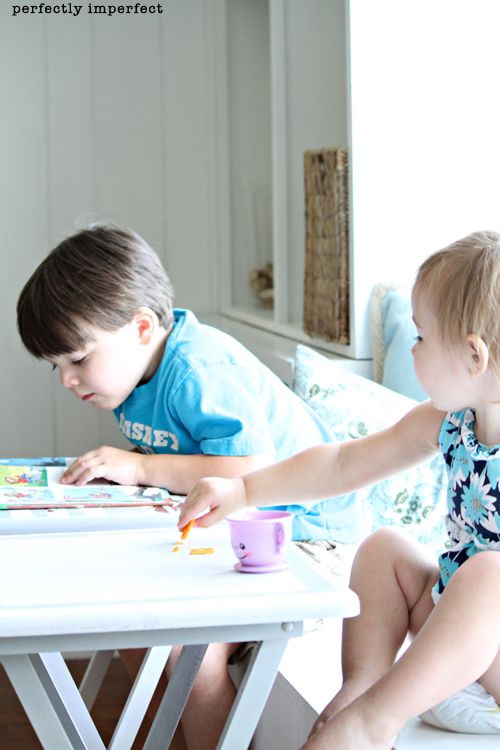
But I especially love them here.
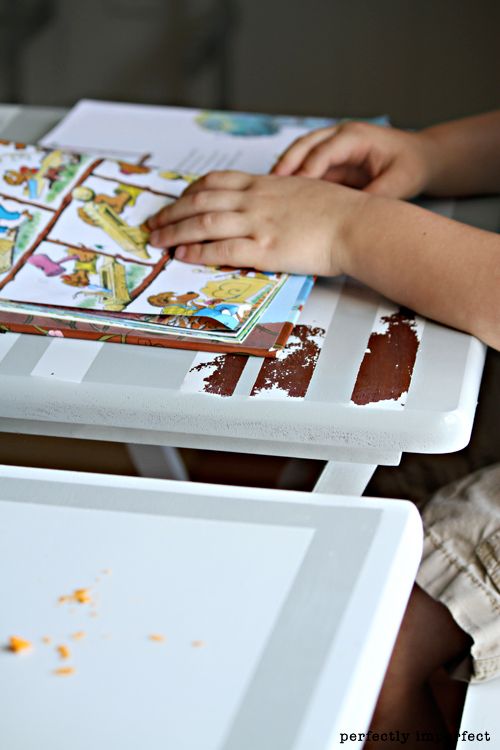
All it took was a little Dual spray paint to get them out of the corner and into the sunlight.
Crumbs, books, and little hands are just bonus points.
🙂
*Krylon sent me the new Dual Paint to try out, but opinions are 100% my own….I LOVE it! Check out their latest promotion, The Dual Duel, where Krylon is looking to find The Ultimate Restorer. To win this title, enter your spray paint restoration project and encourage friends and family to vote for your project as their favorite for their chance to win too.

*linking this post to Under the Table and Dreaming‘s Sunday Showcase, Primitive and Proper‘s Piece of Work Wednesday, Domestically Speaking‘s Power of Paint Party, Home Stories A to Z Tips and Tutorials


OH these are gorgeous! Such a great way to make something generic unique and beautiful!
wow, they look amazing! Especially the chippy one! I am heading to the hardware store in the morning and will check and see if they have any Dual Paint. and I am sure I have something around here that could use a couple coats of paint 🙂
Just lovely!! I love the look of the dark wood below where the paint peeled off with the tape. It is amazing what you can do with a little paint and painter’s tape!!
Happy Saturday Shaunna. Those tables turned out great! I have a couple in my sunroom I may have to try that on. One of them is already stained a mossy/sea foam green color. Some white or gray stripes would definitely make them look more beachy. Have you stopped by to check out my sunroom? You looked at the sneak peek. Here’s the link in case you’d like to. : ) http://catiescorner2.blogspot.com/2011/07/outdoor-livin_123.html
Its really cute. Of course I’ve already moved some accessories around, and I raised the picture above the tv a bit and added a shelf that I’m thinking needs a good whitewash. Anyway, have a great weekend! ~ Catie
I just picked up some of that paint and was wondering how it was going to work. After seeing your beautiful tables, I’m excited to use it!
They are so darn cute-thank you!
This looks great. I love a new spray paint.
yay! awesome job, I can’t wait to find some Dual paint! And, the sweet kiddo shots made the tables much more adorable :-))
What a fun project! Glad you are enjoying your tray tables again.
Perfect chippiness, Shaunna! Thanks for the great tutorial! 🙂
xoxo laurie
I’ve been thinking about painting my metal headboard & footboard. These paints look promising for that…has anyone actually used it on metal who can share their results or experience? TIA.
This is my bed if you’re interested: http://ak2.ostkcdn.com/images/products/L80000824.jpg It looked like a pretty silvery color to me in the picture but turned out to be more like tarnished brass. *shudders* I’m tired of looking at it & want it white, off-white or the color I thought it was going to be. Would this Krylon paint be my answer, I wonder.
Oh wow, I’ve got to try this! I have had luck with regular spray paint, but this primer and paint all-in-one sounds like it will do wonders! Can’t wait to try it!
I adore your tables, by the way. The chippy paint trick is fab. Thanks for sharing!
I’m adding your blog to my inspiration blog list because I’m definitely coming back here again and again. 🙂
Best,
Lauren
Thanks so much for this posting. My father-in-law had just offered me a set of these trays and I had turned him down. Not anymore! They’re mine and a fun pattern will emerge.
Wow – those turned out incredible. I need to try some of the Krylon pain – that grey is fabulous!
Your tables look great! And that’s a great tip on how to “chippify” the spray paint. I wouldn’t have been able to figure that out!
LOVE these! My niece just told me today that I needed to paint my tv trays! I just added this project to my project list! Thanks so much!
they look beautiful, loves from Turkey:)
LOVE these shaunna! the chippy stripe one… awesome! : )
Love the colors and the fact that you can make something so ordinary look extraordinary!
These look excellent! Great idea too…I have some ugly TV trays in my house and now I totally will re-do them with spray paint! One question: Since the TV trays have such a glossy veneer on top, did you do any pre-sanding before spraying? I thought you had to rough it up a bit so that the paint would have something to stick to…
Oooohhhh…! I too have a couple of tv table trays very much like yours, that are languishing in my garage because A) I was afraid my toddler would pull them down on himself while leaning to walk and B) They are ugly and uninspiring. Out of sight, out of mind. But now, I am totally inspired and want to take a trip to the hardware store to pick up some of this magic Krylon paint. 🙂
Great job. Did you have to sand the tables at all before you painted them? I have some TV tables that need an updo, but they have a shiny finish on them…… I hate sanding.
They look beautiful, Shaunna! They are perfect for little ones–you don’t have to be afraid of messing them up.
in AWE! you have the best ideas; this one is a winner!!
what a great idea! I have some black tray tables that could use some styling! Love the way yours came out!!
I’ve used Krylon Dual Primer + Paint on wood, and it takes FOR EVER to harden. I’ve applied it more than 20 hours ago, and it’s still soft and a little tacky and still stinks like organic solvents. I normally use Tamiya Fine Surface Primer, which fully hardens in about 25 minutes at most… this Krylon crap isn’t even safe to handle after 25 minutes. I am extremely disappointed with this primer+paint. Tamiya Primer costs $10 for a small 180mL can, and Krylon is only $6 for a ~350gram can, so you get a lot more for the money… unfortunately, it stinks, literally stinks.
Man, I’m so sorry you had that trouble!! Thanks for the tip on another paint–we’re all always happy to try different things out!
🙂
shaunna