
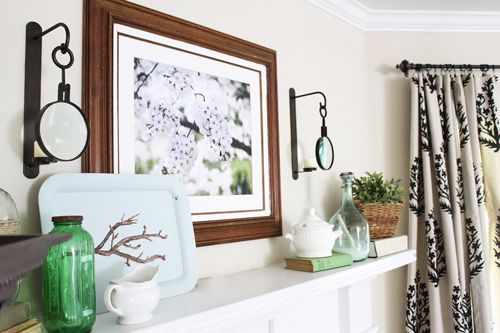
Thanks to all of you for your sweet comments yesterday on my spring mantel.
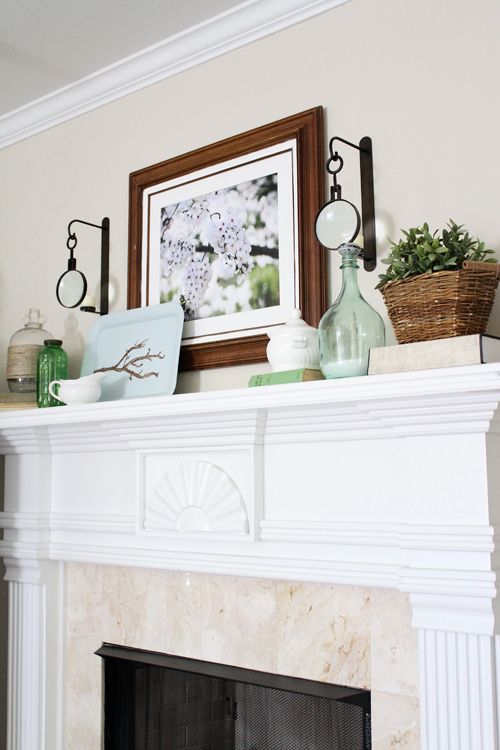
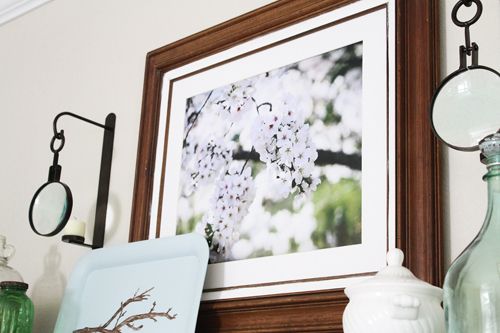
As I mentioned yesterday, my favorite part was the repurposed flea market frame. It’s certainly not a hard project, but one that appears tricky. Not at all, though.
First, you’ll want to blow up one of your pictures.

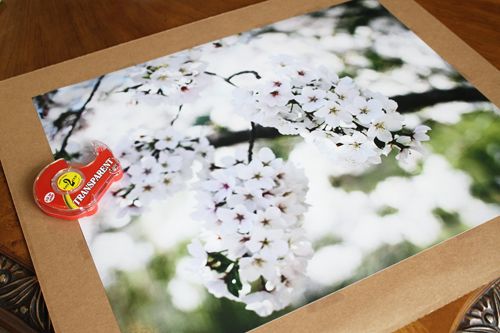
I chose this spring dogwood I shot a few weeks ago, and had it blown up to a 16 x 20 at Walmart…it was only $13! Be sure to choose a matte, no-fingerprint photo paper.
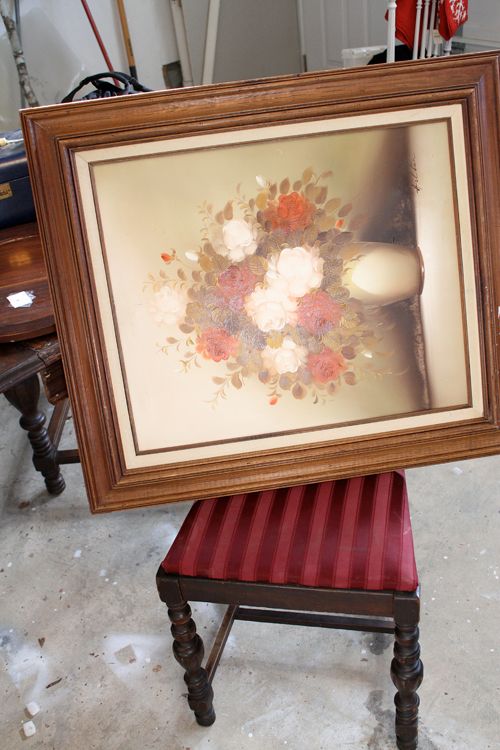
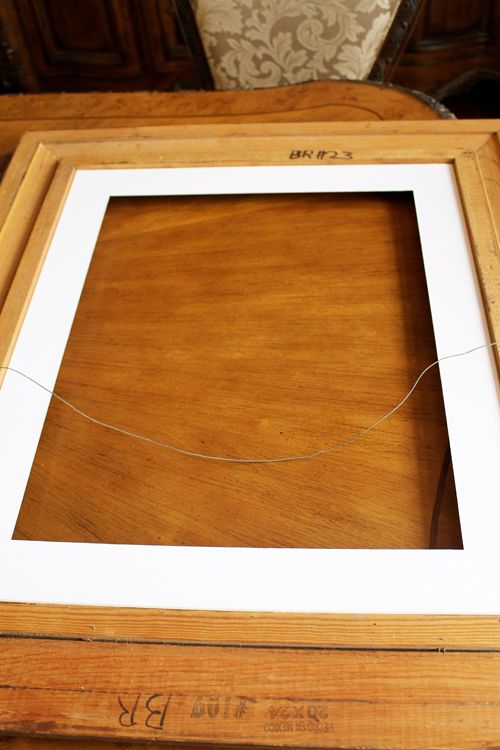
It’ll be time to score a great flea market frame. Luckily, they are literally all over the place. It’s probably best to find your frame before you order your photo, just in case. Layla and I were on the lookout for a wooden frame to add some brown and natural texture to the mantel, and finally at 5:58 pm before a 6 o’clock closing time, we found it. Some frames will be labeled on the back, but it’s always a good idea to carry a tape measurer with you.
Time to get to work…

First, you’re going to want to move the mound of stacker pegs, or whatever toy your little ones have covered your work surface (my dining table this time) with.

Turn your frame over and see how that thing is put together.
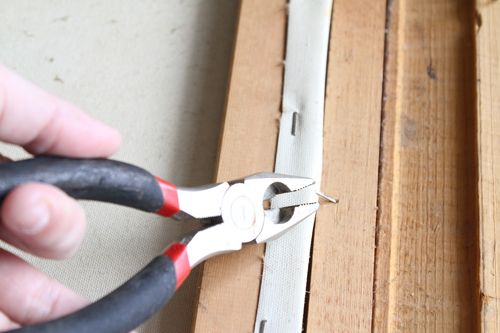
Most canvases are stapled in, so have your pliers handy. Get to removing the 30 x 4 that are in there.
Maybe bring some bandaids along.
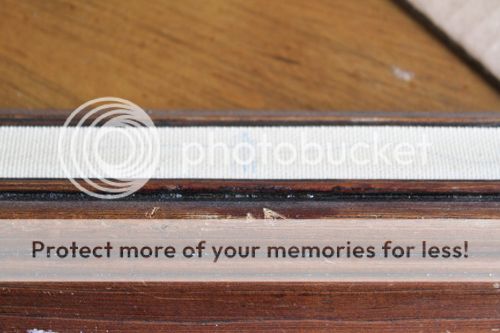
After you remove the staples, the canvas will pop right out. This a good time to wipe down your gunky frame (if it’s like mine). This frame also had a built in linen mat with additional wood trim. I liked the idea of the interest it would add, but the linen was a dingy beige and had little blue pen marks all over it…probably from another set of toddlers driving some mama crazy/happy until she gave up on the old thing and loaded it up to the local flea market.
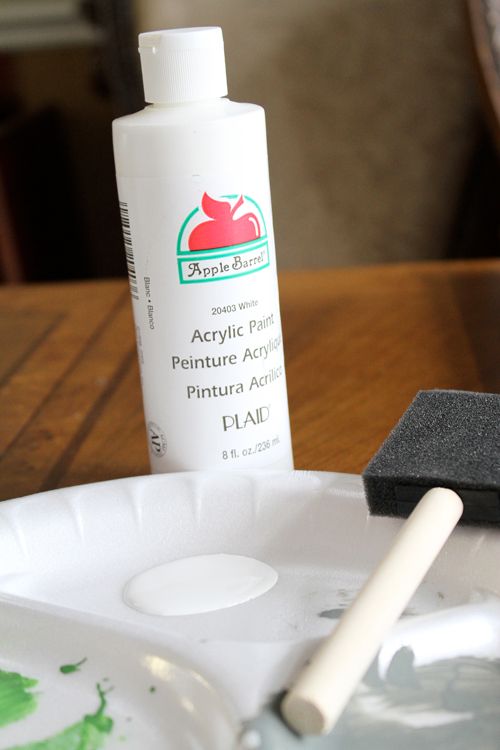
I just lightly painted a coat of white acrylic paint on the linen using a sponge applicator. Not the first time I’ve painted fabric…in small doses like this, it’s no biggie. It will adhere perfectly.

If you don’t have one from a previous frame, have a mat cut for a 16 x 20 (or appropriate size) picture. I got mine at Hobby Lobby for $11…they’ll cut the opening a bit smaller so you can attach your photo.
This is where you would normally place your glass in first. I checked on one price, but it was going to be about $30, and that felt a little steep for a mantel project. I decided to skip it, in hopes that I’ll find another frame with glass.
So…place your mat inside the frame.
Since you’re not going to be filling the back of your frame as thickly as a canvas would be (and if you’re not including glass to press the picture down), it’s a good idea to tape your photo to cardboard or foam board. I decided to use the cardboard sheet that came with my mat.
Tape your photo to the cardboard on the underneath of your photo so no tape shows up once it’s framed.
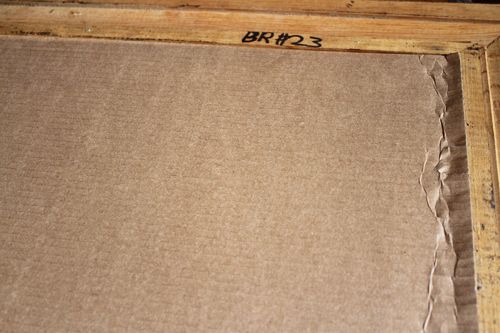
The cardboard was cut a little big for the frame, but I found while making my Family Rules Art that’s a great way to secure your own artwork. Three sides of the board fit perfectly into the frame and the fourth side is pressed down into it…just enough to make everything fit snugly.
Everyone likes a snugly frame.
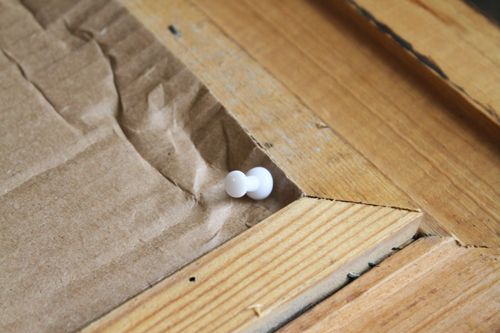
Ready for the sophisticated tip? Just tack in that less than perfect side into the frame with a thumbtack. You can always use duct tape, or any other very sophisticated form of stickery.
It works, though…and no one sees that part anyway, right?
You’ve got yourself personal and meaningful (and much cheaper) artwork! Now that I’ve done this a couple of times, you better believe it will be hard for me to buy a ready-made frame again. Especially with the $30 price tag. Small art isn’t too costly, but a frame like this could cost you well over $100.
I’m gonna admit it. I’ve spent $30 on an 8 x 10 of my wrinkly-6 week old Grayson. There may not be an adorable, wrinkly baby in that frame, but I’m pretty happy with it, all the same.
There you go…it’s worth a little time to frame your own art. If you have any questions, let me know…I’m going to get started on lots of framing projects for the dining room wall soon, so I’ll share em’ along the way.
Have a happy Tuesday!
*linking to Stories of A to Z


It looks great – so fresh and Spring-y!
That looks fantastic! Thanks for the tutorial! 🙂
Great project! Fyi, I recently had a piece of glass cut for a frame at Lowe’s for around $6. They have standard size pieces that they will cut down for free (you pay for the whole piece). Funny thing is (well, not so funny), the left over piece we ended up using to replace a window we had to break to get into our house- long story….
Shaunna ~ This is awesome & looks exquisite over the mantle.
TY for sharing …
TTFN ~
Marydon
NEW GIVEAWAY on 4/6
It looks great! Love the picture.
Very good idea, and it looks beautiful!
Susan
beautiful. I love the picture itself.
I was going to tell you about Lowe’s, but I see ShielaG beat me to it. 😉
lovely!!!
lovely! absolutely love it! 😉 wonderful.
I’m glad to see you can paint over the linen on the frame. I have a frame like that but I wasn’t sure what to do with that part.
What a beautiful photo you took.
That’s a great tutorial; thank you! As much as I like everything else you chose for the mantel, I have to say my favorite thing is your gorgeous dogwood photo. I keep forgetting that some states have actual spring (vs here in Minnesota.)
Thanks for the step-by-step. I have been eyeing some of the larger frames at Goodwill but wasn’t quite sure how to proceed. I will probably wait until their next 1/2 price sale to purchase one though to make it even more affordable.
What did you use to wipe down your frame? I find dingy frames like that all the time, but I don’t want to have to sand them down and re-stain them. PS, I’m an avid follower since not so long ago and am hooked. I love your taste and ideas!
What a clever way to make some one-of-a-kind artwork (on the cheap too!). I am in love with your Spring mantel – it’s absolutely gorgeous!
I would be so honored if you linked up this project (or any of your rockin’ projects for that matter!) to The After Party at 3 Meadow Lake Cottage!
http://www.3meadowlakecottage.com/2011/04/after-party-and-fireplace-beforeafter.html
~Erin
I love it! The whole mantle looks wonderful. You’re so funny, my spring mantle is about to come down and summer goes up. I love how you framed your own photograph. It would be hard for me to resist putting a picture of my kids there if I was having it blown up myself. I need to control myself. I just love looking at them. LOL! Thanks for the tutorial Lisa~