
Hey hey!
I tried to get our weekly newsletter out last week, and it just didn’t happen. Ahh, life. Sometimes, the shifting of priorities is the priority.

While I know a lot of you may not have played with mixing your own oil paint before, this process has become so meditative for me, it can be such an eco-friendly way to paint, and doing it with the kids has been so much exploration, I wanted to share a quick tutorial with you.
What I love about the process:
- It forces me to slow down and enjoy the process of creating and making something with my hands
- it’s cost efficient…you don’t need to use very much pigment to make a lot of paint
- the colors are vibrant and rich, and can be mixed with white to lighten them easily
- the process alone feels very much like I’m channeling my inner Dr. Quinn or work at the local apothecary…both of which sound really cool to me. bizarre, I realize.
I’ll include a quick supply list at the bottom of the post for anyone who decides to give it a whirl!
How to Mix Your Own Oil Paint
You basically begin with fine pigments foraged (you can even grind your own pigment from rocks) or bought, and mix in some linseed or walnut oil to create the paint.
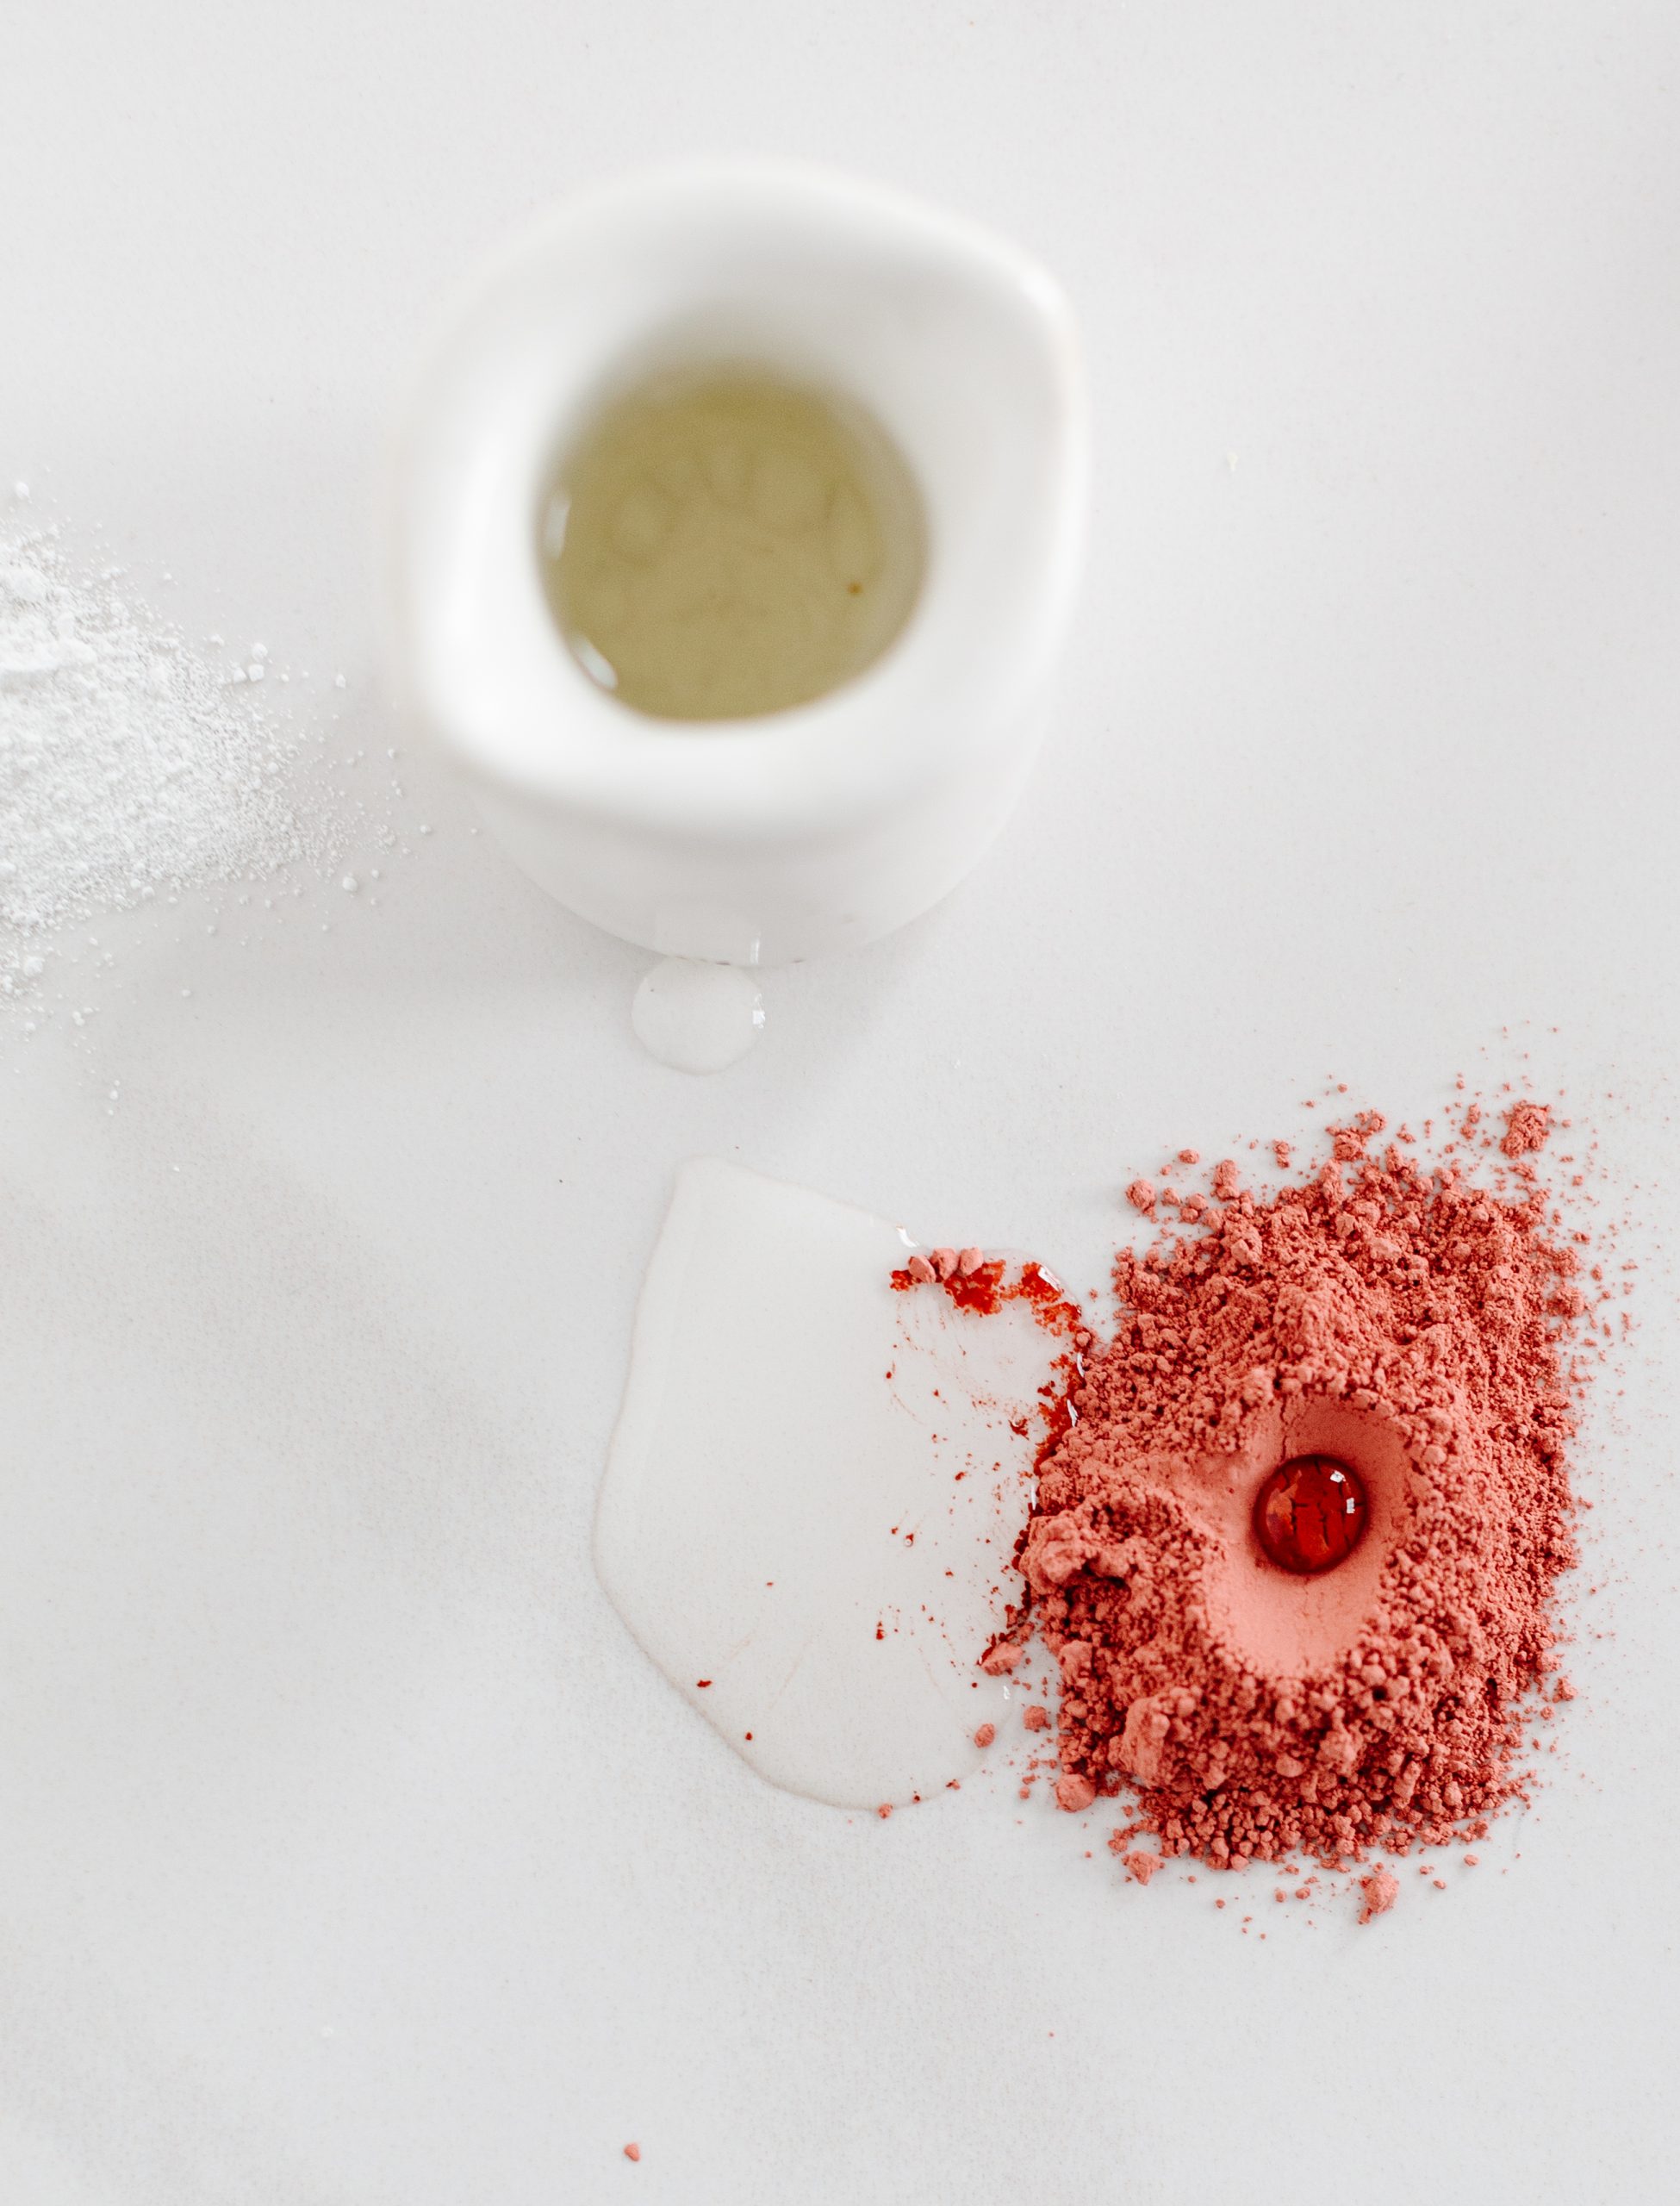
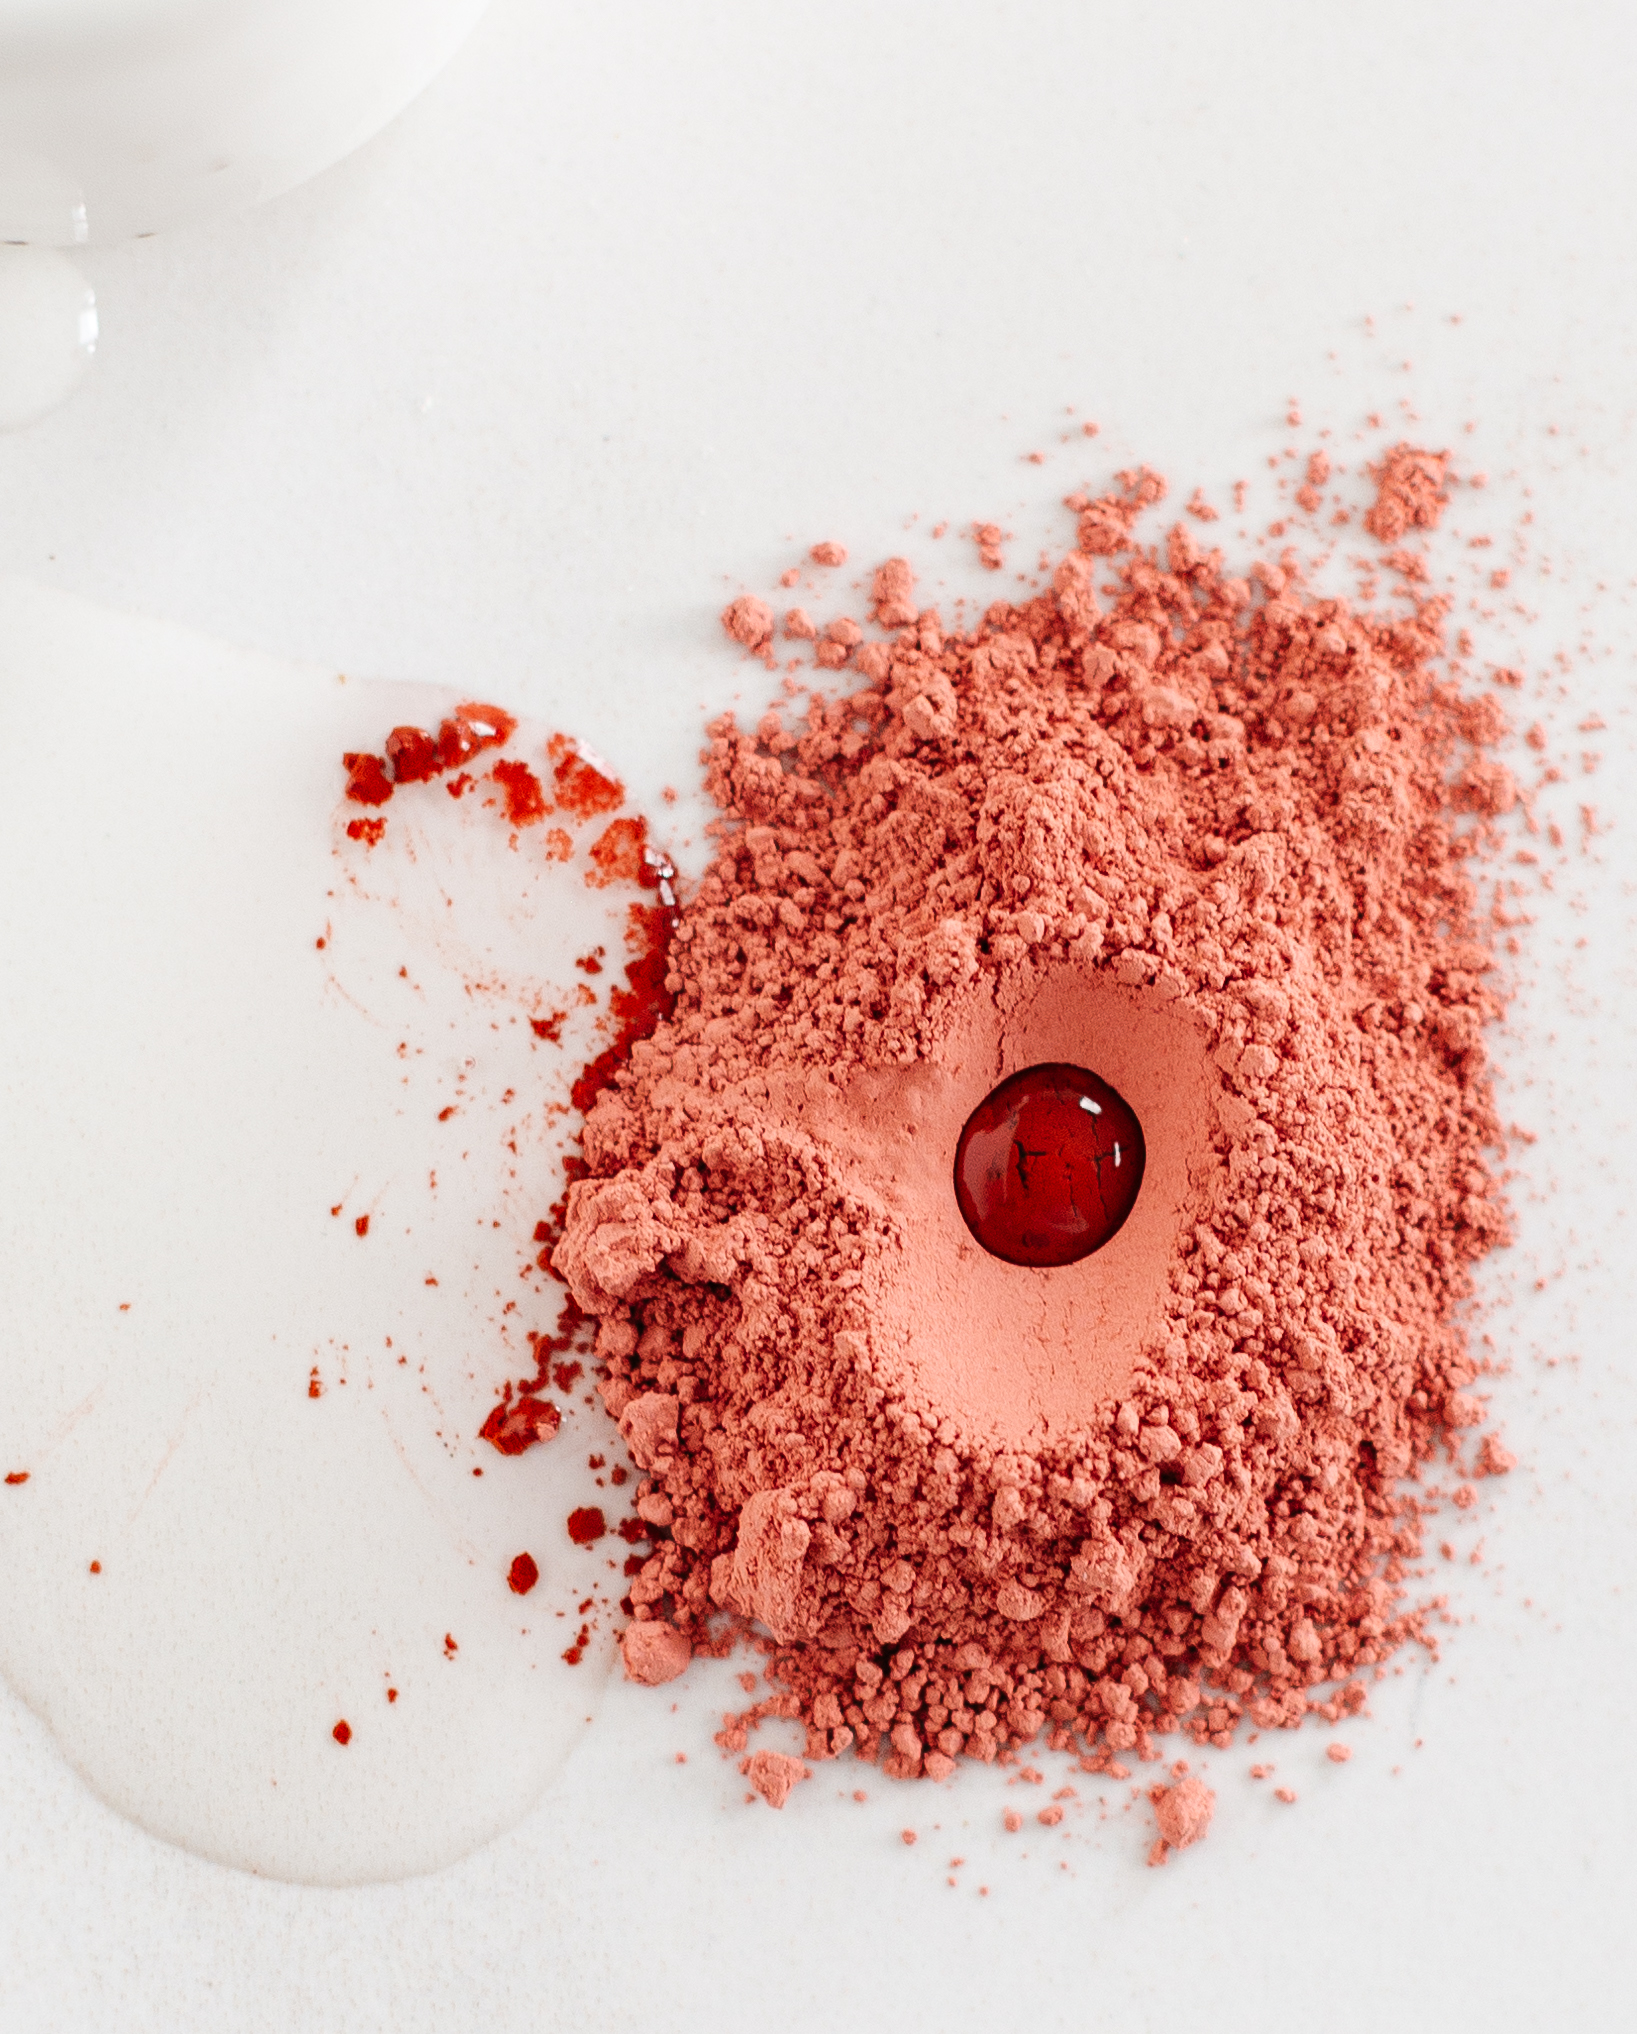
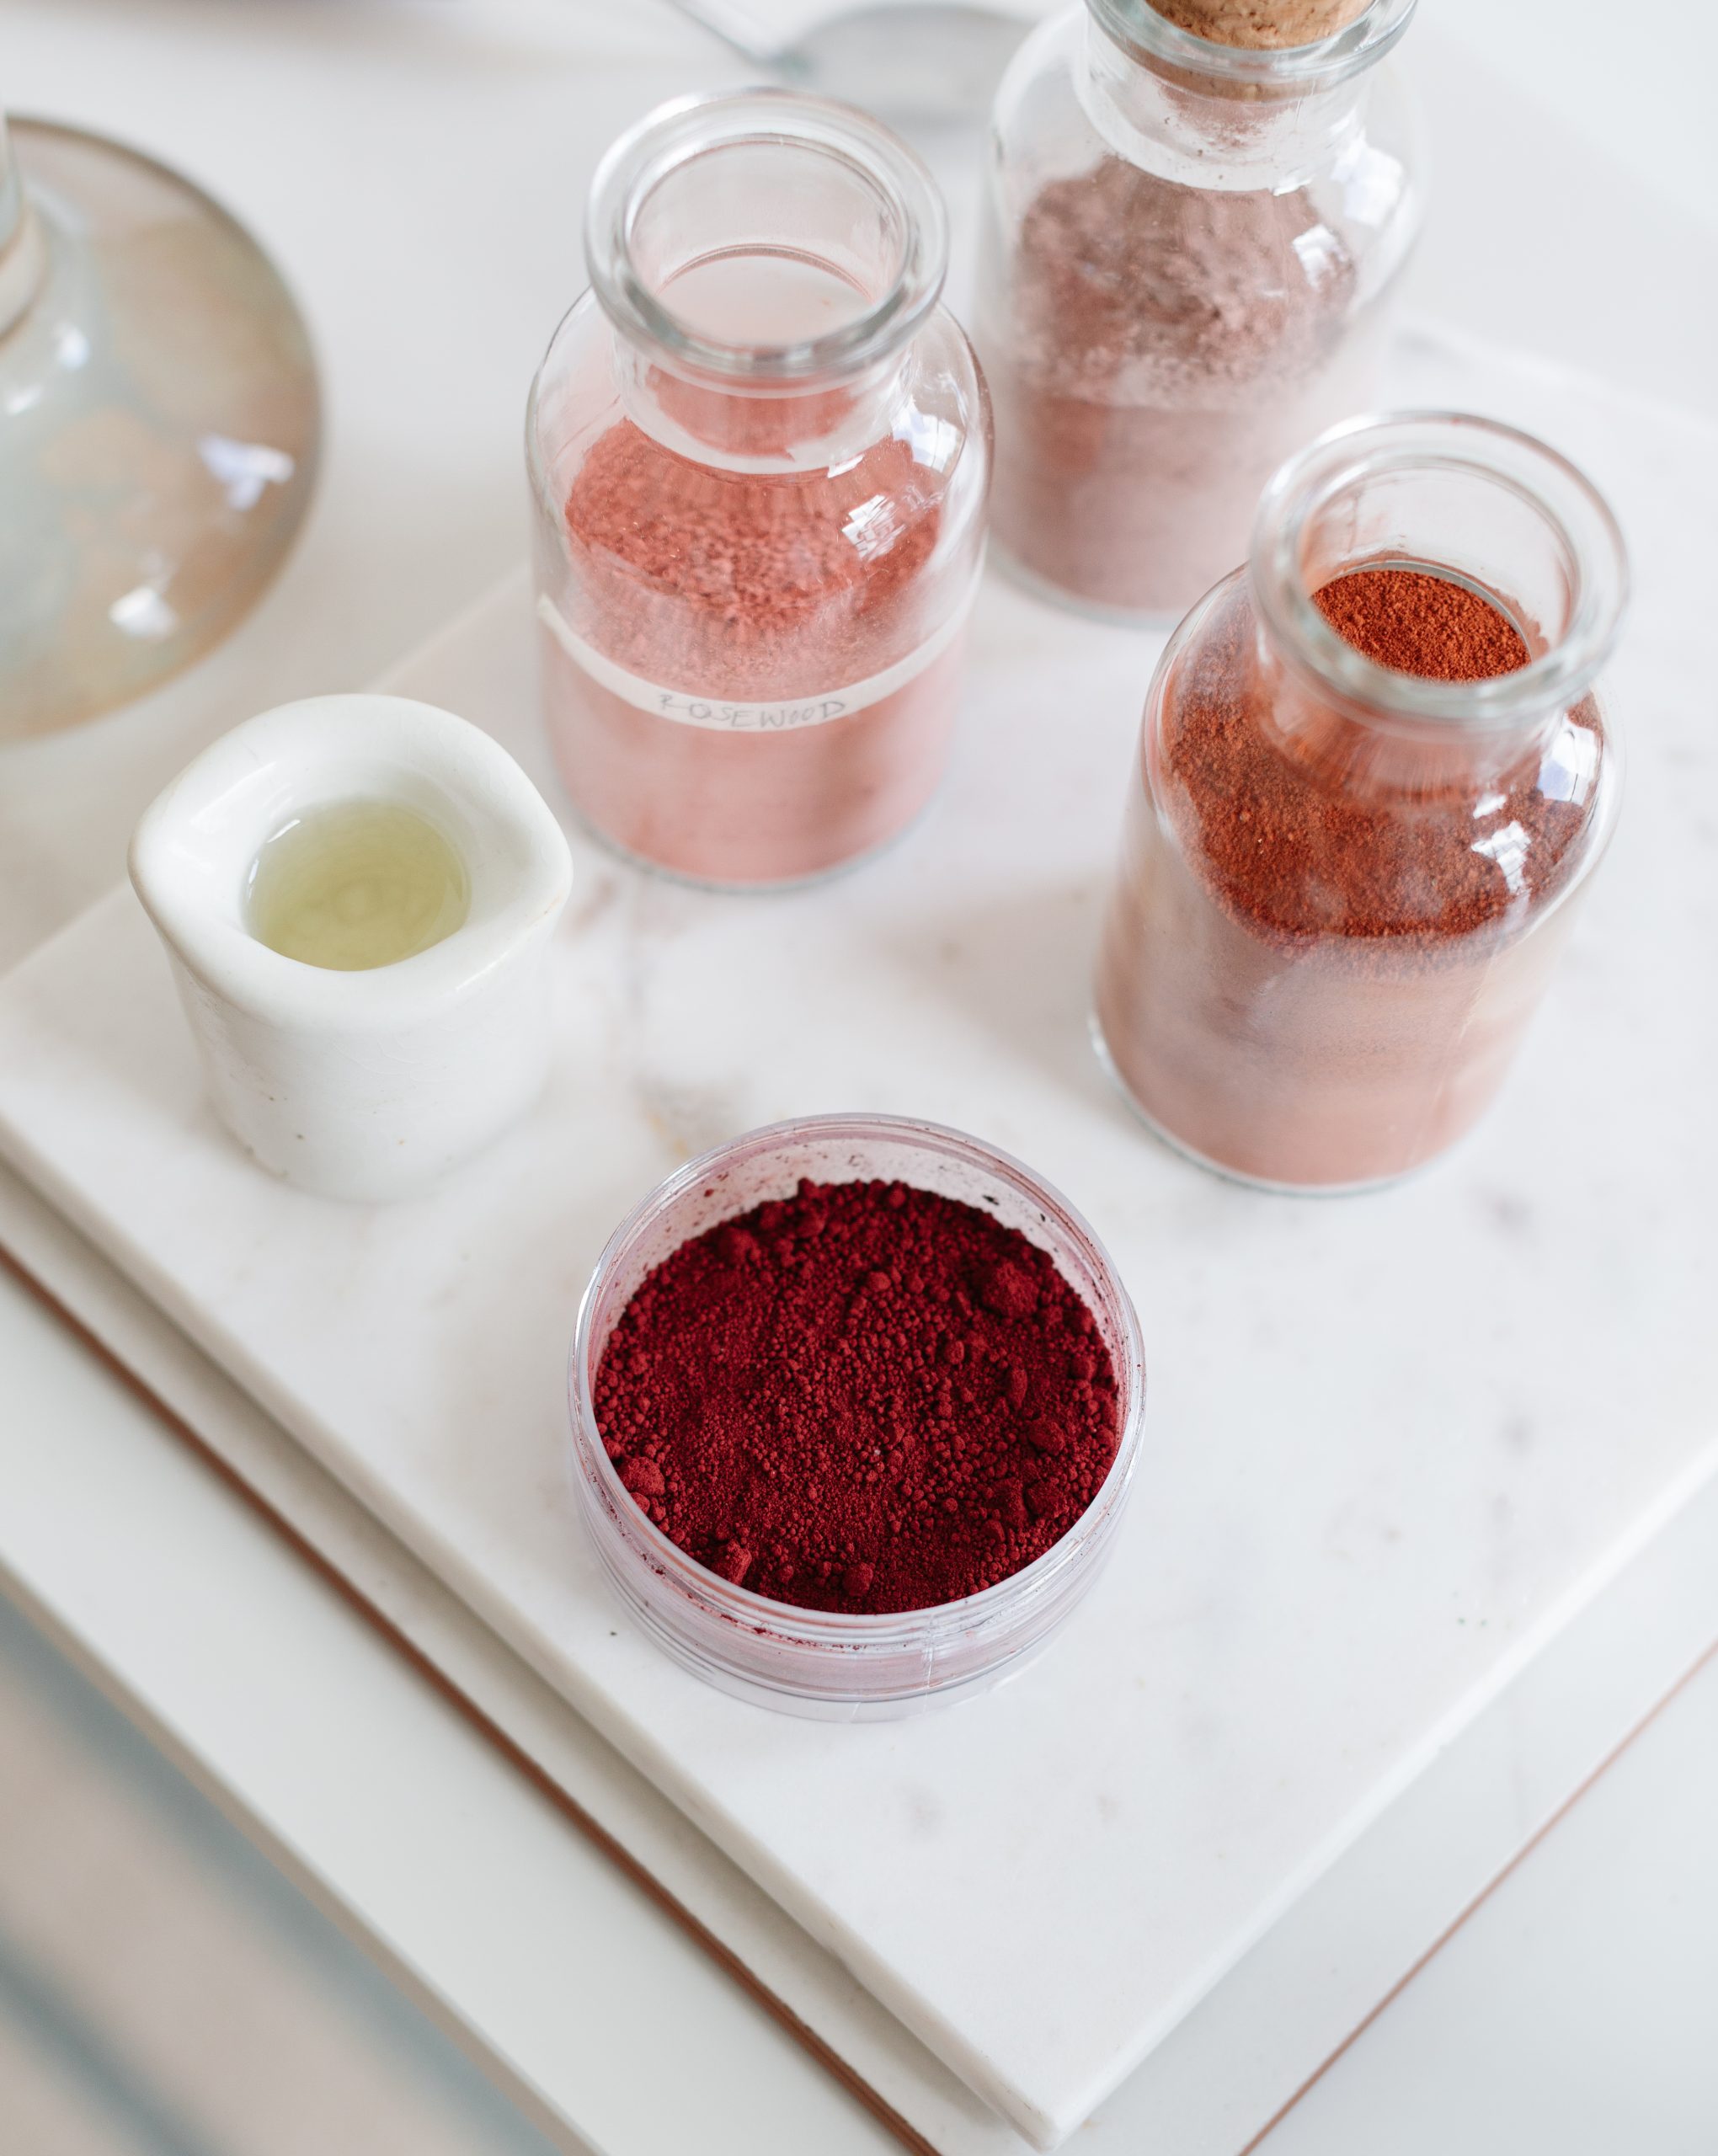
- Start by piling your pigment into a little pile (remember, a little goes a long way) and make a small well in the middle to pour the oil into.
My word, this is art in and of itself. The color I’m working with today is Rosewood by Earth Pigments and I love using Walnut Oil because I don’t have to worry about toxins, etc.
It’s also worth noting that I have found no measurement or ratio to be exact…different color pigments require more or less oil, so I typically pour some in the middle of the pigment and let it spill out to the side.
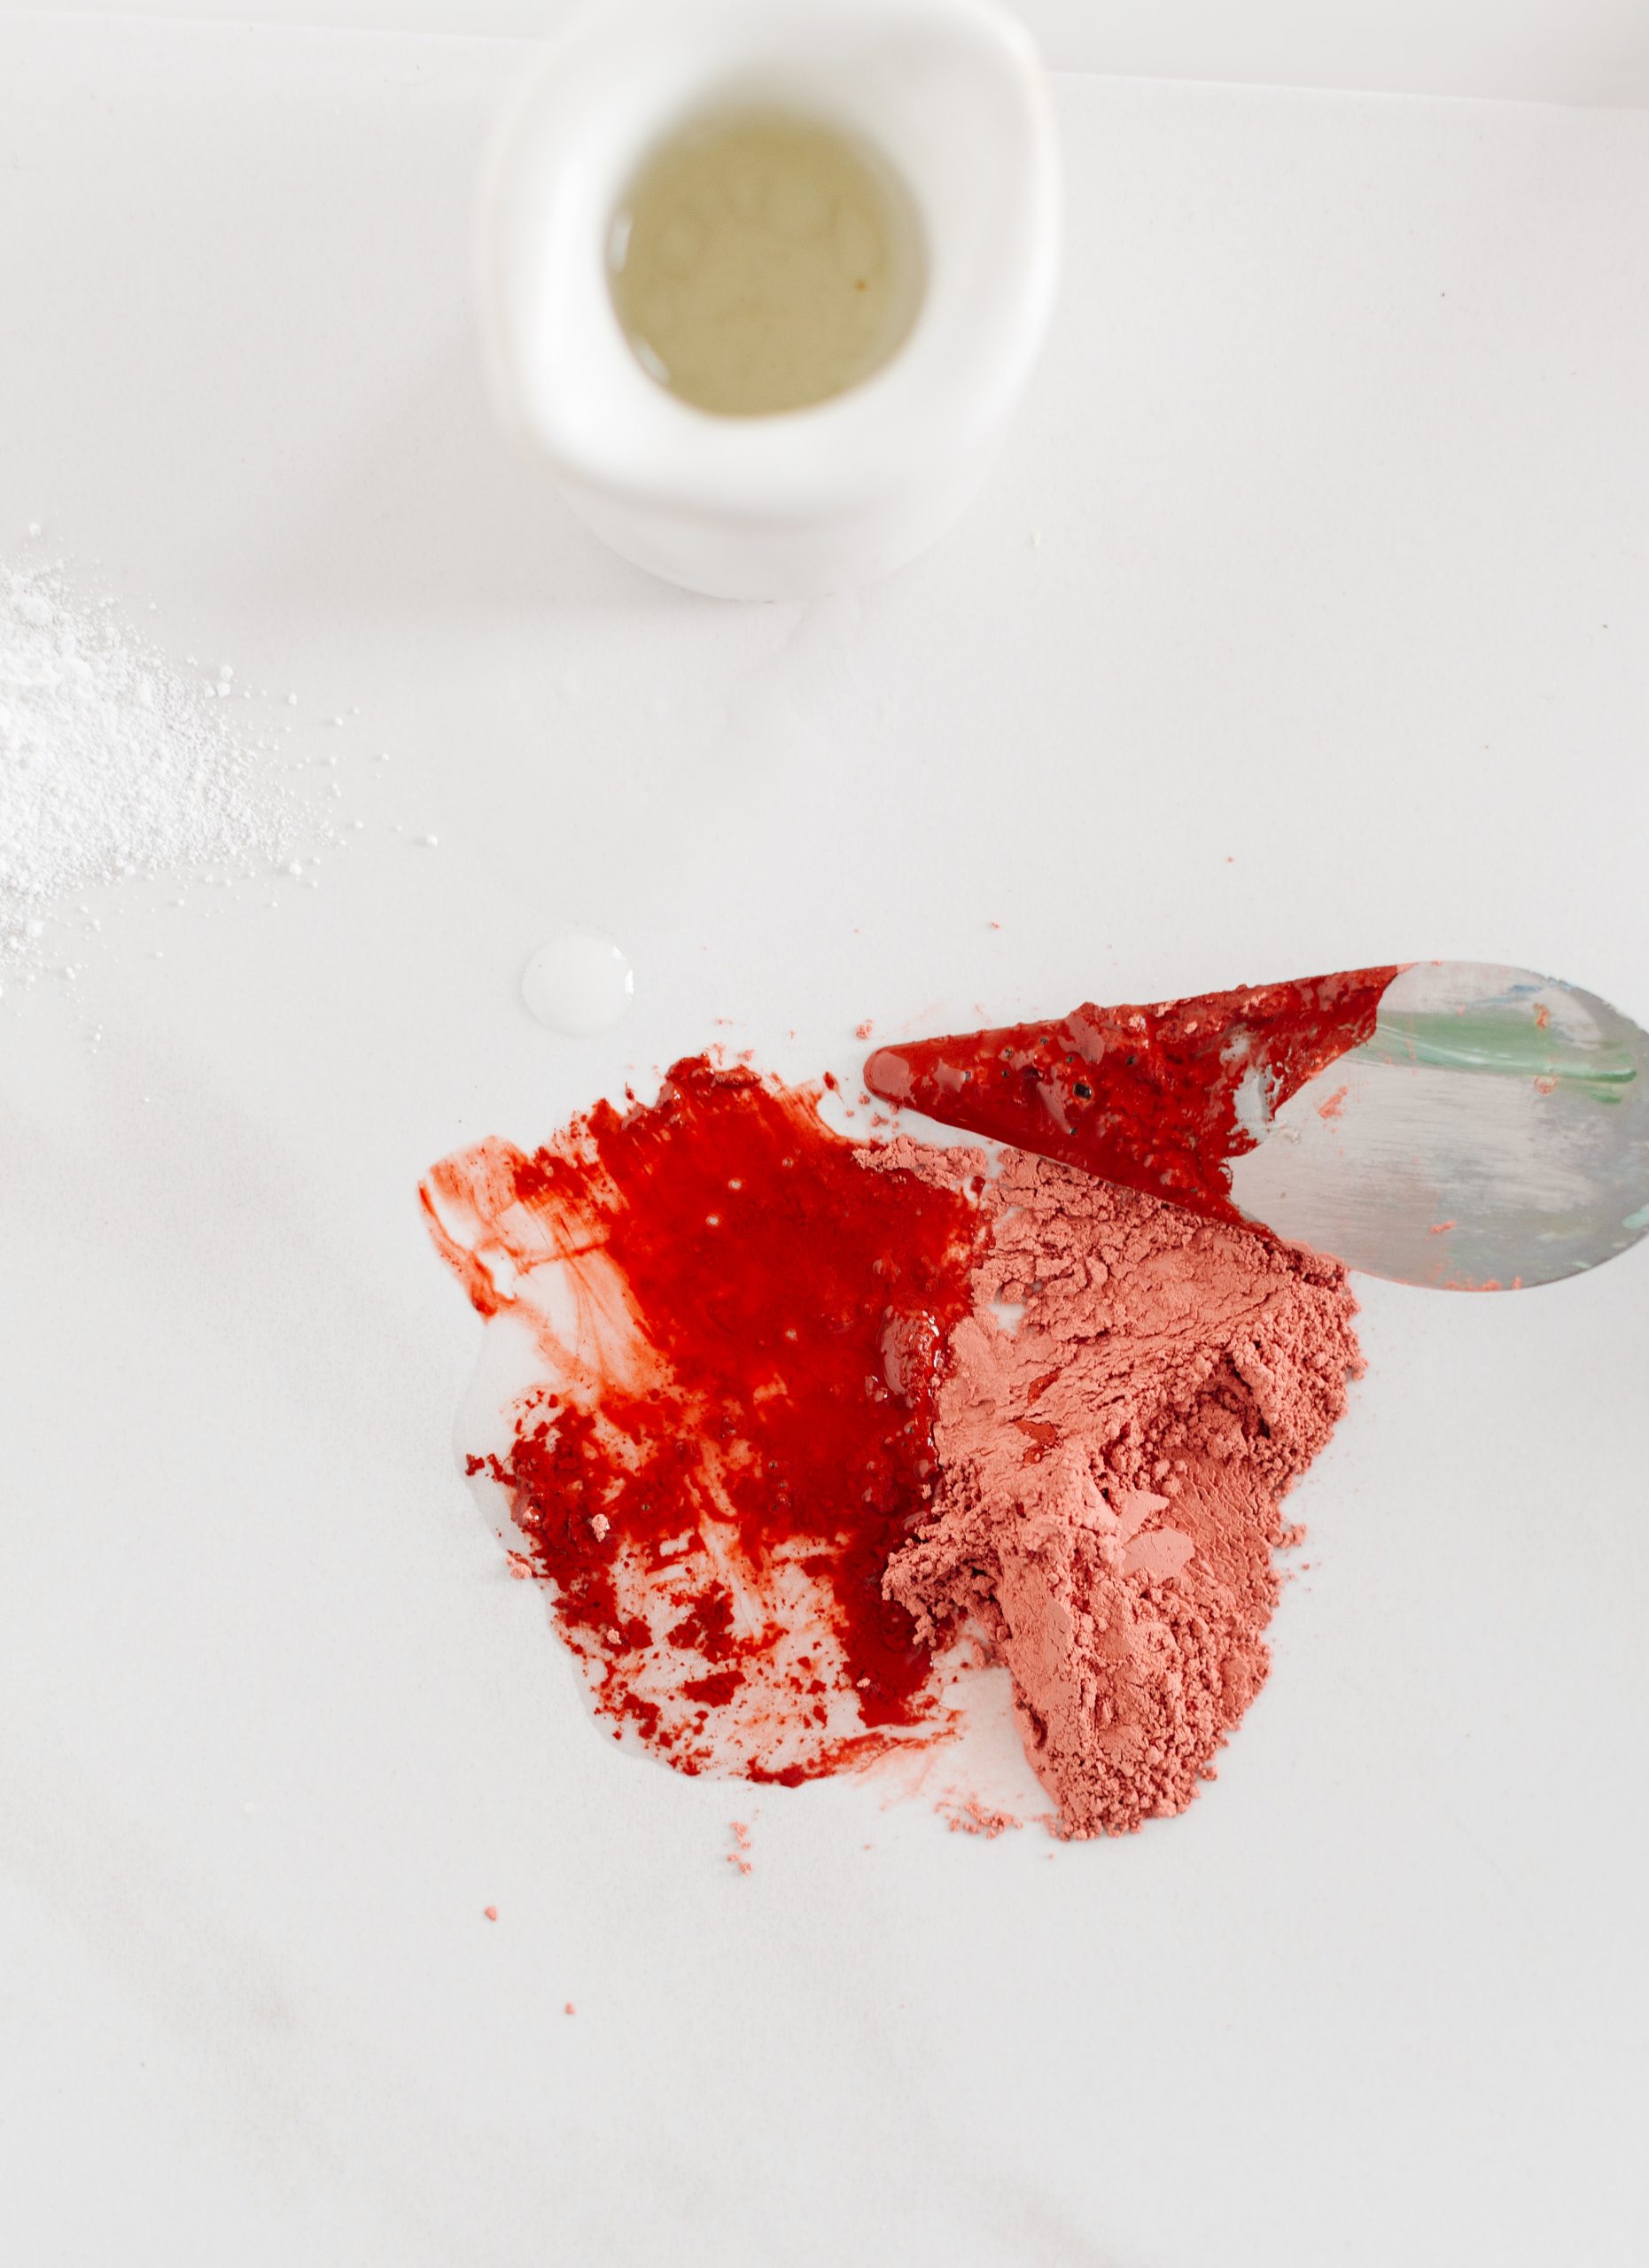
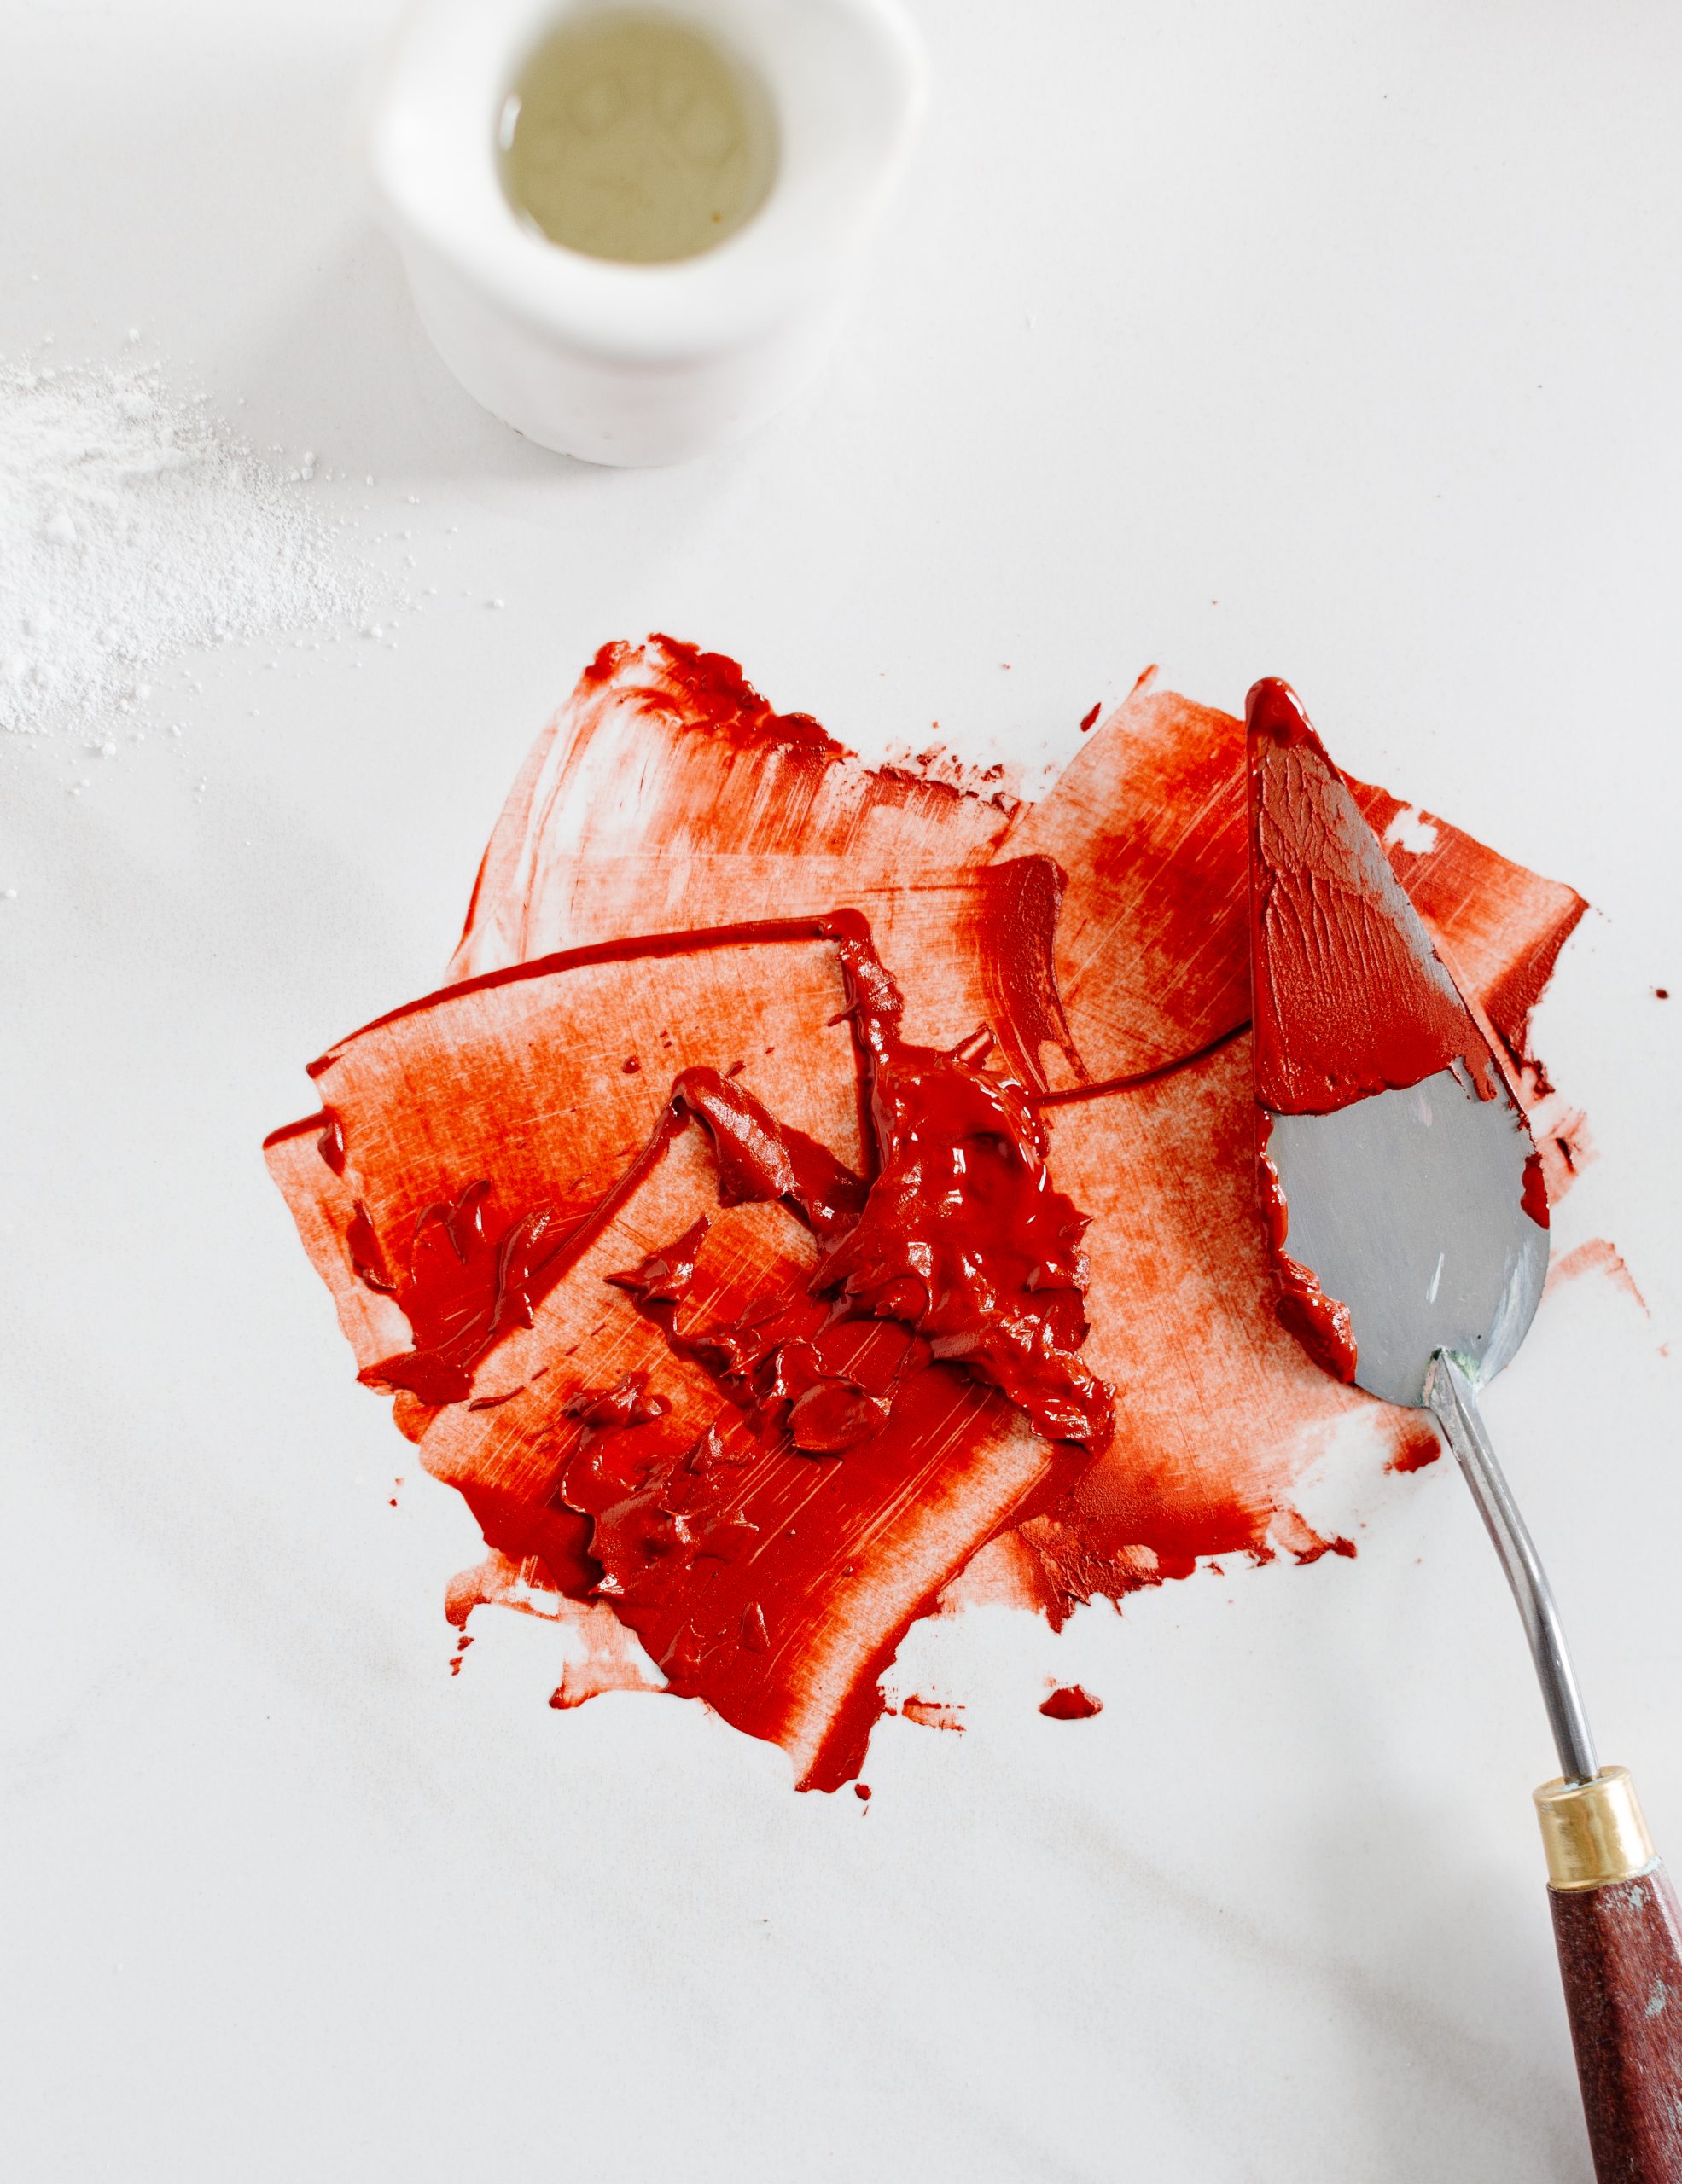
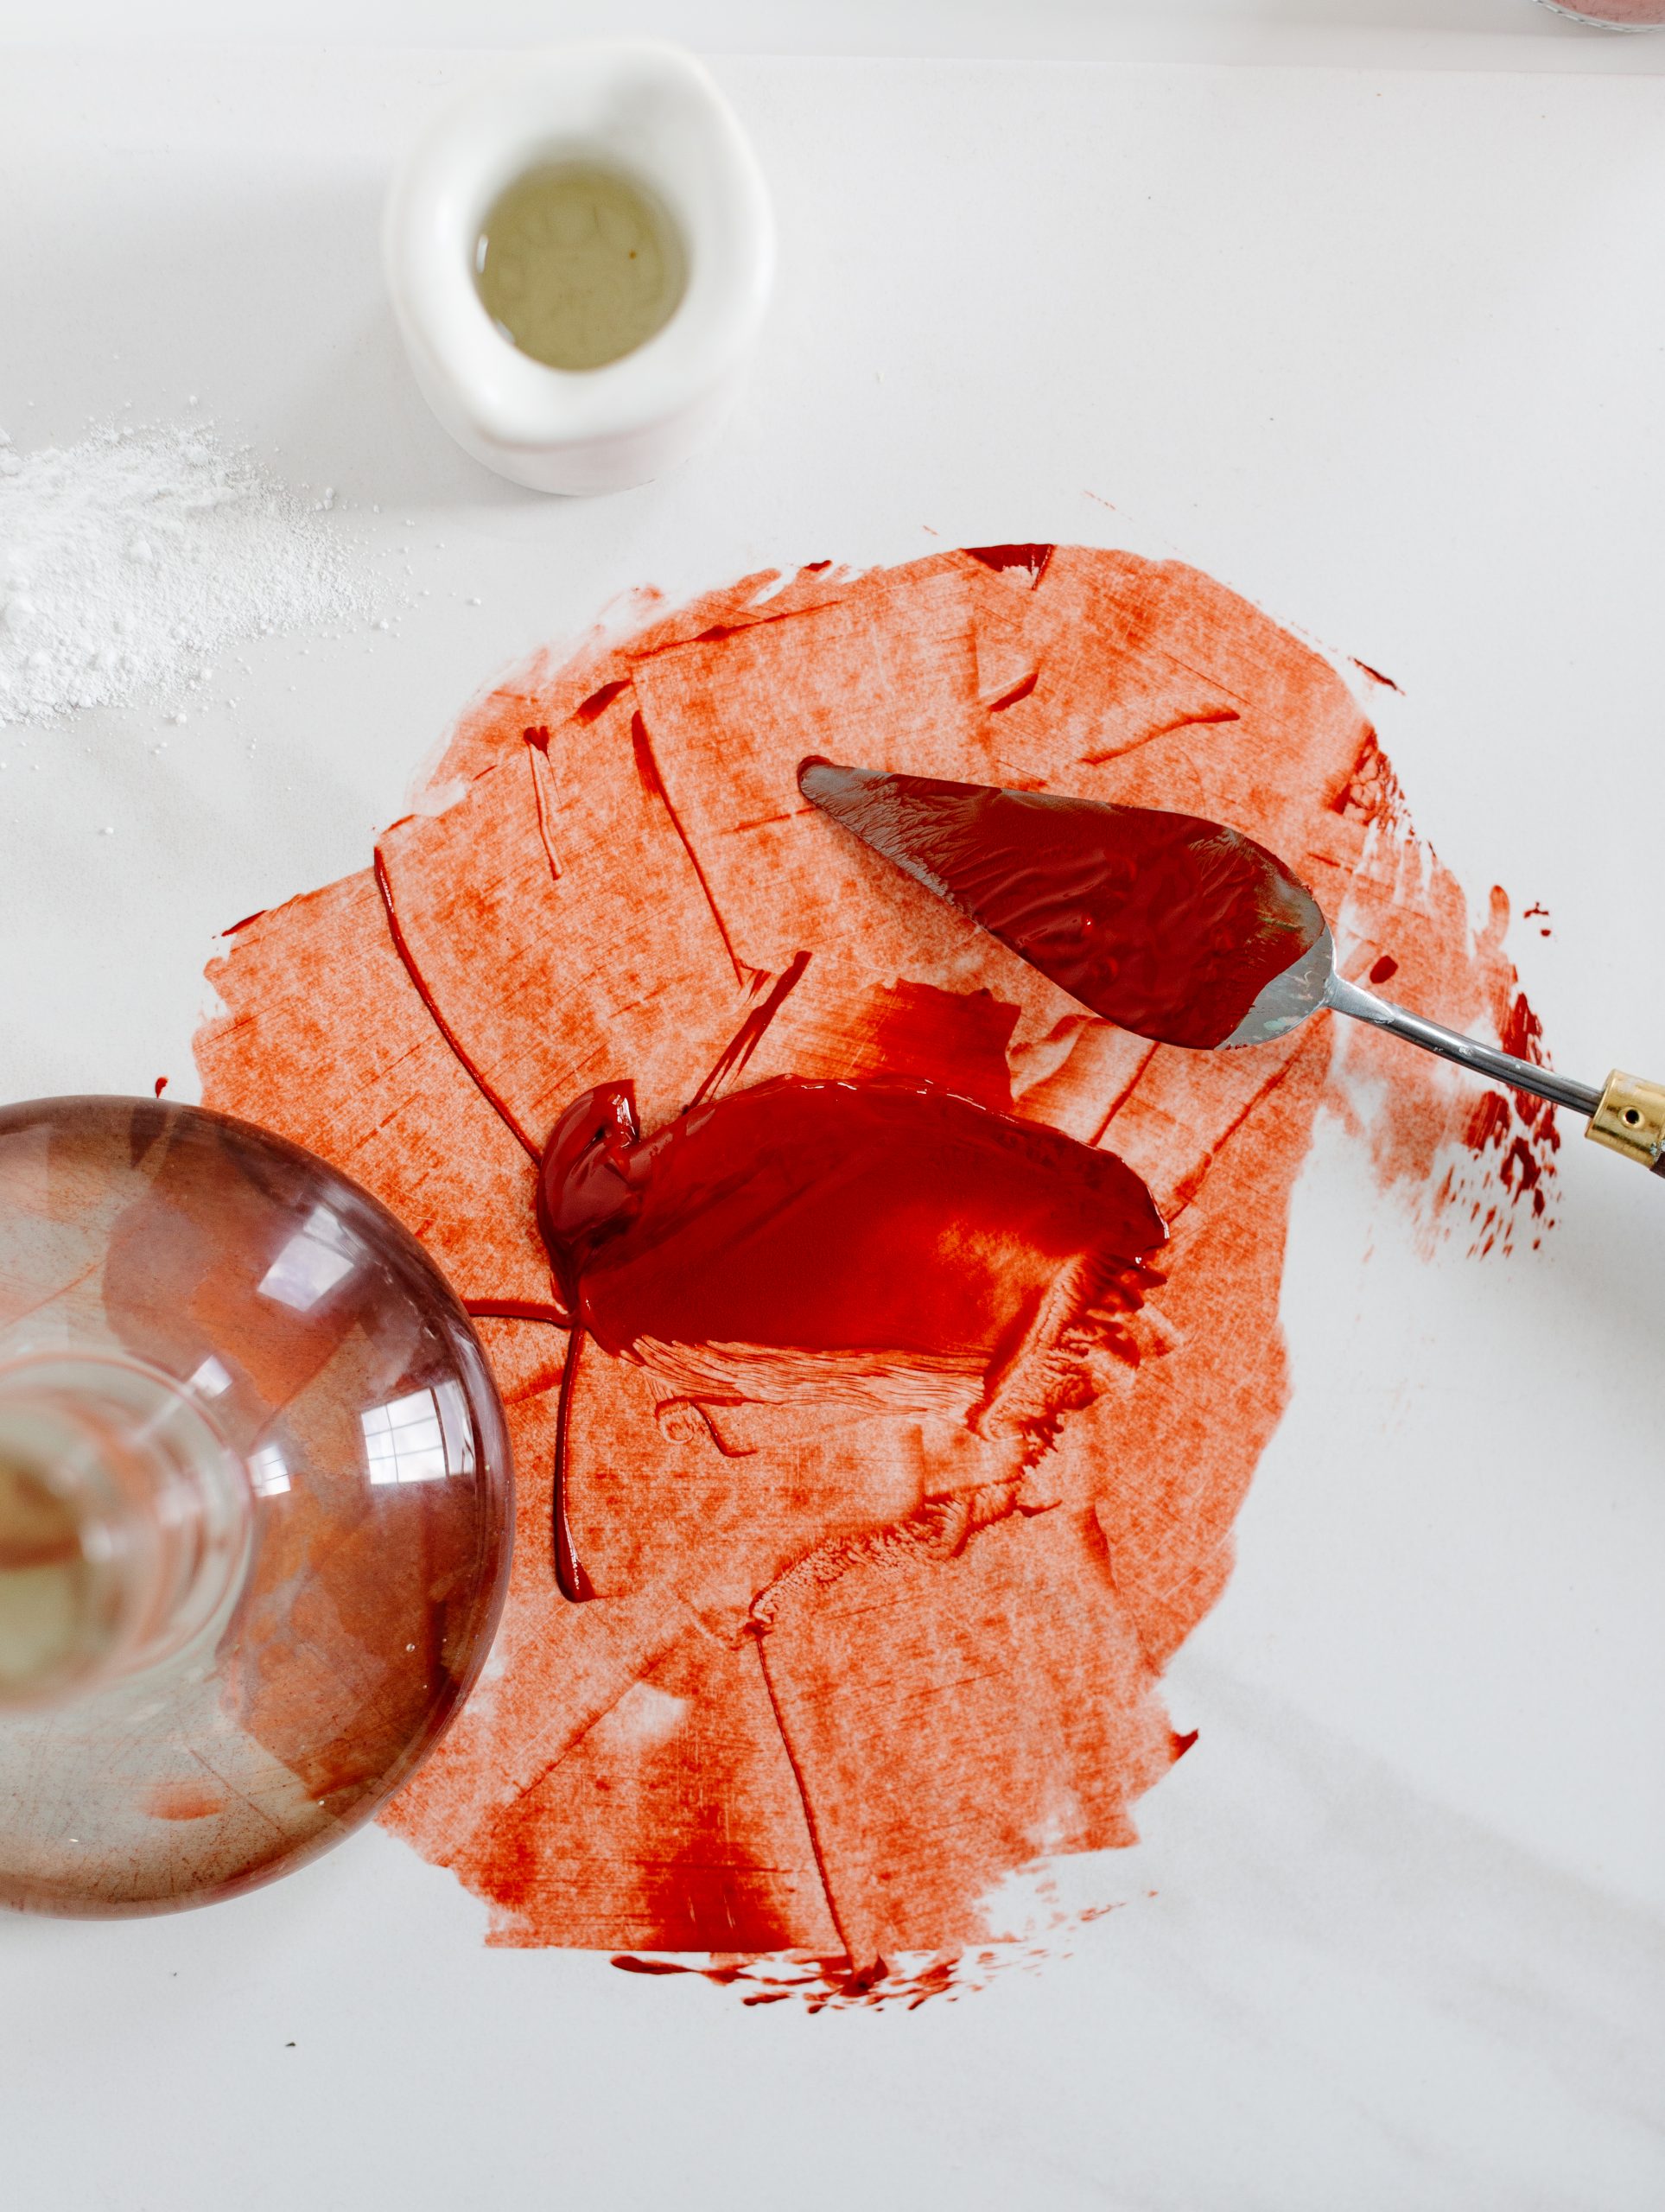
2. Start by mixing your walnut oil into the pigment by hand with a palette knife (you can use anything you have on hand, really).
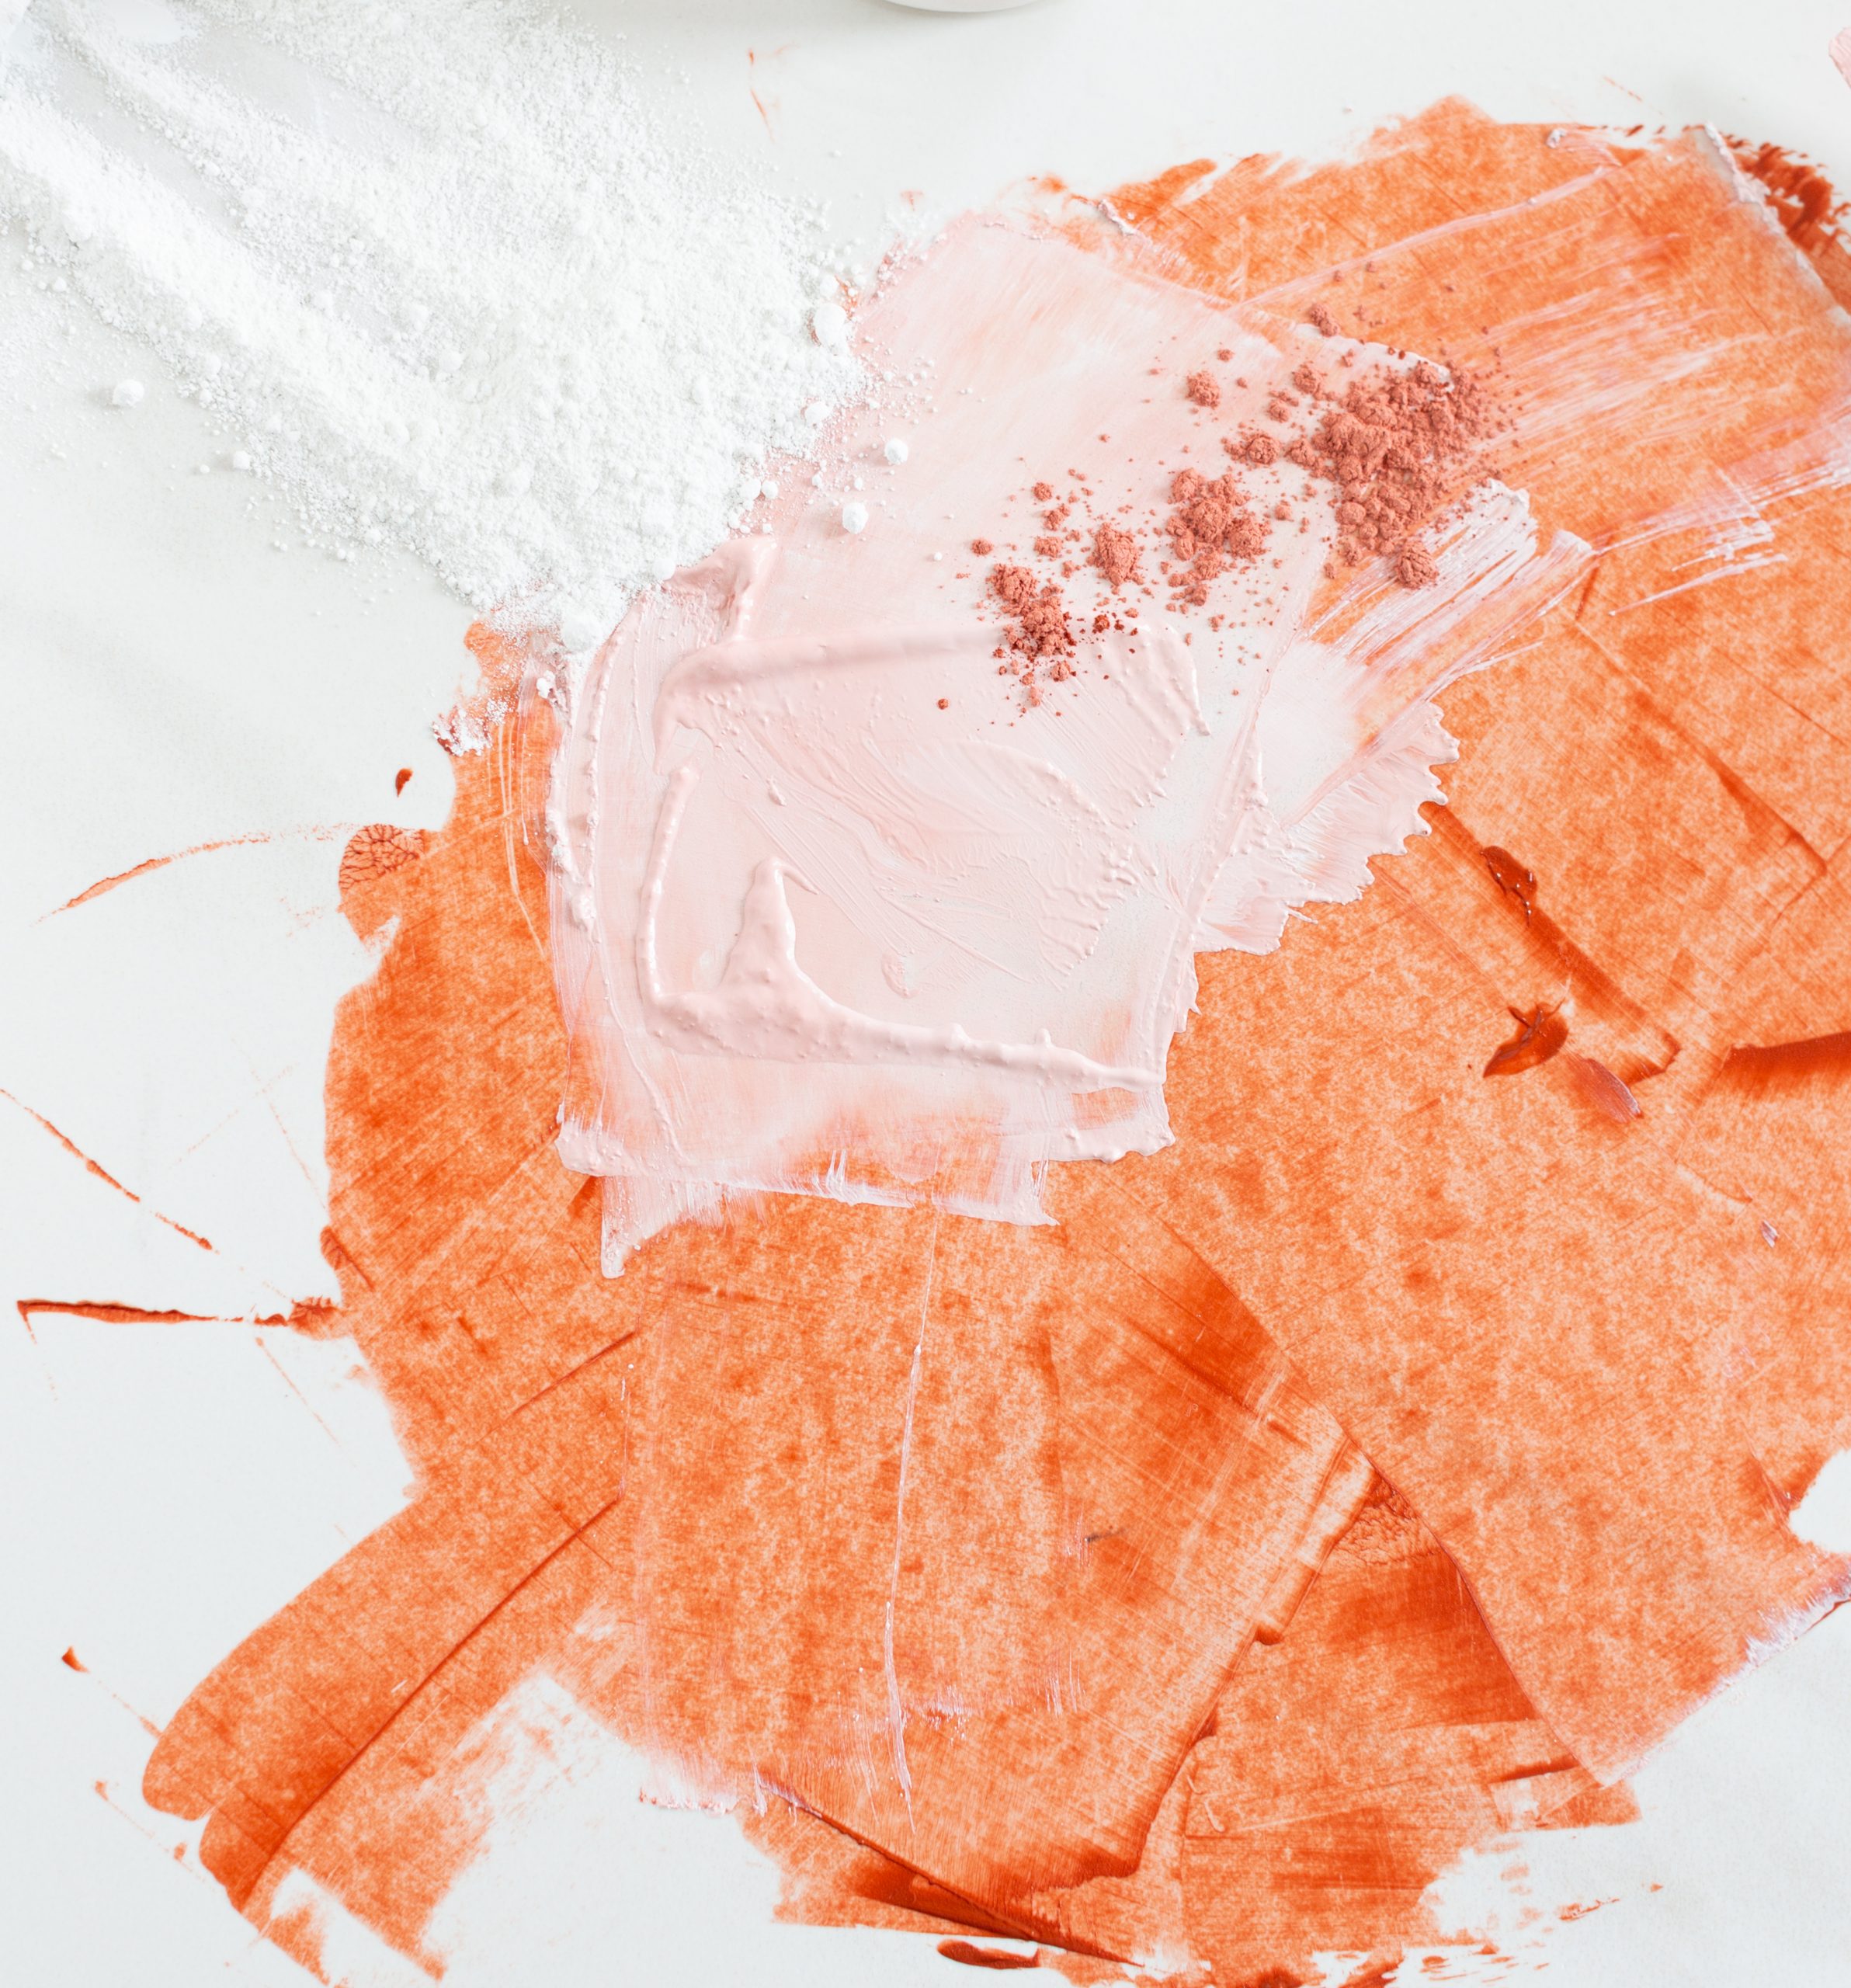
It should look like this when you’re done incorporating the oil into the pigment…smooth and getting creamy, but still a little lumpy. This color…swooning.
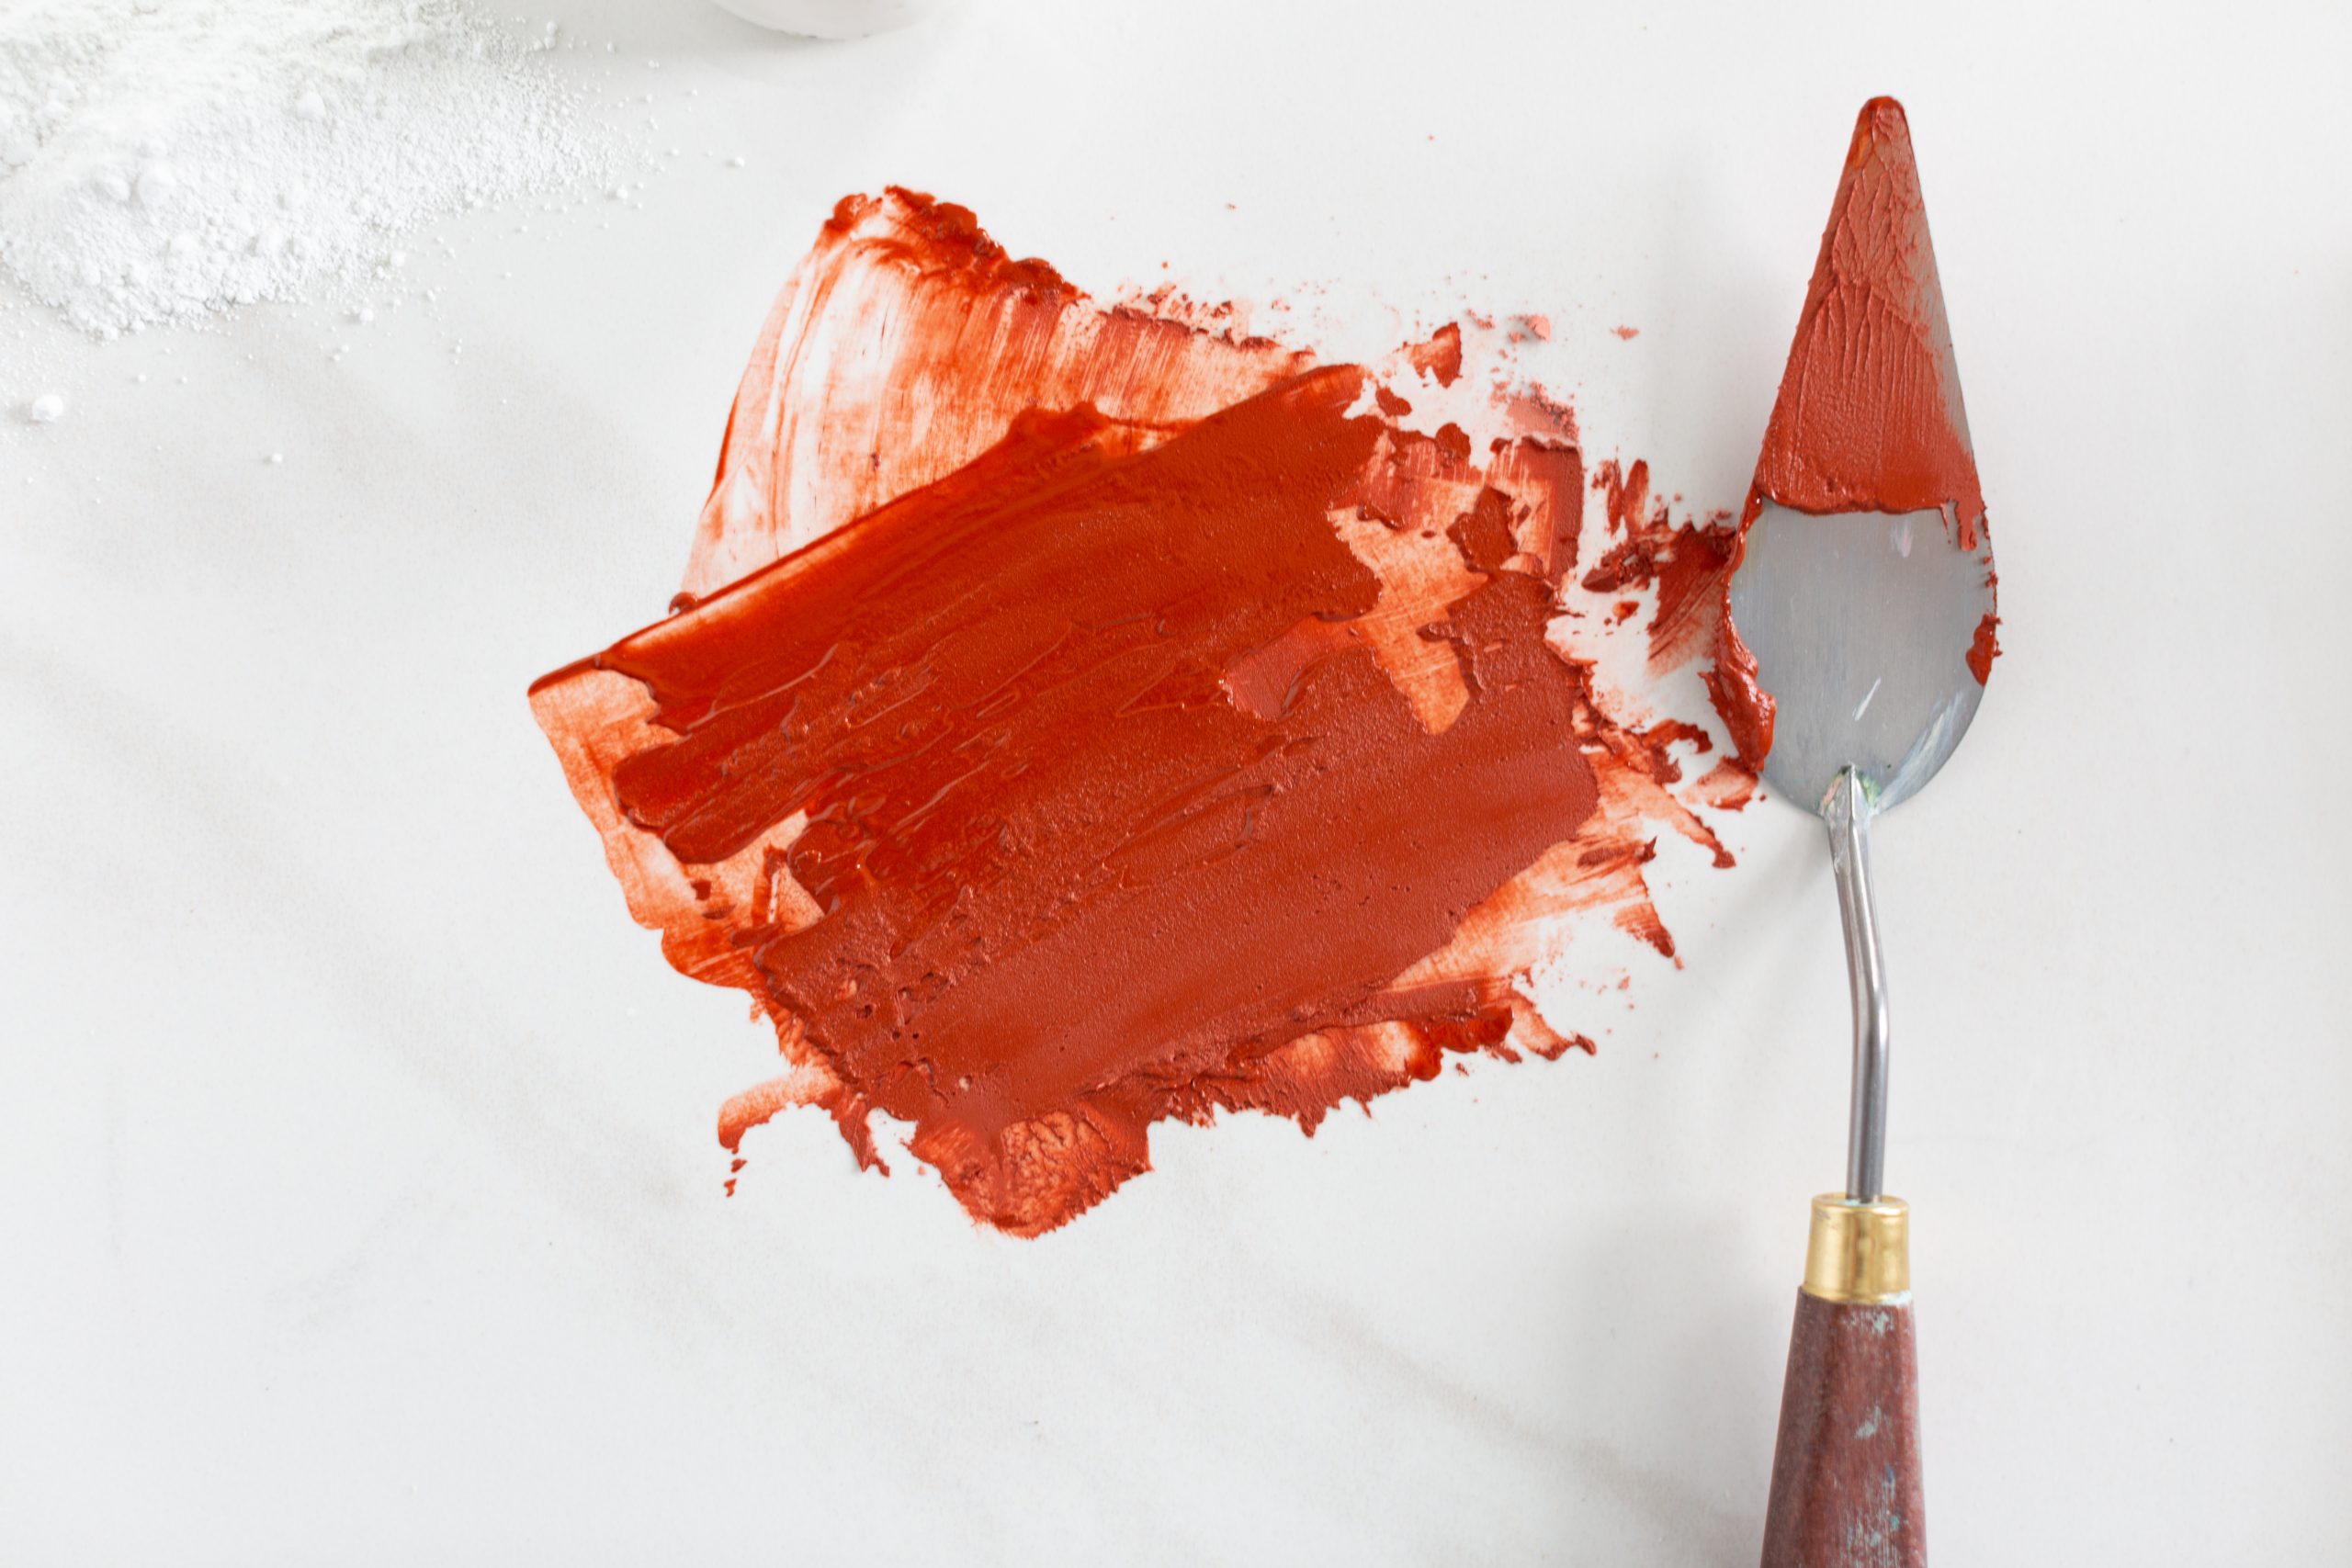
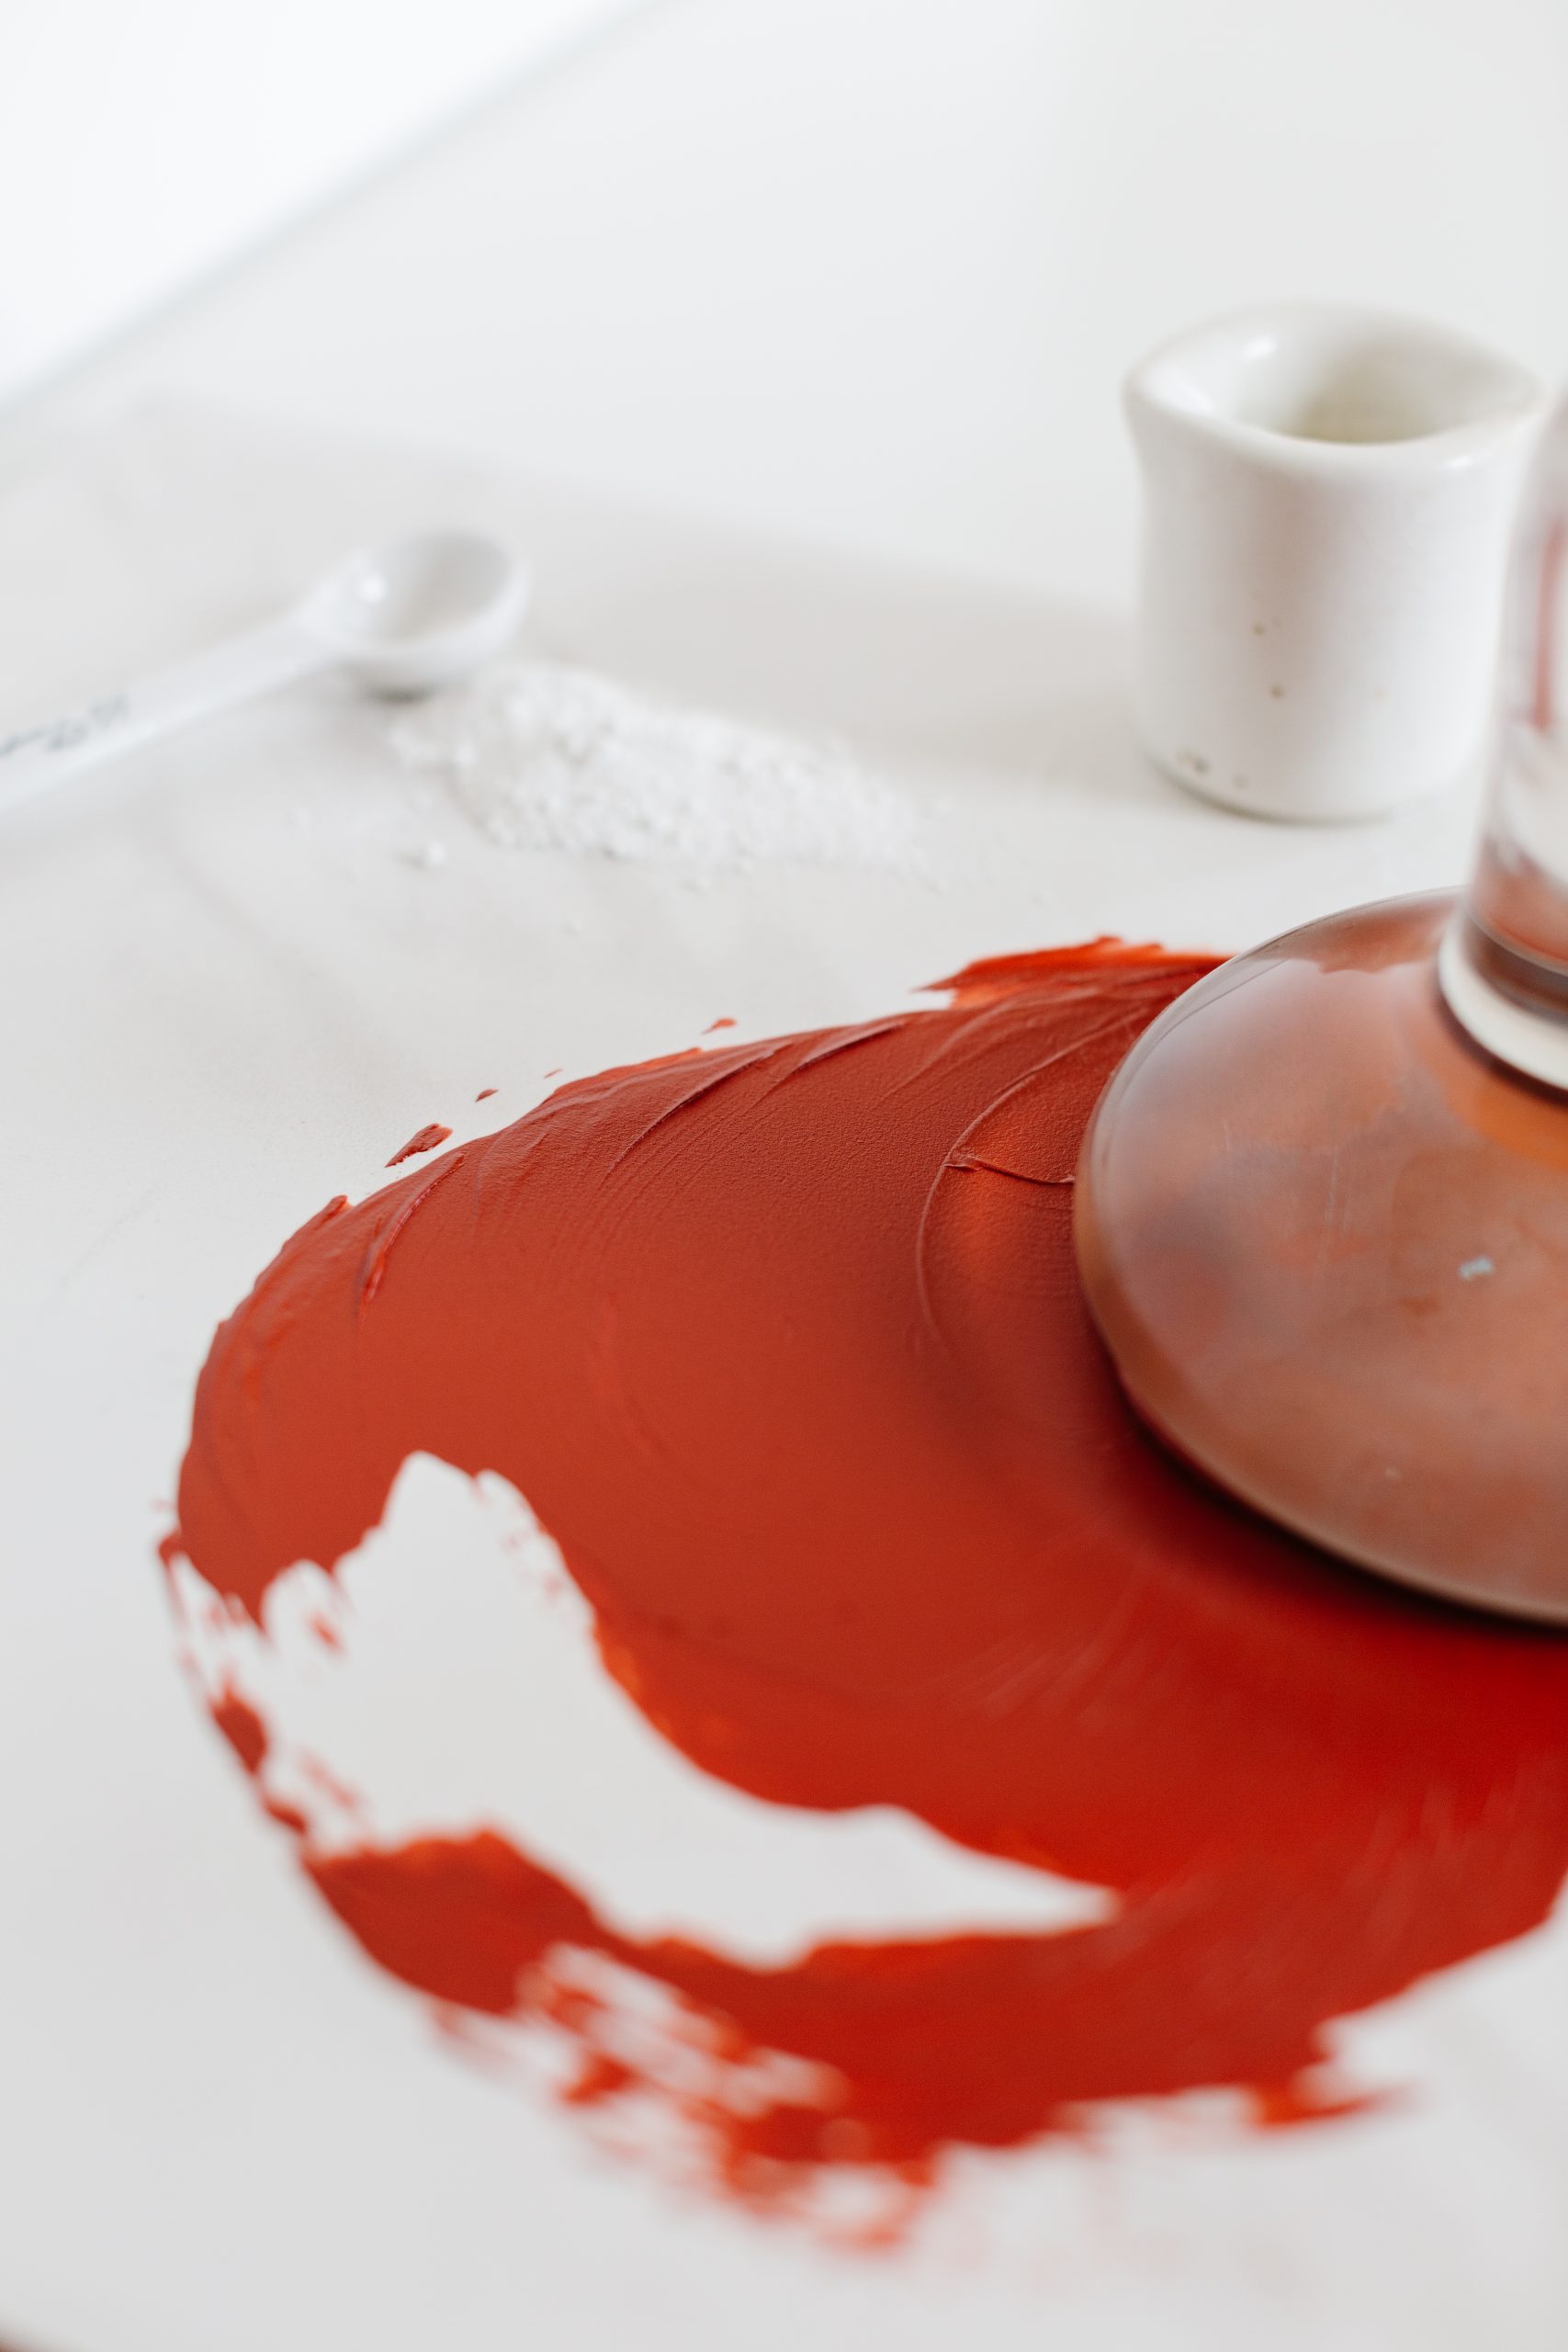
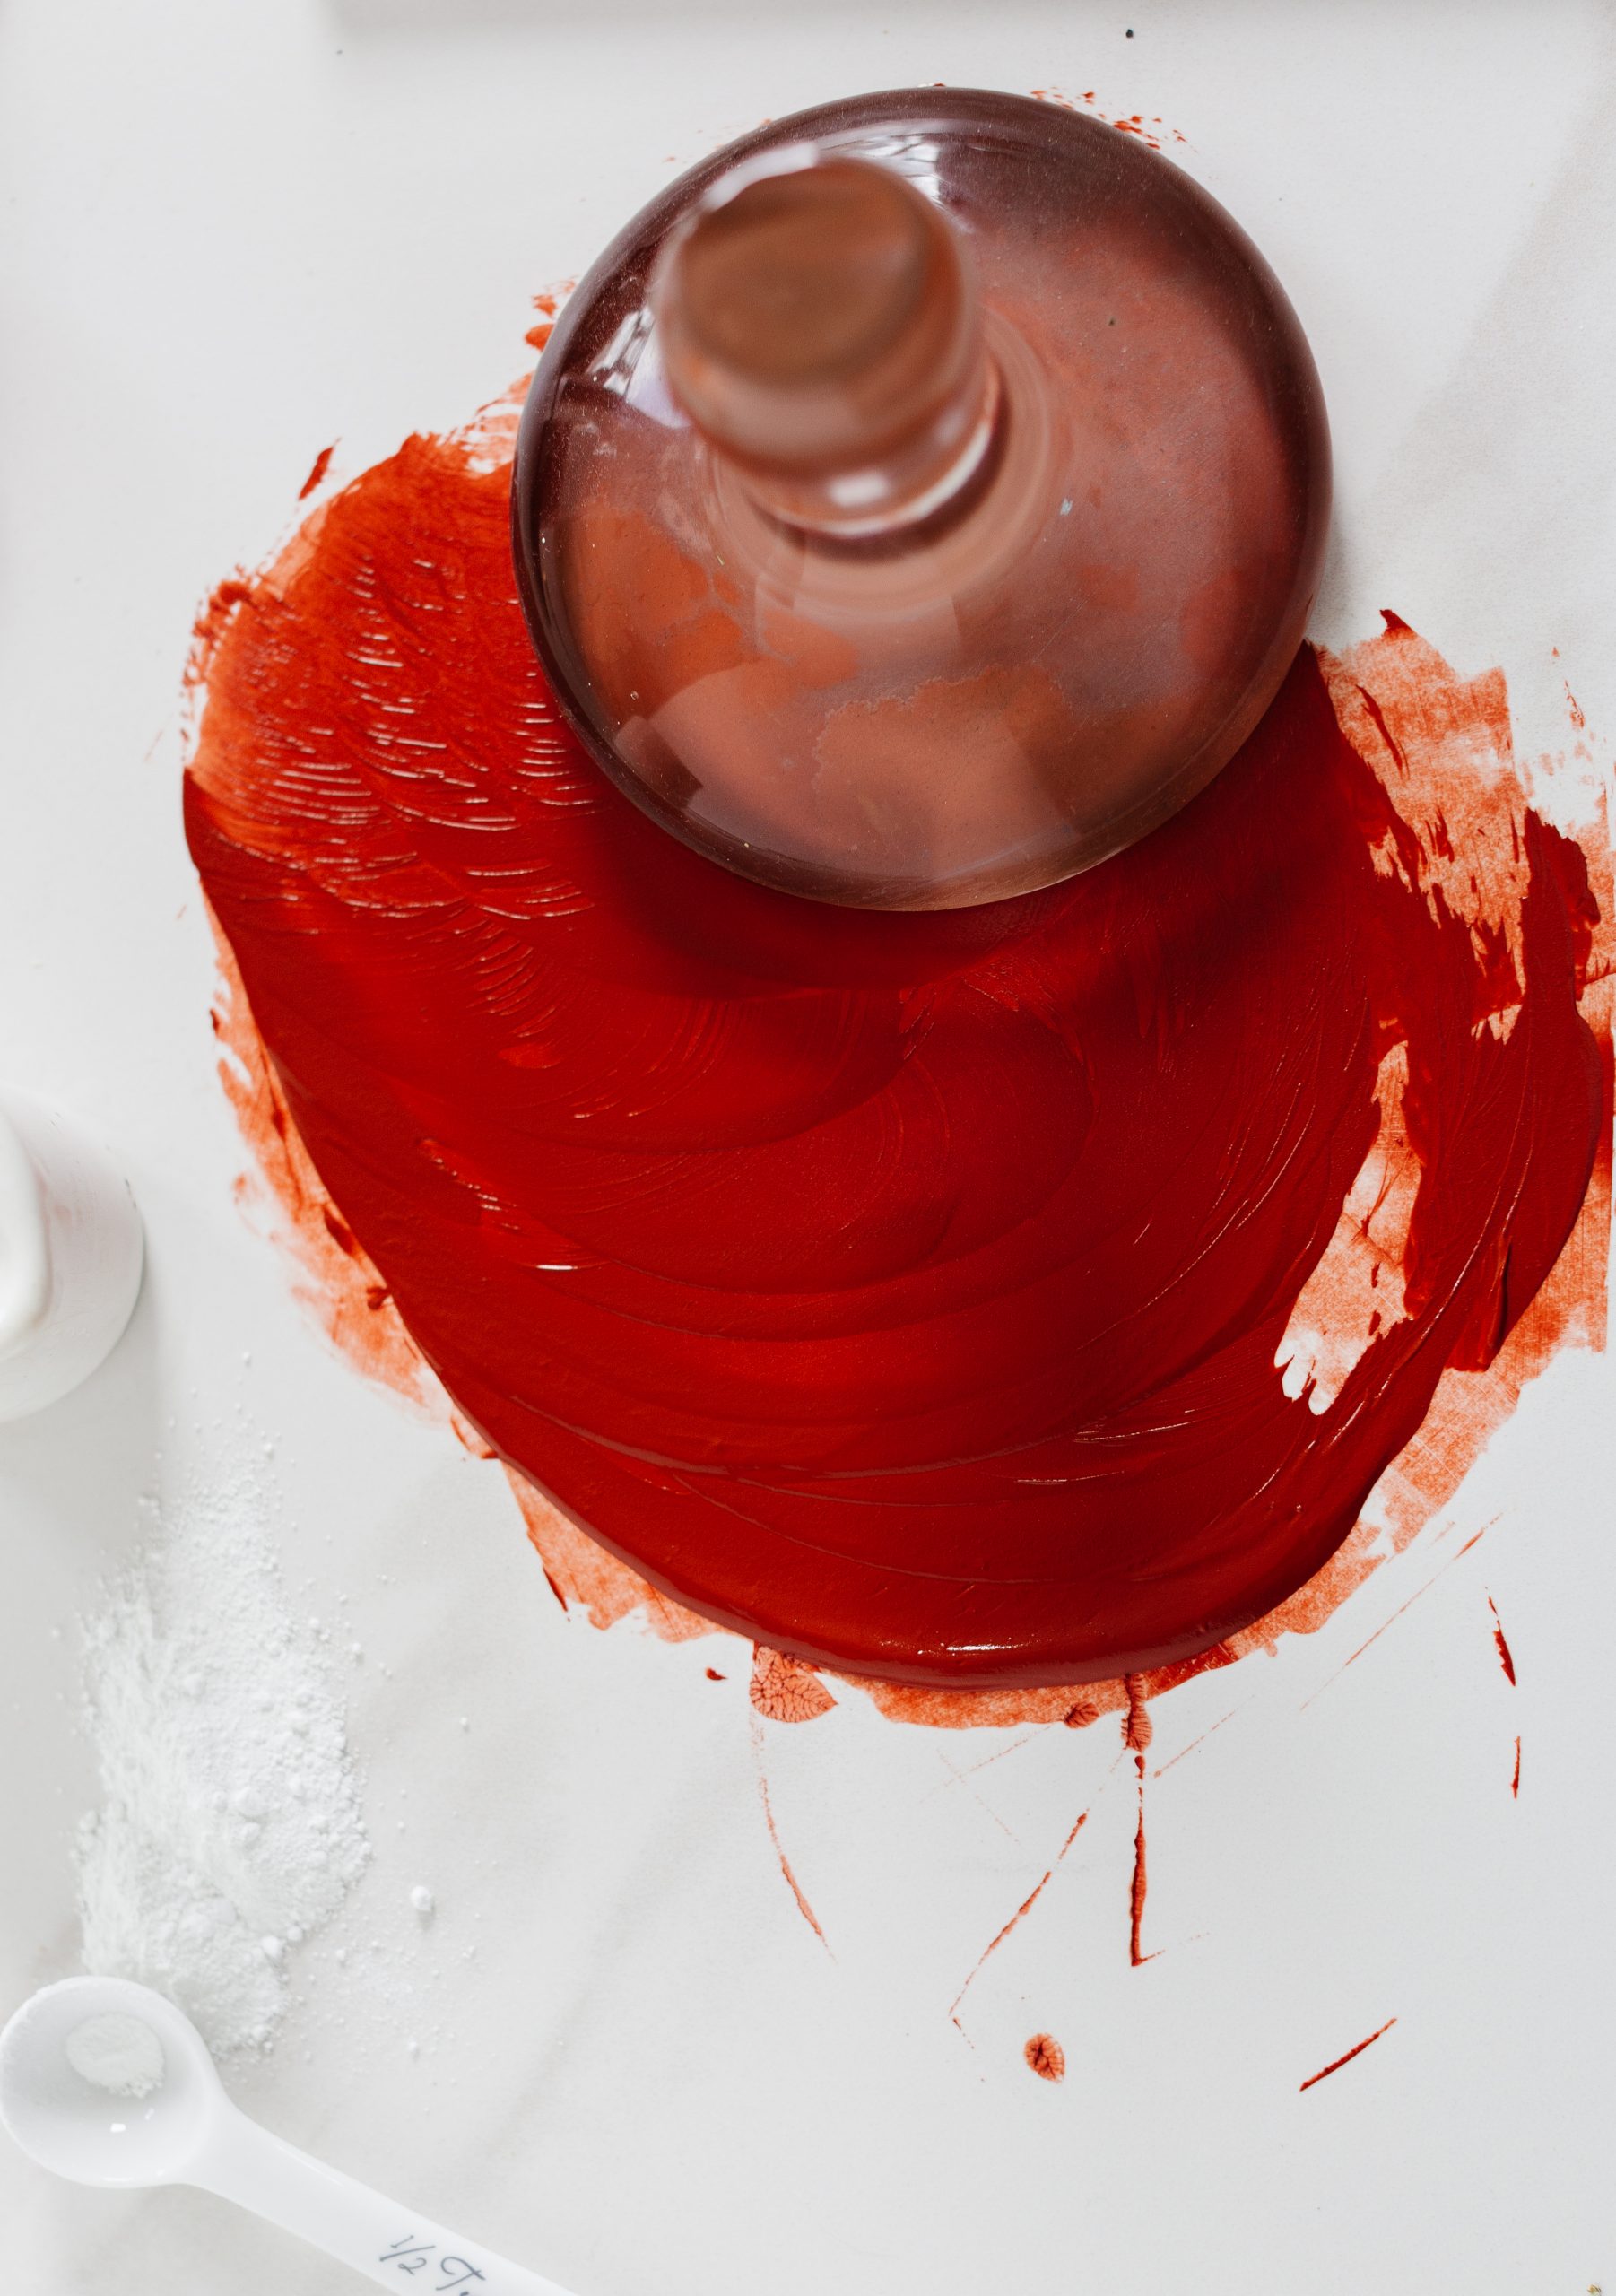
3. Scrape your paint into a central pile, like the picture above.
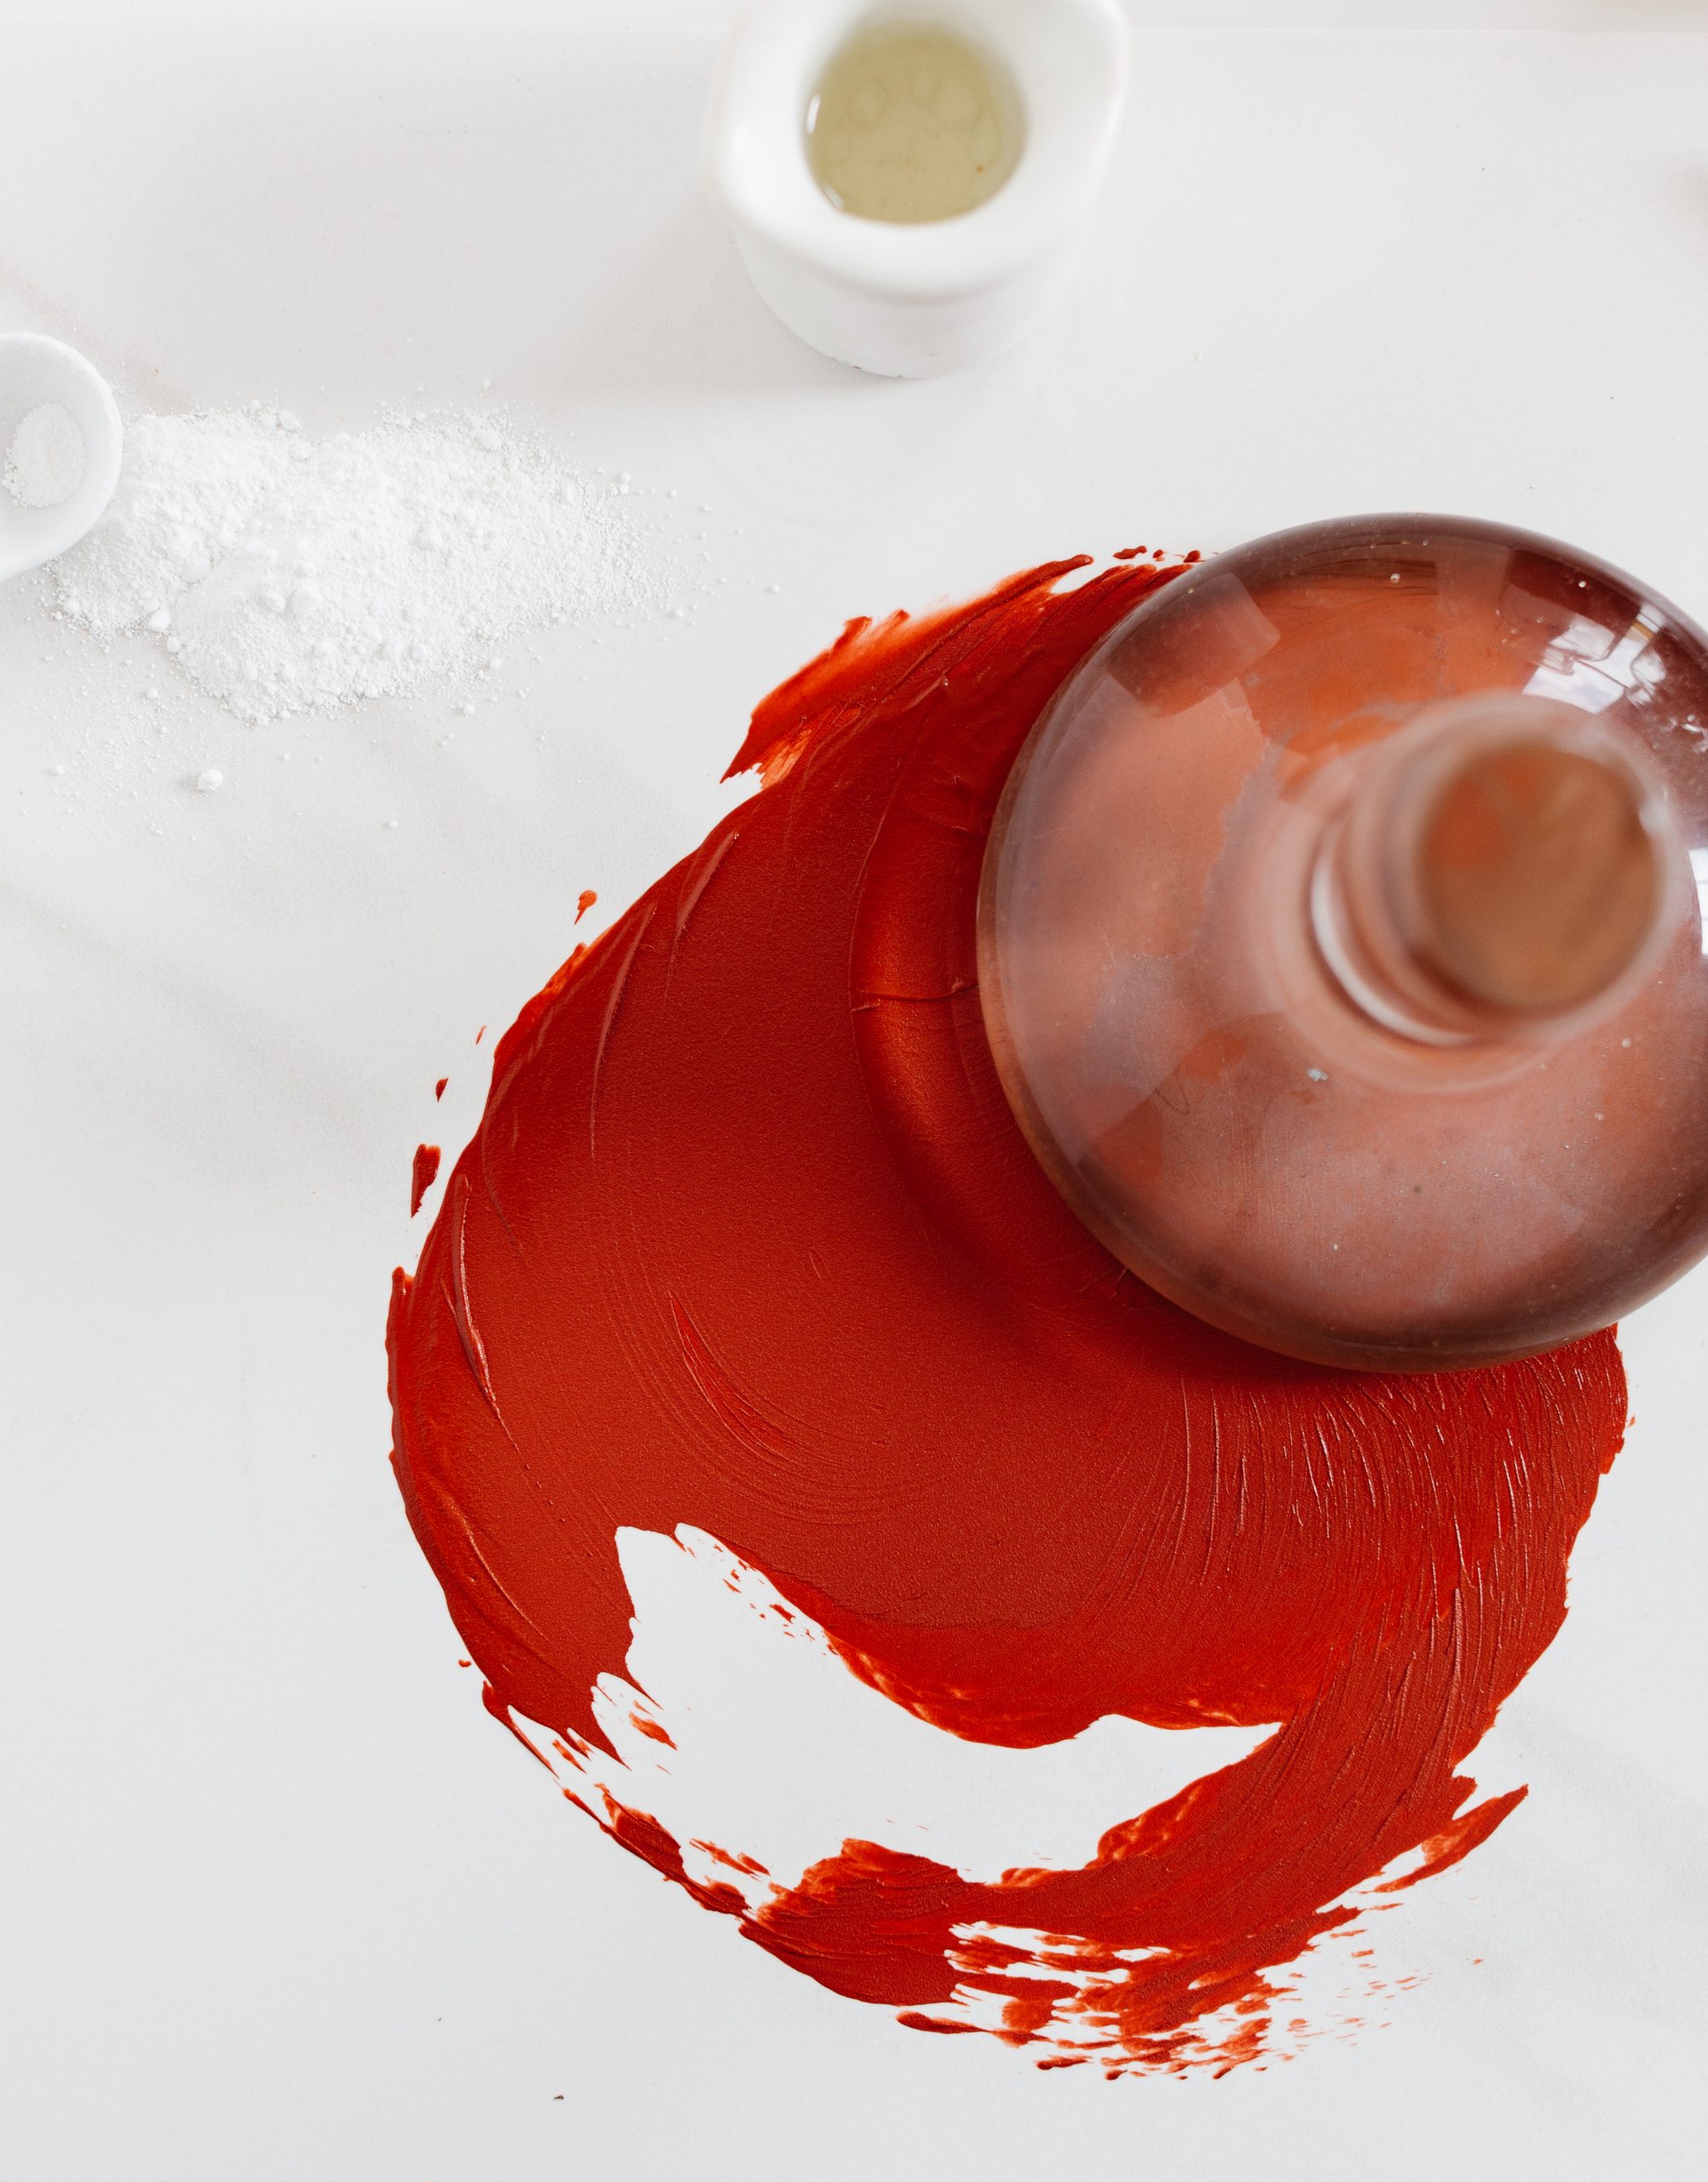
4. Using a glass muller, swirl the paint around in a circular or figure 8 motion. I prefer swirling the paint around in a simple circle. Now, the paint is beginning to become creamy in texture.
Keep Going
If you find that it is too thick to move the muller around, add a little more oil to your paint, but add it sparingly. You can always add more.
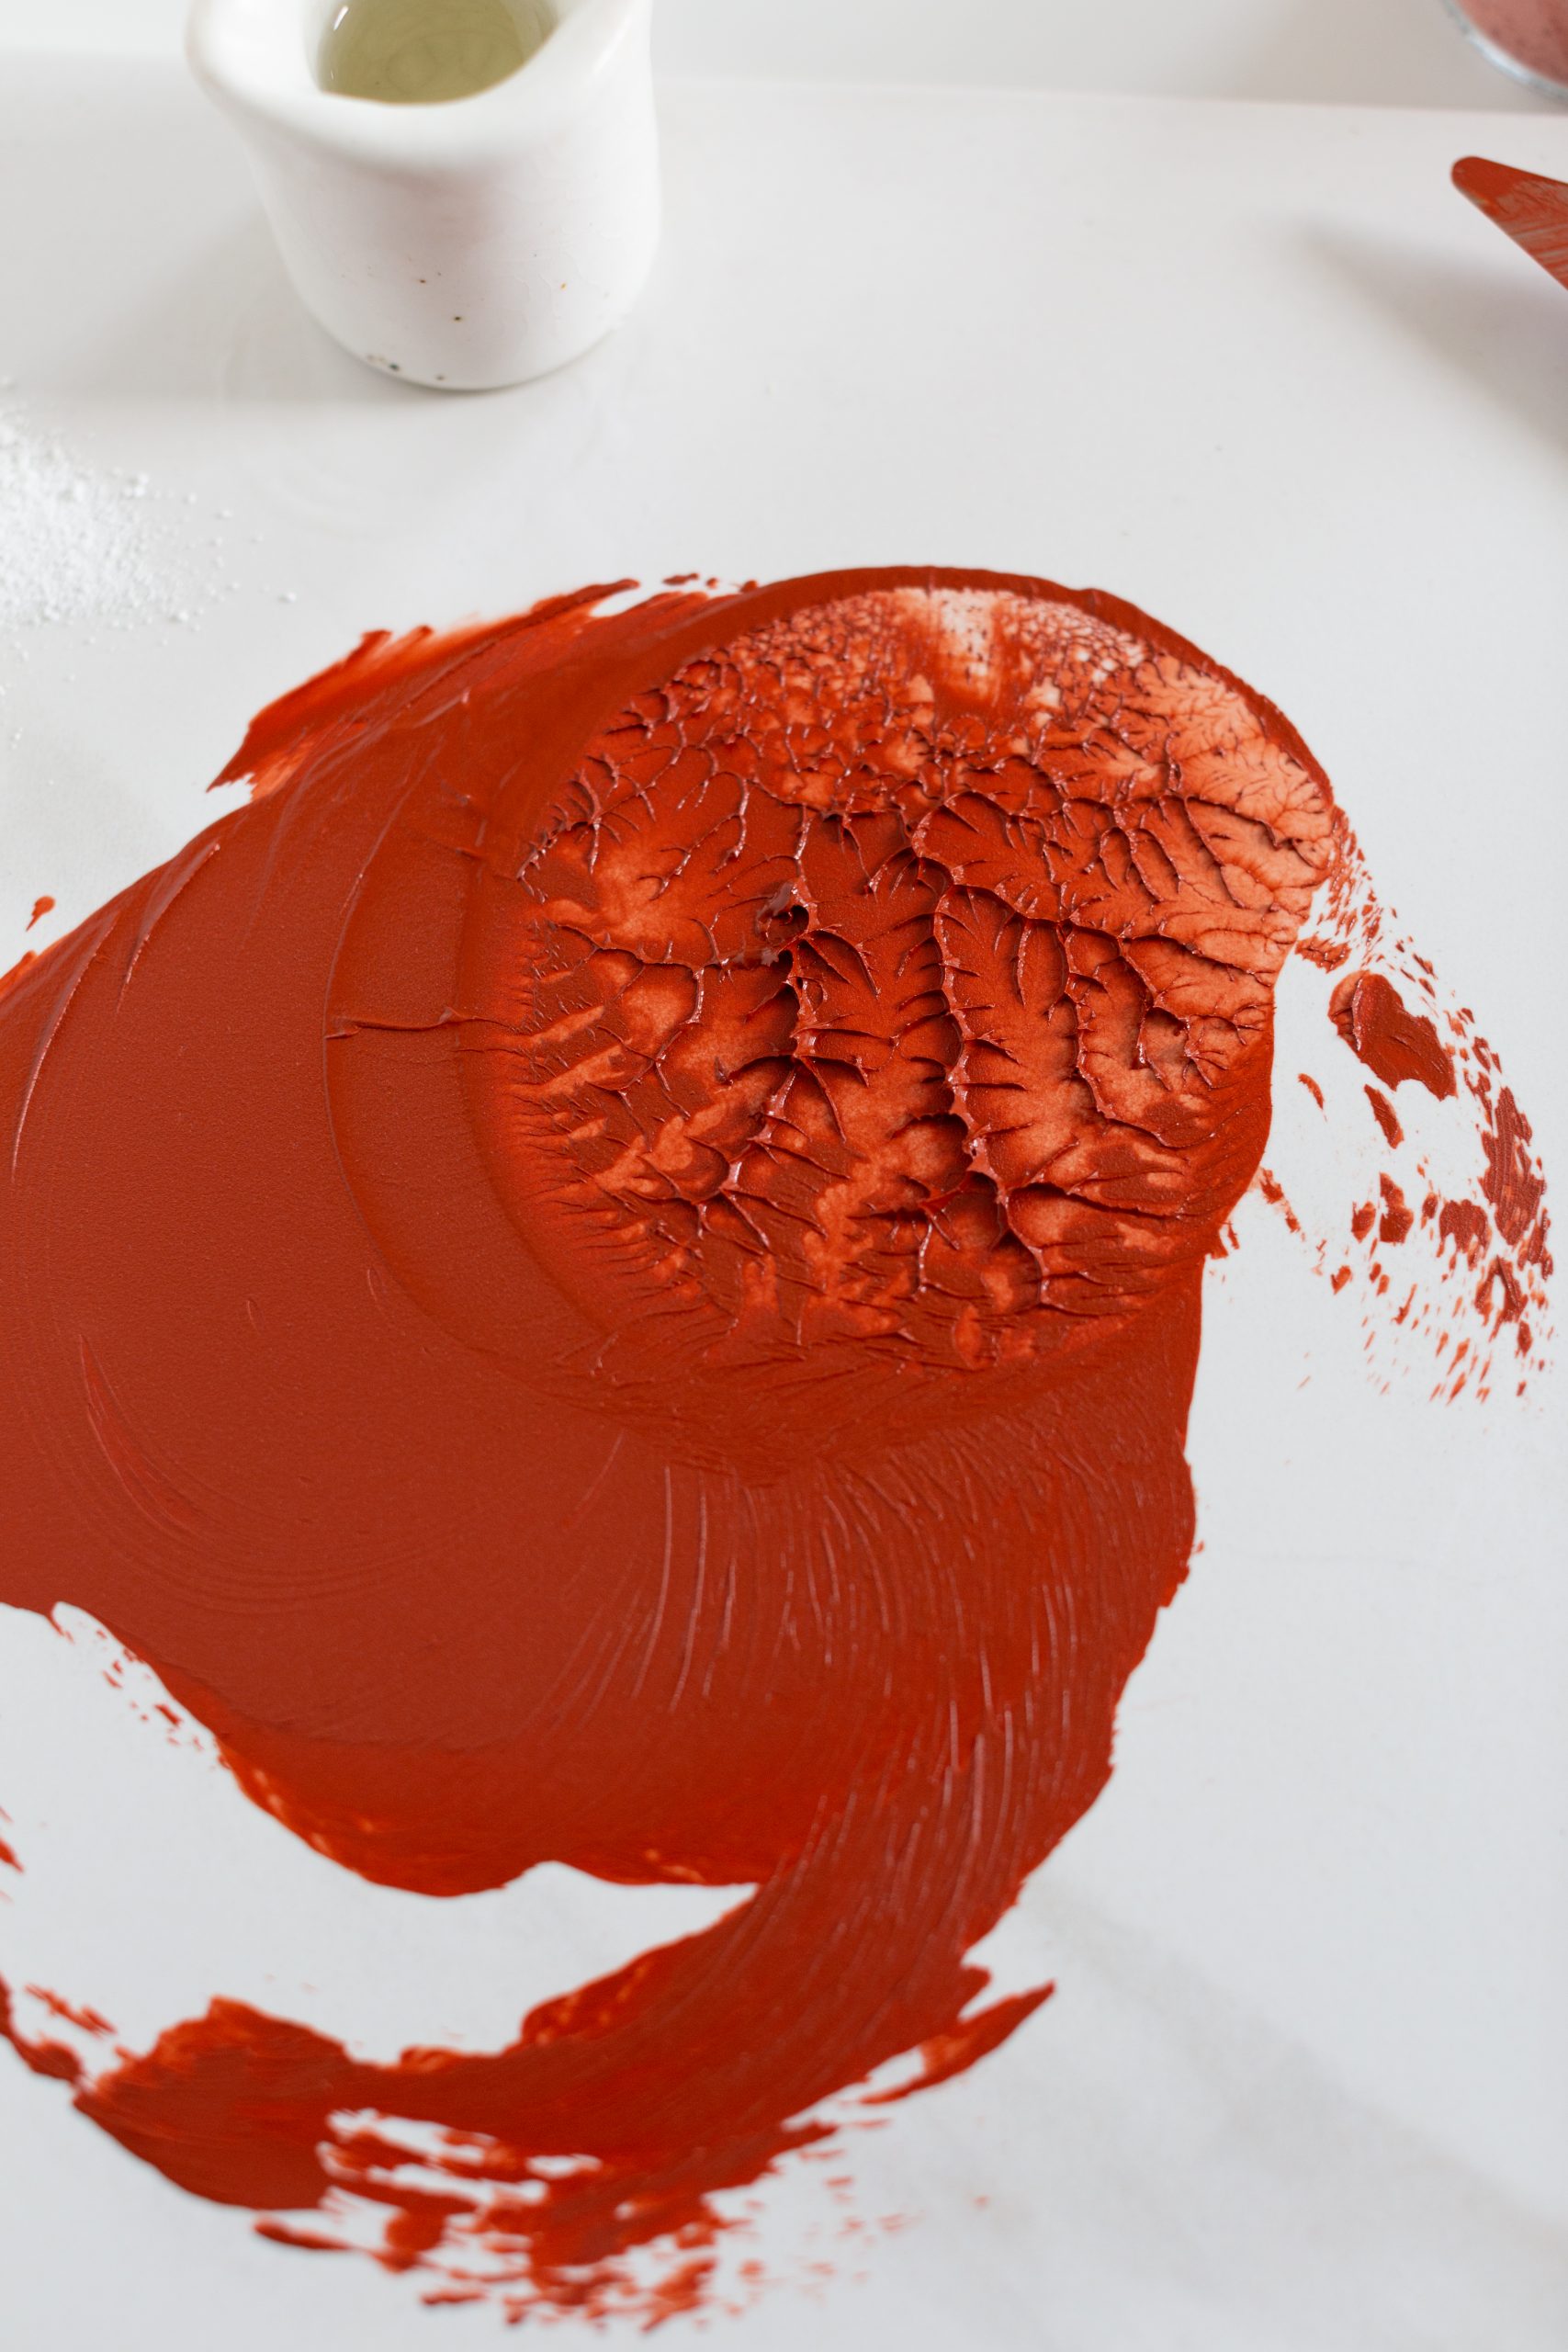
Repeat the process one more time.
The paint should hold its form well, and just feel right, you know? Think about how it feels when it comes out of a tube. It might be slightly thinner, but not much.
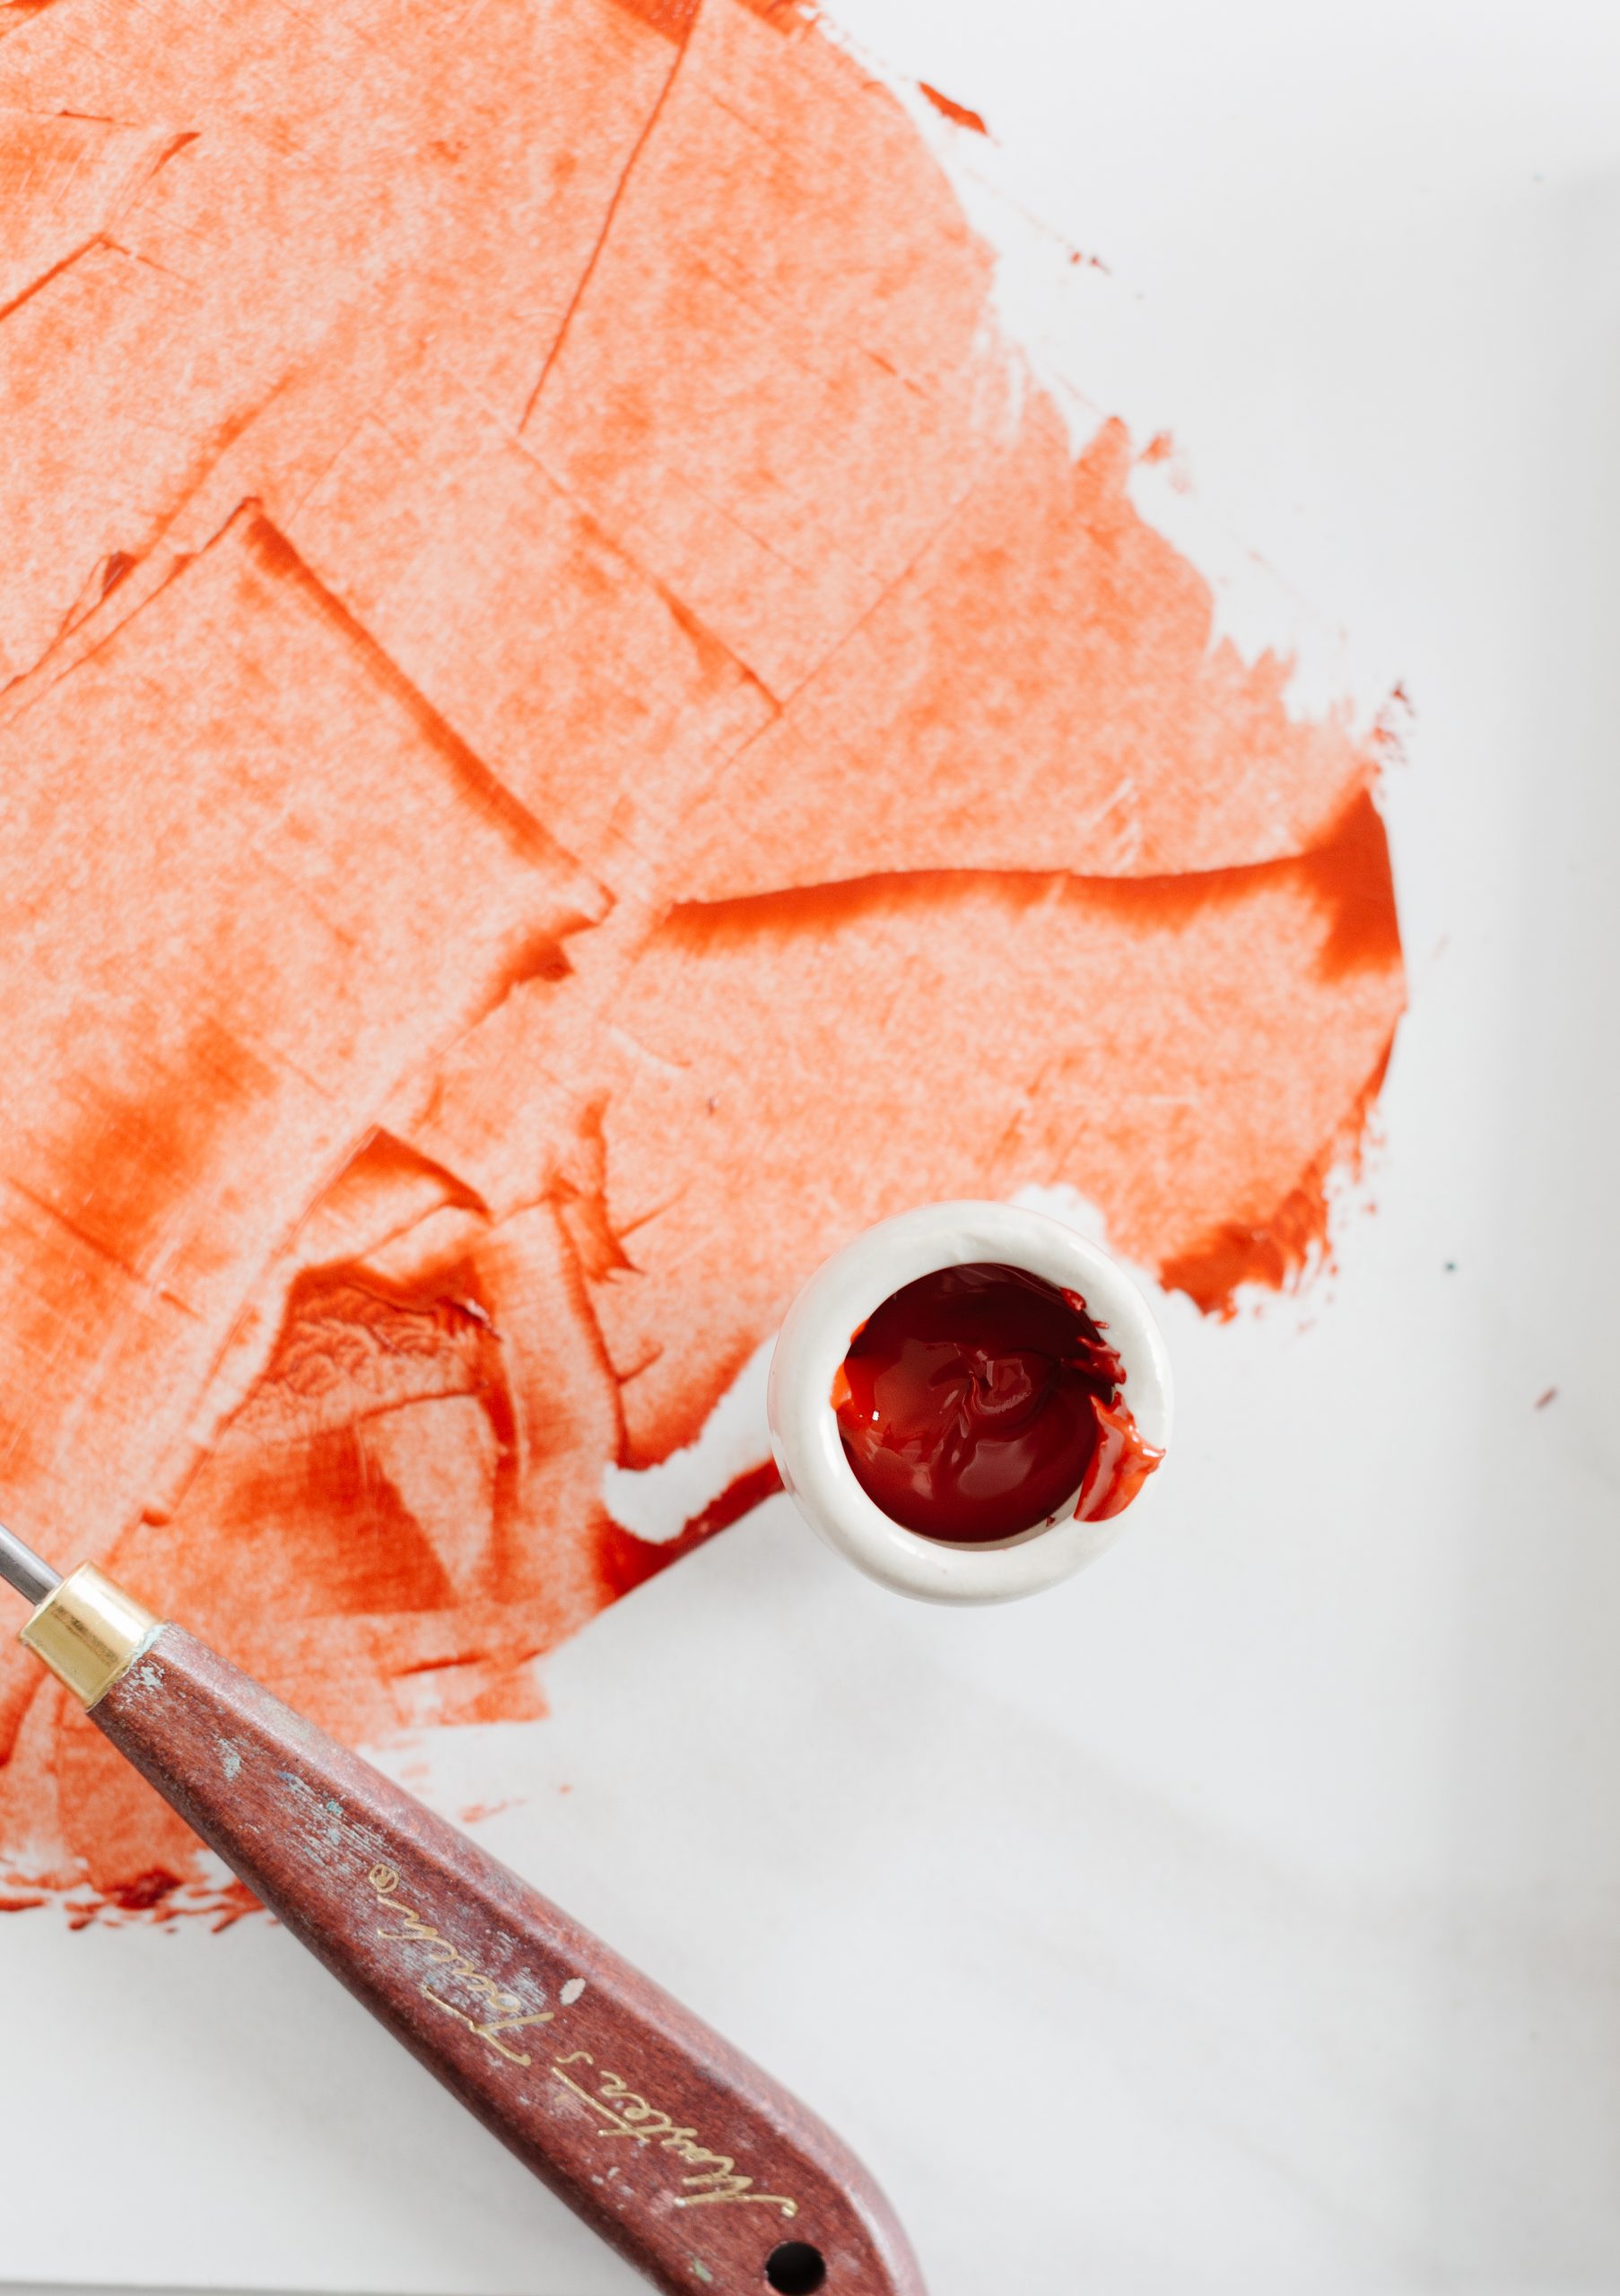
Use it on your favorite canvas or paper…a lot of pieces in my upcoming collection have little bits of this rosewood pigment mixed in here and there.
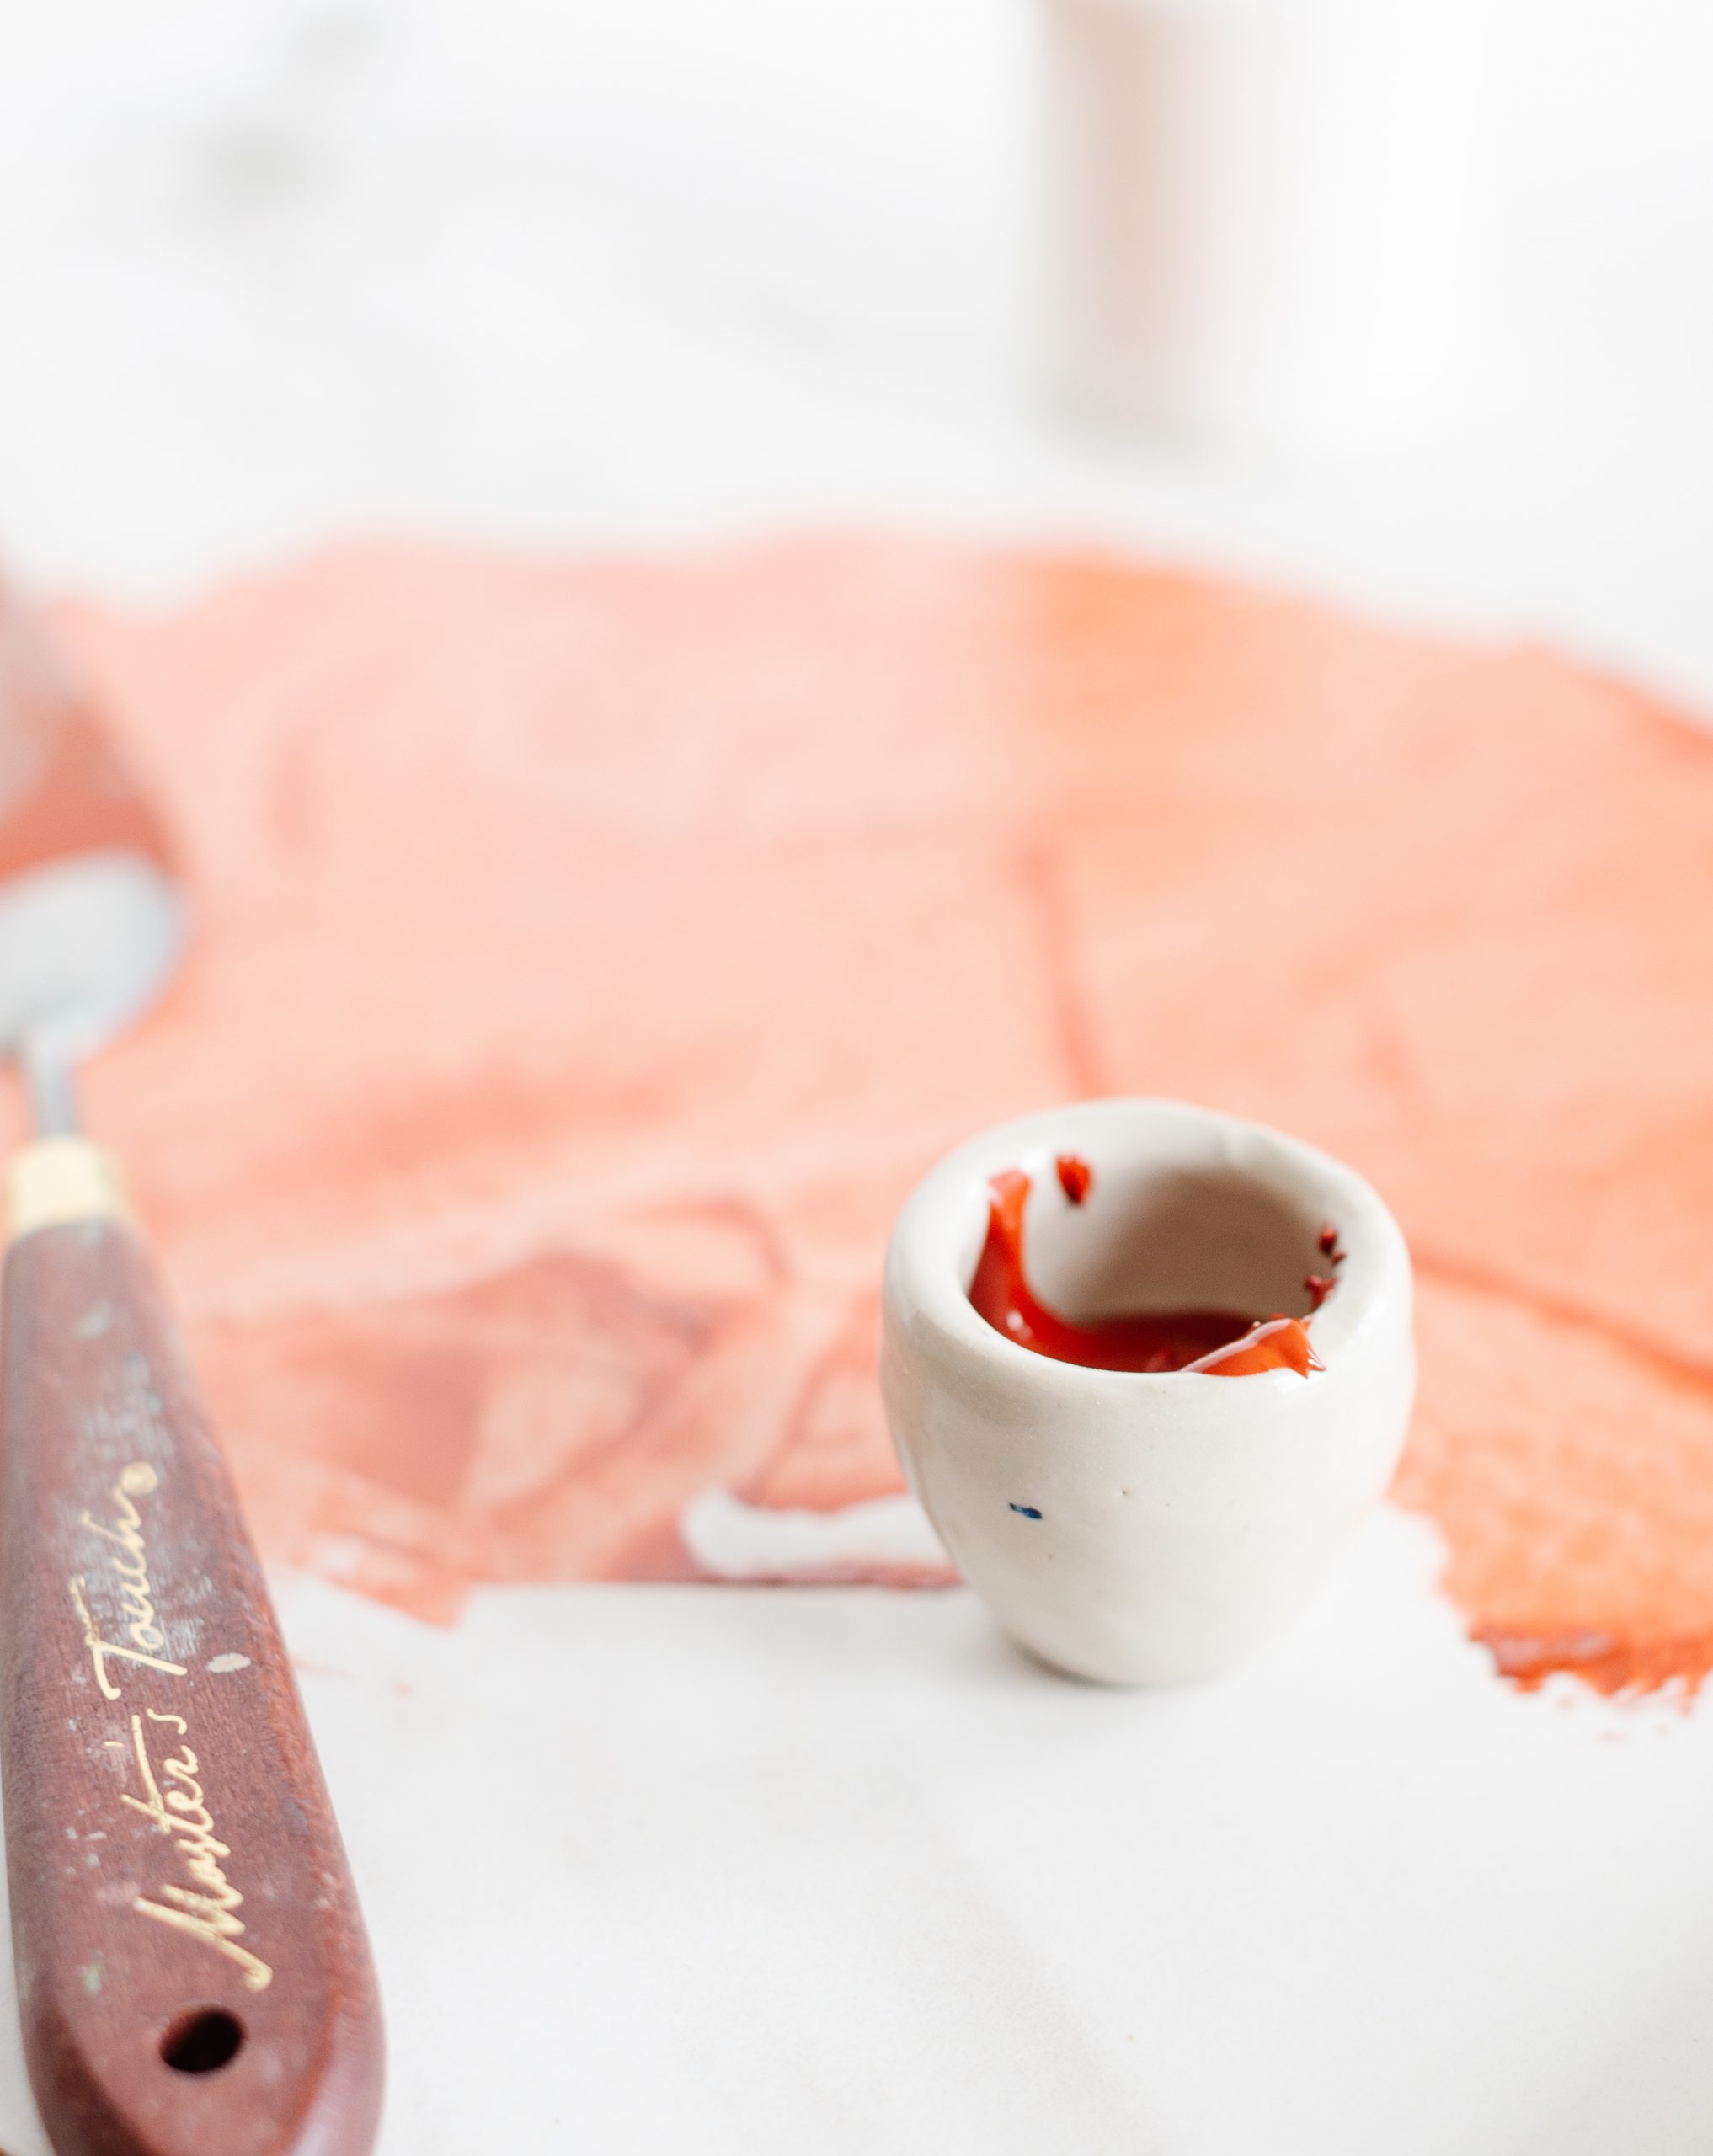
I have these vintage escargot pots from Maria at Dreamy Whites Lifestyle, and they’re the perfect size…I love surrounding myself with beautiful supplies when I can. It makes creating that much more fun and energizing.
Like I mentioned earlier, you can mix in Titanium White pigment or paint to lighten up your colors…although, I love this one as is. 😉
A small update…I’m close to finishing this new collection of mine! Can’t wait to show you each piece. Be sure to follow over on Instagram if you want sneak peeks and to watch the time-lapse videos of each one. I’ll release the details to my blog subscribers first, so if that’s you…excellent!
30 paintings in 2 weeks. Almost check.
Make Your Own Oil Paint: Supply List


