
Happy Monday to you, friends!
You guys have been so kind in your comments and emails about our little writing room redo…thank you!
Today’s the day we start answering your questions, so let me know if I leave anything out.
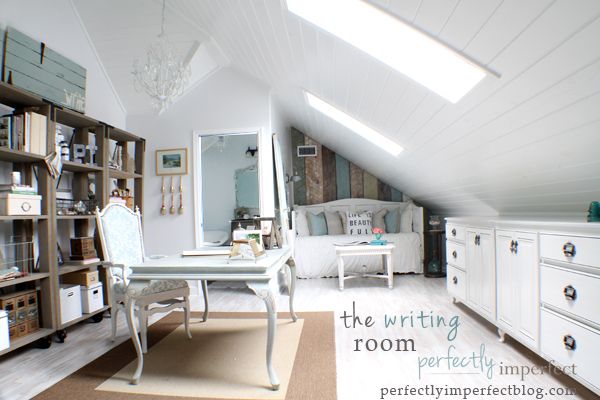
To create more space for the office portion of the writing room, we knew we had to swap the daybed for the desk, making it center stage and using all available space for shelving and storage. Not a hard solution. But the daybed, well, it didn’t really fit.
Anywhere.
We had considered putting up planks on the back wall for some time, and after chatting with our friends at The Lettered Cottage, my mind was made up. We decided we’d cut the finials off the daybed so it would slide snugly in our nook, appearing as if it were always supposed to be there.
Wanna know how?
It was one of the easiest afternoon projects we’ve ever done!

We set up our miter saw & stand in the actual room, knowing it would be easier to chop away upstairs than going back and forth. We started with old wood in varying lengths.
Matt says this is so simple that we can’t really qualify it as a full tutorial–and he’s sort of right.
It was sooo easy!
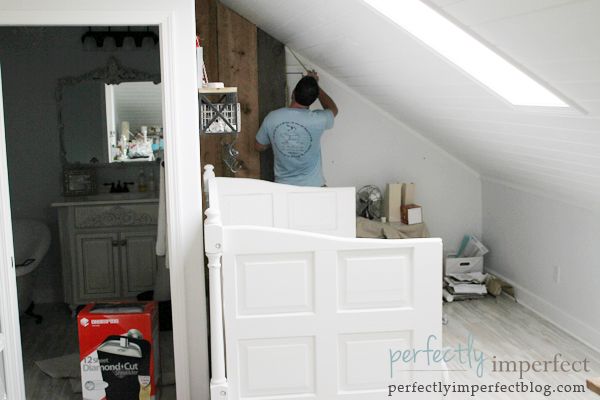
Because we used reclaimed wood, our planks were very sturdy and dense. We simply measured each board/spot on the wall in two places. From the left corner to the right.
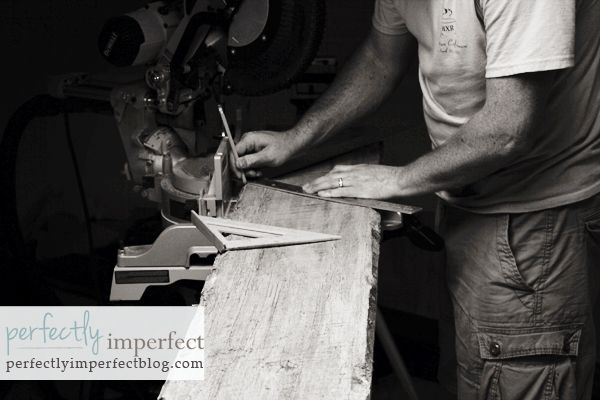
For example, we would measure to the height of the pitched ceiling, and over 8 inches (width of the board), to measure the next height. This would determine our angle. We drew off a line, and zip!
That’s it, folks!
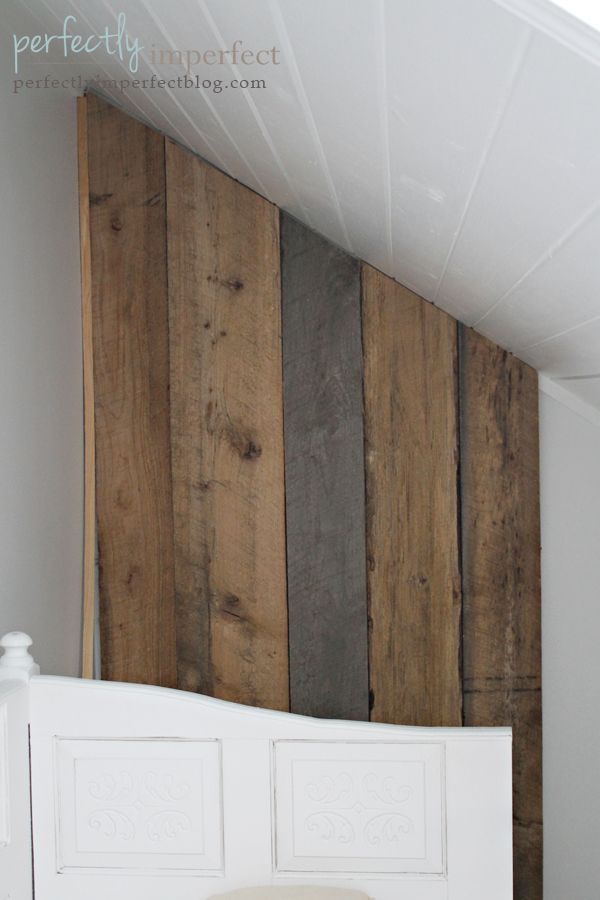
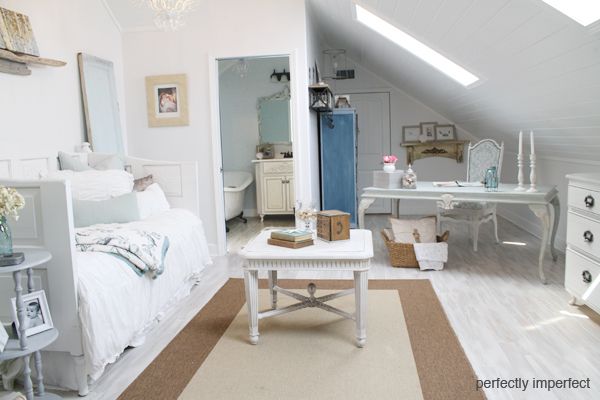
As far as securing the planks, we needed our wall to be removable. There’s still a door back there we need to get to once a year. As long as your measurements are correct, the planks will slide in snugly to the wall.
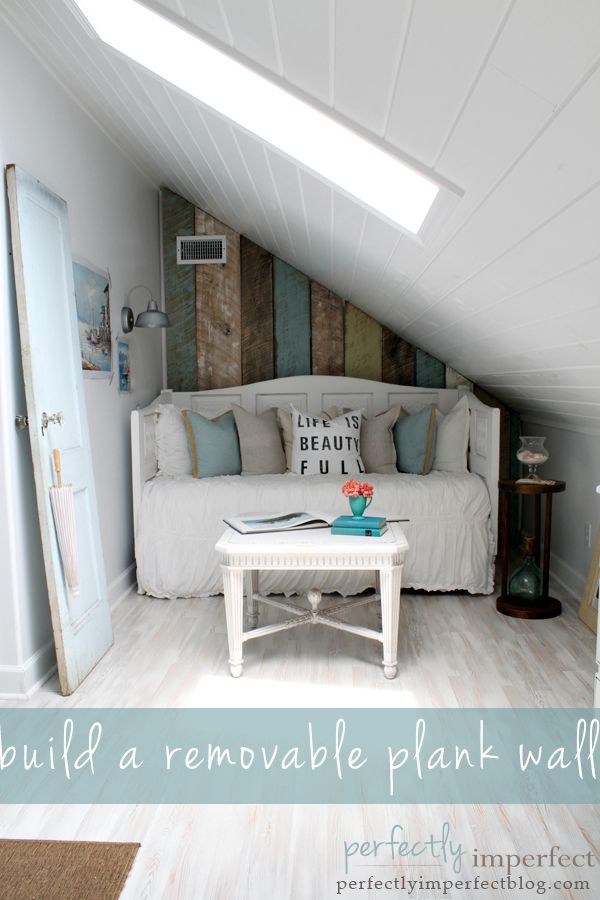
Because we were placing the daybed in front (and it will always be there), we didn’t attach them to the wall. They fit so tightly, and the bed is in front, so there’s no worry of falling planks.

The only other thing we did was address the air vent. We simply cut out a hole, and added the plate over our planks. The air is still able to get to us that way.
See? Easy-peasy makeover.
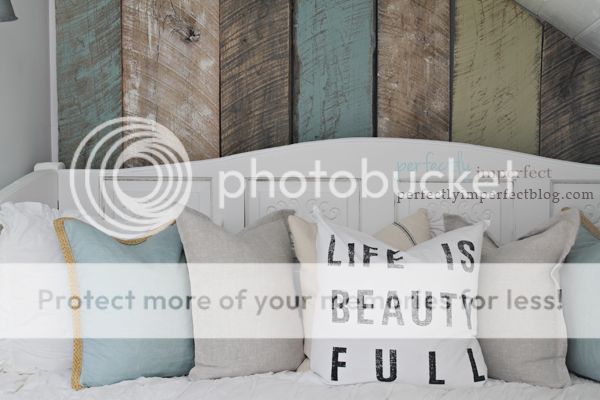
We were dying for a little color back there, so we dry brushed Chalk Paint™ on some of the planks, applying it more heavily on some than others. The colors are Duck Egg, Old White, & Versailles.
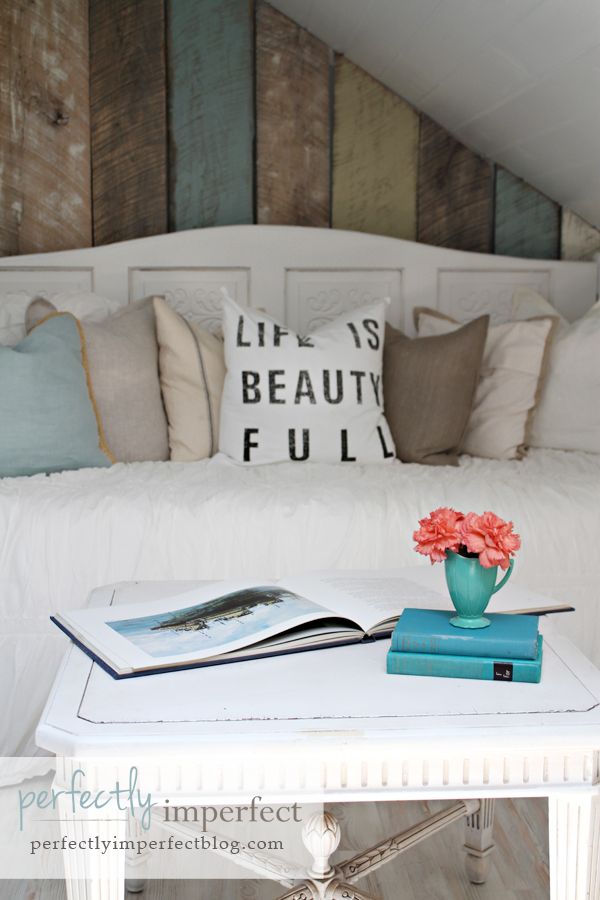
It was a really simple, affordable project that transformed our little nook. Don’t be afraid to go for it on a wall in your home, especially if it’s temporary!
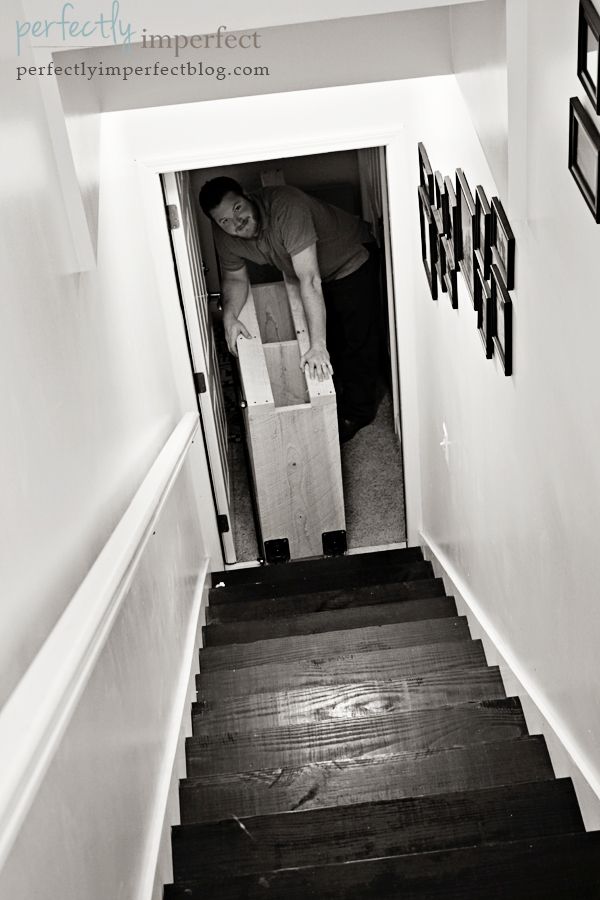
I think it was a pretty good idea to take the miter saw upstairs, because moving those bookcases in was quite. a. chore.


Beautiful! Amazing how something that makes such a statement can be so easy.
Love it!
I love the wall and how much fun it adds to the room. The colors are perfect. Perfect little spot for your home schooling to, right on the couch reading books 😉
it looks outstanding
Love it! And I love how that little bit of color adds so much!
Wow what a great little project that adds SO much to the room! I love everything about it- the colours are awesome! So is the door leaning against the wall with the parasol, the wall lamp, the side table, the “life is beauty full” cushion, I could go on and on. Love this whole look!
Looks gorgeous! And what a great idea to make it removable.
I was wondering how permanent that wall was! The before, before showed a water heater up there… then there is space for storing Christmas trees and the like. I couldn’t imagine you didn’t still need to access this space.
I am pinning this post. We are redoing an old farm site (Well, we are cleaning it really good and will be redoing it after we move in and sell/rent our current home and have money to fix it up. It is hard to do much of anything when you are insuring, paying taxes and soon will be heating two spaces.) And, there is a wall in the basement with an awkward door that leads to a little used utility space.
It all looks so great!! Would you mind telling where you got your reclaimed lumber? Thanks 🙂
Looks fabulous! Now I am coveting a little attic space with a makeover for my studio!
You could make a totally cool, three panel room divider/screen with the addition of some 2×4’s across the back and some piano hinges. Hmmmm…might just have to build that for my next barn sale. Thanks for the inspiration!
Your boards look so beautiful! i love this room even more so now. We are still waiting for ASCP to be available in australia. hopefully coming soon – I can’t wait to try it. those colours are divine…
BTW good luck with your homeschooling. I think you are going to love it!
cheers Fiona xx
I love the wall and the beachy dry brushed colors. Duck Egg is my favorite! I also LOVE your new book shelves. Beautiful space. I thought it was beautiful before but now it is even more so.
I love the colors you chose…they add a little something, but they’re subtle. Nice job bringing in the saw too!
It looks great Shaunna!
I love love love your plank wall – especially painted with my favorite chalk paint colors. Trying to figure out how I can do that too! I think shorter planks would make a great looking headboard!
It looks beautiful! Will you be painting the air vent, too, so the white doesn’t jump out anymore?
I’m loving your updates to this space and this wall is gorgeous. I love the wood treatment you used! Thanks for sharing.
Hi. I so want to buy your e book. Is it available in a hard copy? I am using an iPad bc my laptop is with my son out of the country bc his boomed right before he left.
I am not the most literate of computer things and am having trouble downloading wine. Only one even opens. Sorry but I so want to purchase it. If you could tell me how to buy and see on an iPad I would be so grateful. I bet a lot of people would love you to do. Full post on it. There’s a ton of Mac users and iPad, iPhone.
Thanks. You guys have awesome projects. Beautiful taste. I’m going for your desk.
Thanks!, Karen
Hey Karen! Yes, we’ve had a few issues with Mac users and the interactive version. The PDF is great for portable devices, though, so I’d go that route! Let me know if you need any help!
🙂
shaunna
I just love this idea! I need to find a place in my home for this! 🙂
this is gorgeous and so simple!! I AM going to do this!! Thanks for the inspiration and the details 🙂
I love this! I’ve got plans to do something similar in our small guest room!
I LOVE this removable wall you made! It adds such a pop of colours! So charmingly rustic. 🙂
So creative ~ I love this idea. Thanks for the post and the awesome photos showing your step by step process.
Those blue pillows with the jute trim..I die! I have ONE gray one like that and I haven’t been able to find it’s match but that color is one of my secondary colors in our living area…are these the ones from Pottery Barn or elsewhere? I found my ONE gray one at Ross…haven’t been able to find another! Ugh! Also, congrats on your new storefront! So beautiful! You encourage me to continue taking steps to grow my business into my dream! Thanks!
That daybed… I love it.. .I am wanting a shabby chic daybed for my daughters small bedroom… this one is beautiful, I may have missed it, but did you make it or buy it?
Hey Debbie! yep, we did build it from 2 doors! Here’s the link:
https://www.perfectlyimperfectblog.com/2010/07/how-doors-became-our-daybed.html
🙂
shaunna
I love the colors you painted the planks… Would you mind sharing the info on the paint/colors and also the method in which you painted it. I have a paneled bedroom that I would love to do that on the panelling. Do you have any suggestions for me on how to do that? Love this old, muted, shabby chic style. (email would be preferable)
TYIA
This is great! Did you leave the baseboard on the feature wall?
Hey Amanda! We sure did!
🙂
shaunna
Thank you… I’ve had this idea for year’s….. U helped push me to do it…
This i great but what atracted my attention was the rustic look of those boards, do yuo have some tutorial on how to achieve thata rustic look, with exposed layaer of paint, stains etc because I wanna learn hot to make my wood look old and rustic with oall those beautiful colors exposed layers of paint. Thanks in advance