
After revealing the playroom and the writing room, I’ve gotten lots of questions that need answering! I plan on doing a post showing you all the playroom storage and details I worked on. And when it’s time, i’ll take you into Matt’s dark man cave movie room. He built most of it himself and I’m so impressed with him!
Today, I’ll answer some questions on the writing room, aka my office.
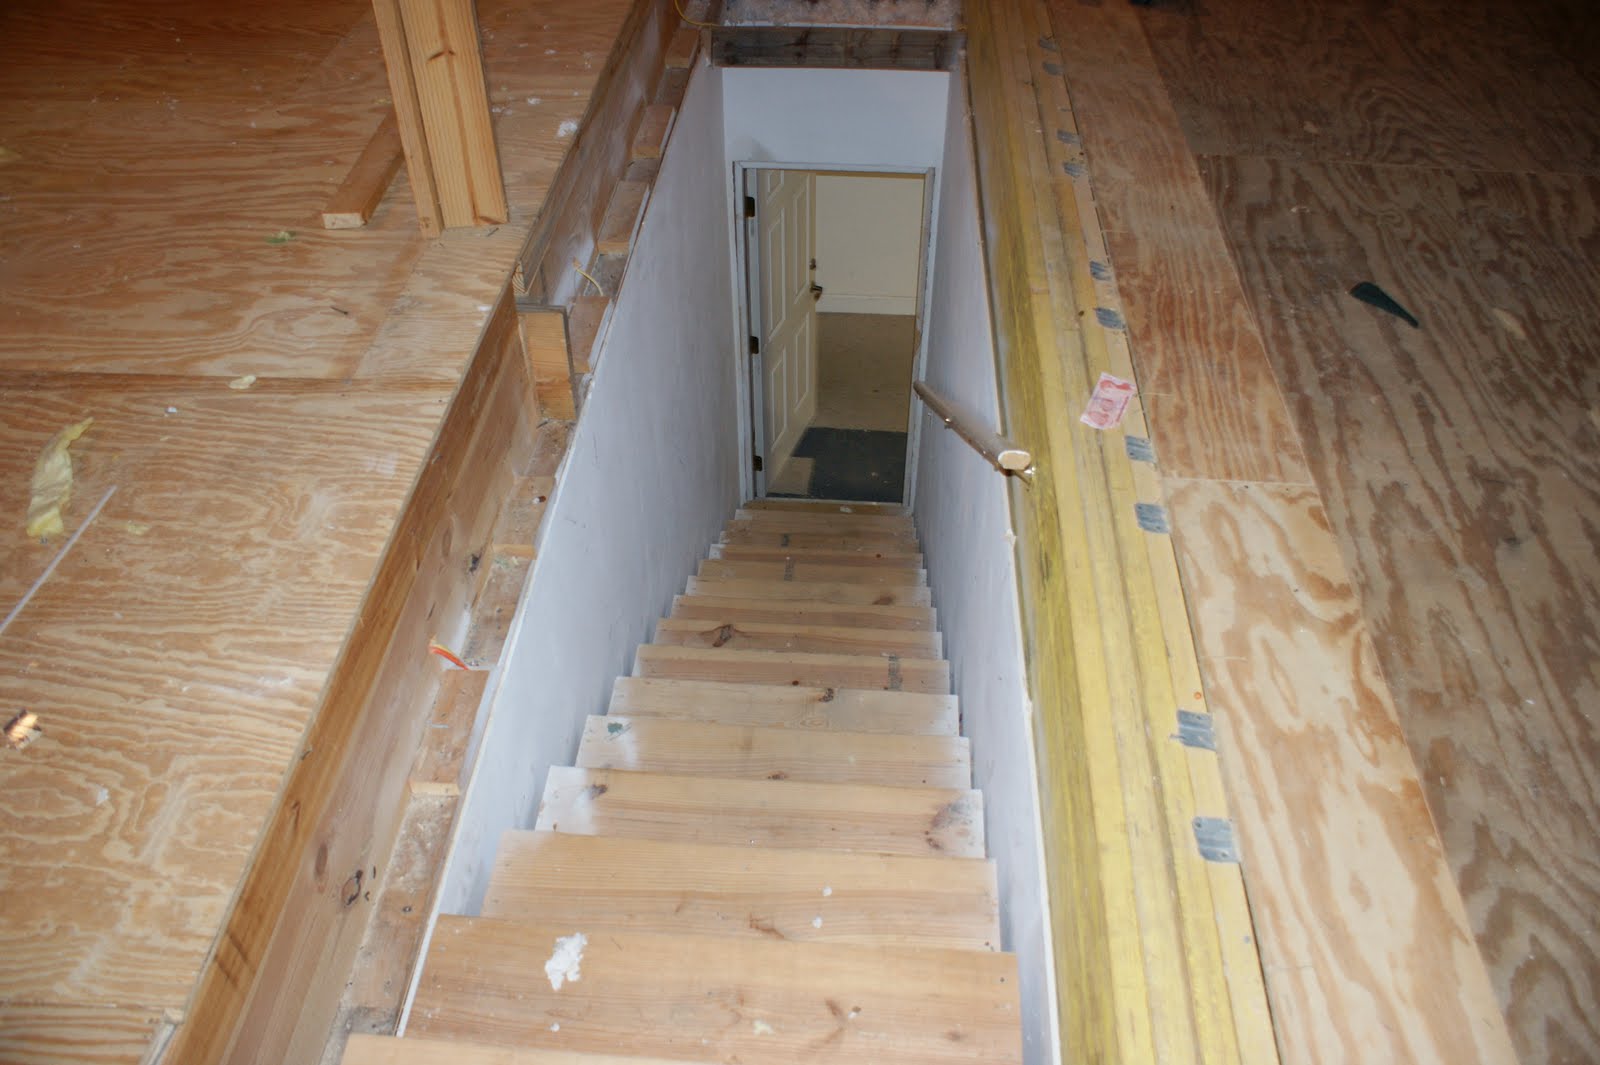
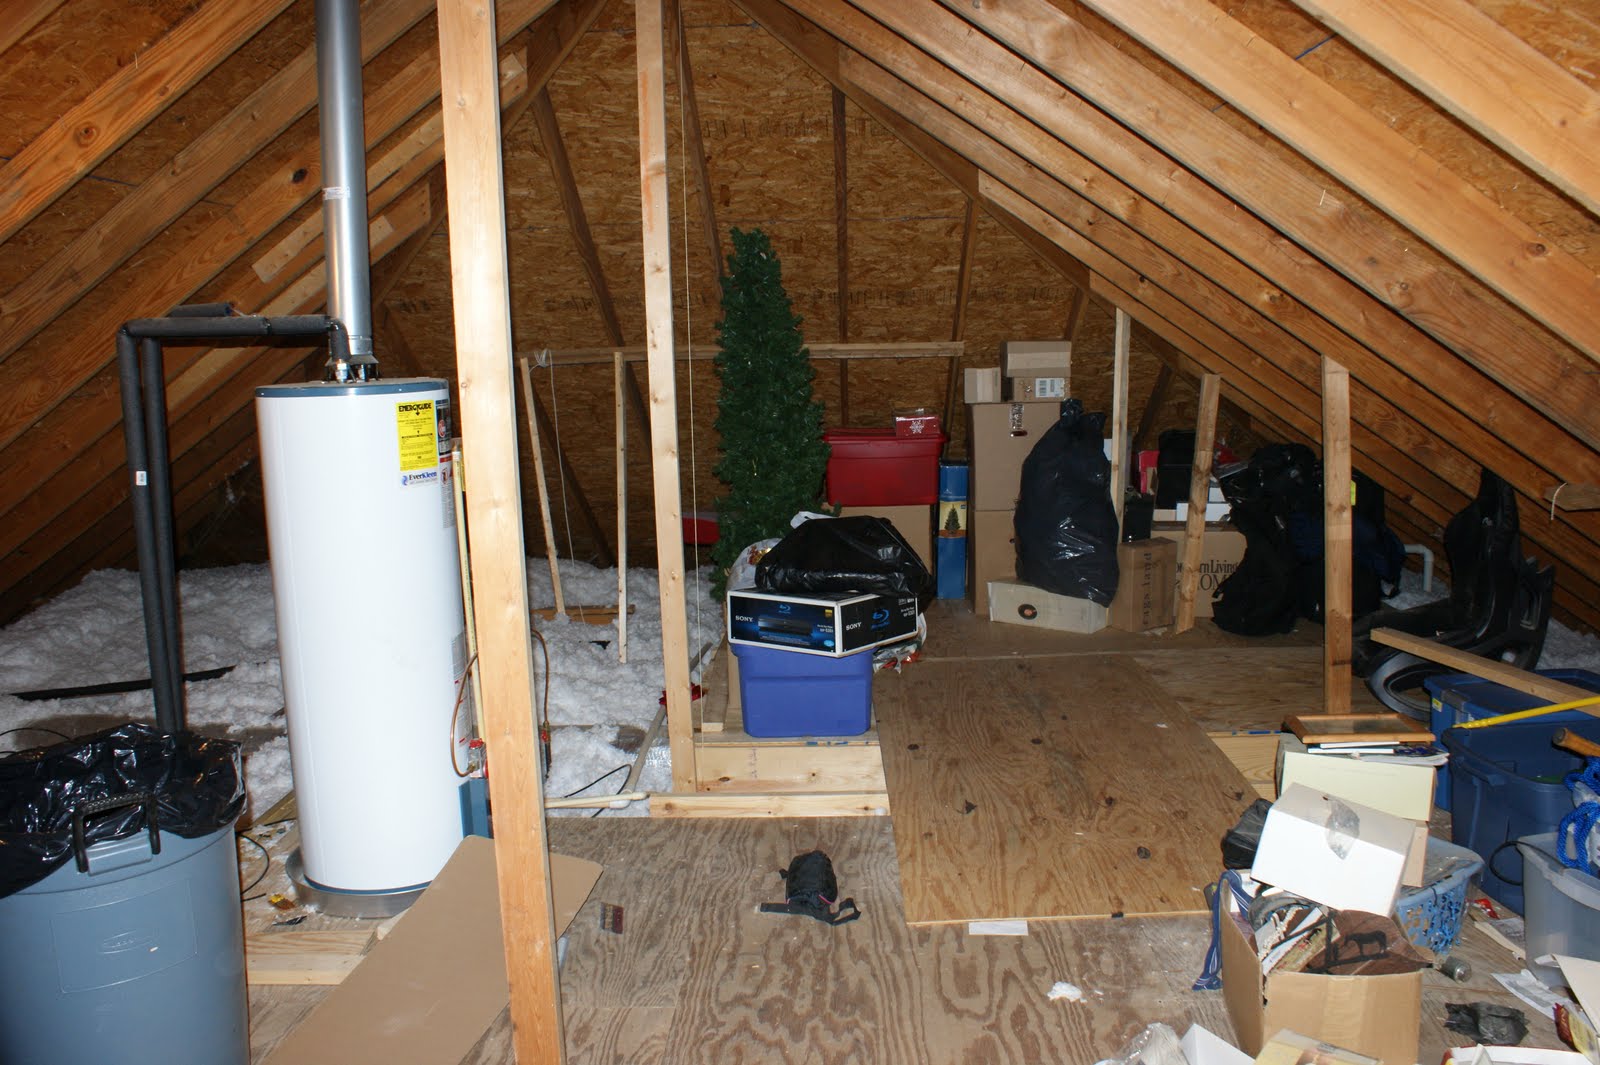
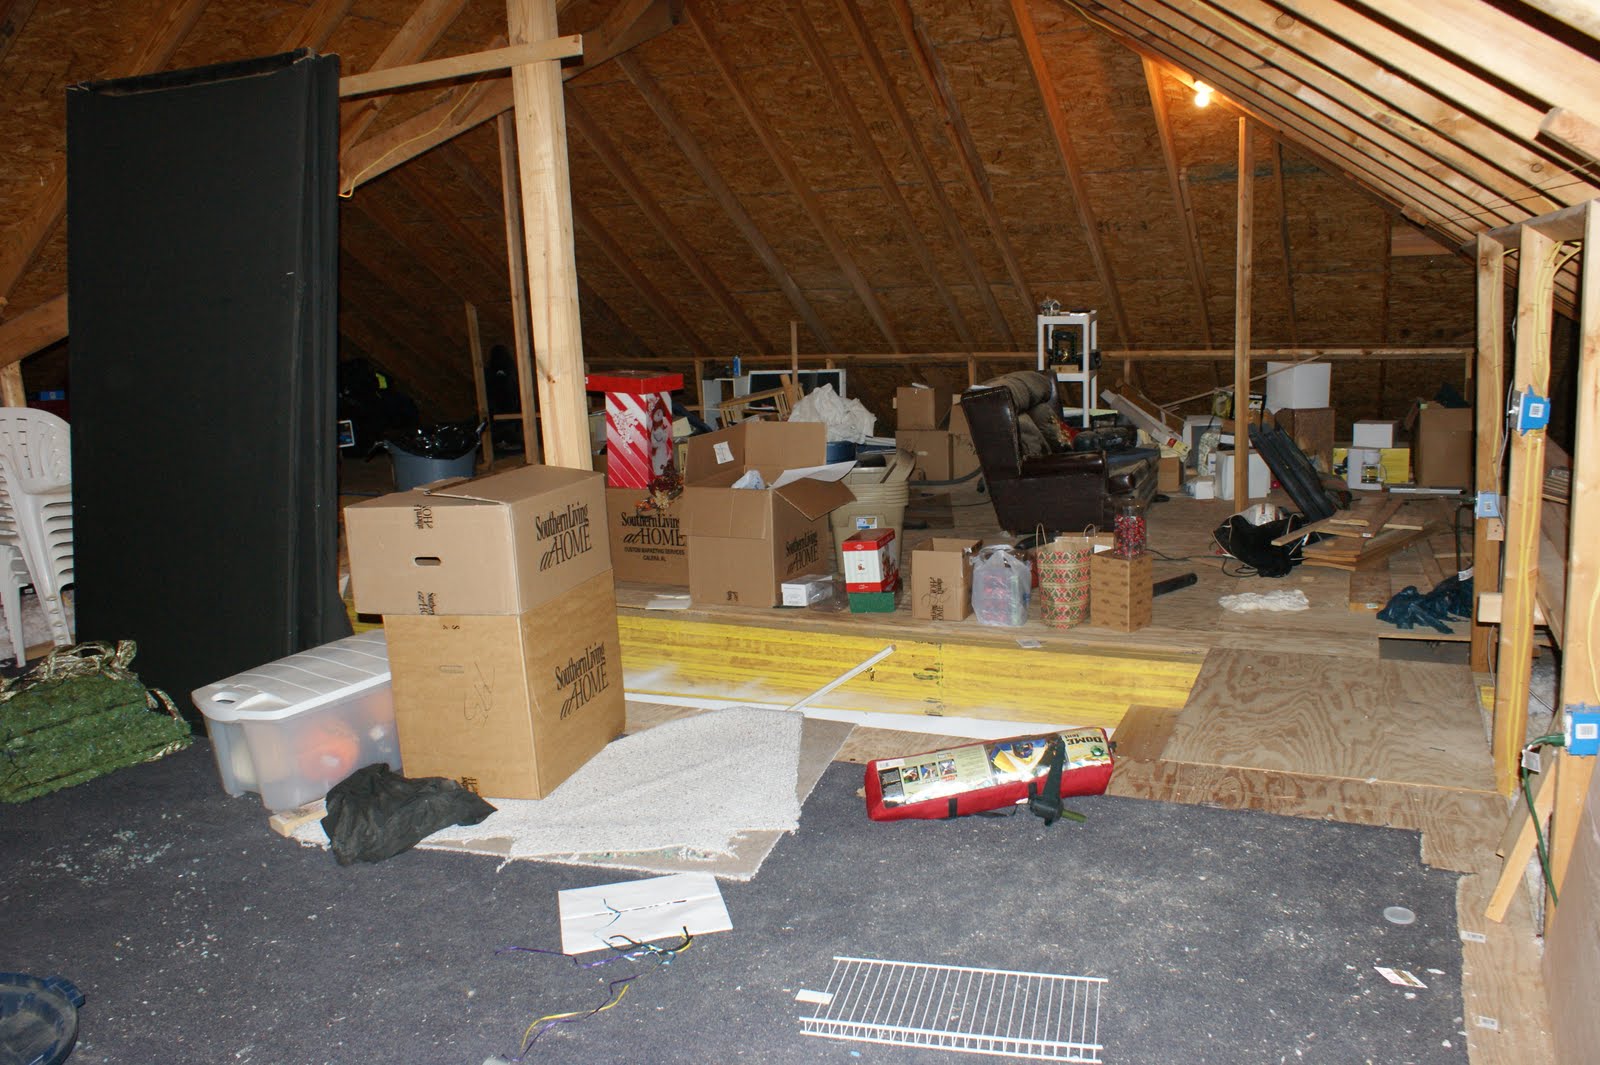
There have been lots of questions as to what it really looked like before beginning. These were taken in January as we were cleaning it out. We already had stairs and flooring in two of the rooms, with hopes of finishing it one day.
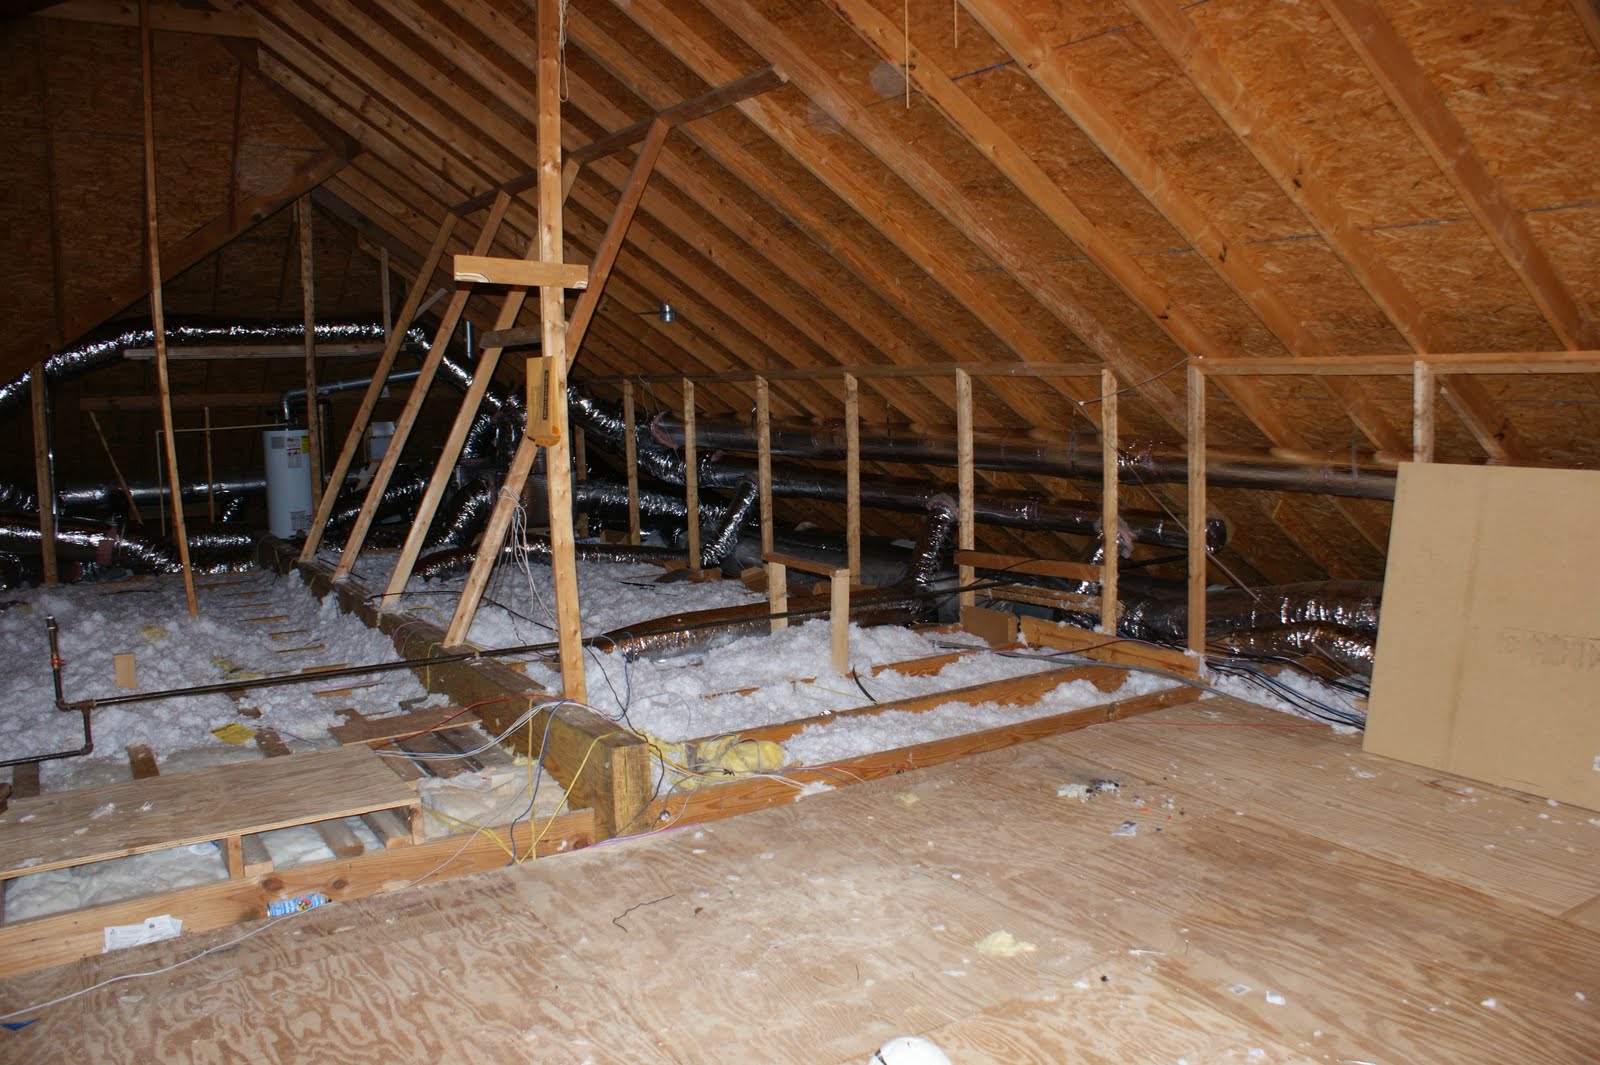
What you see there is the playroom (the floored part) and the rafter area eventually was floored and became the movie room. We did hire out for this construction…structural supports had to be moved and so did our air conditioning unit and duct work.
This was the majority of our budget. We planned on getting the rooms completed and leaving them empty until we could fully furnish them, but we have continued on a lucky streak, finding the perfect flea market finds and clearance items. I’ve tried to be quite crafty, too, pulling unused items from the rest of the house and re-working them into the rooms.
View from the doors of the soon-to-be theater…no walls. Seeing the playroom and writing room across the stair landing.

Now…we hired out, but we did equally as much work ourselves. Or, um, Matt did equal amounts of work and I was an excellent assistant. Somebody had to keep the kids, right? He and our friend, John, put extra (environmentally friendly) insulation in the flooring before construction on the theater began…for extra sound proofing.
Mmm…yummy.
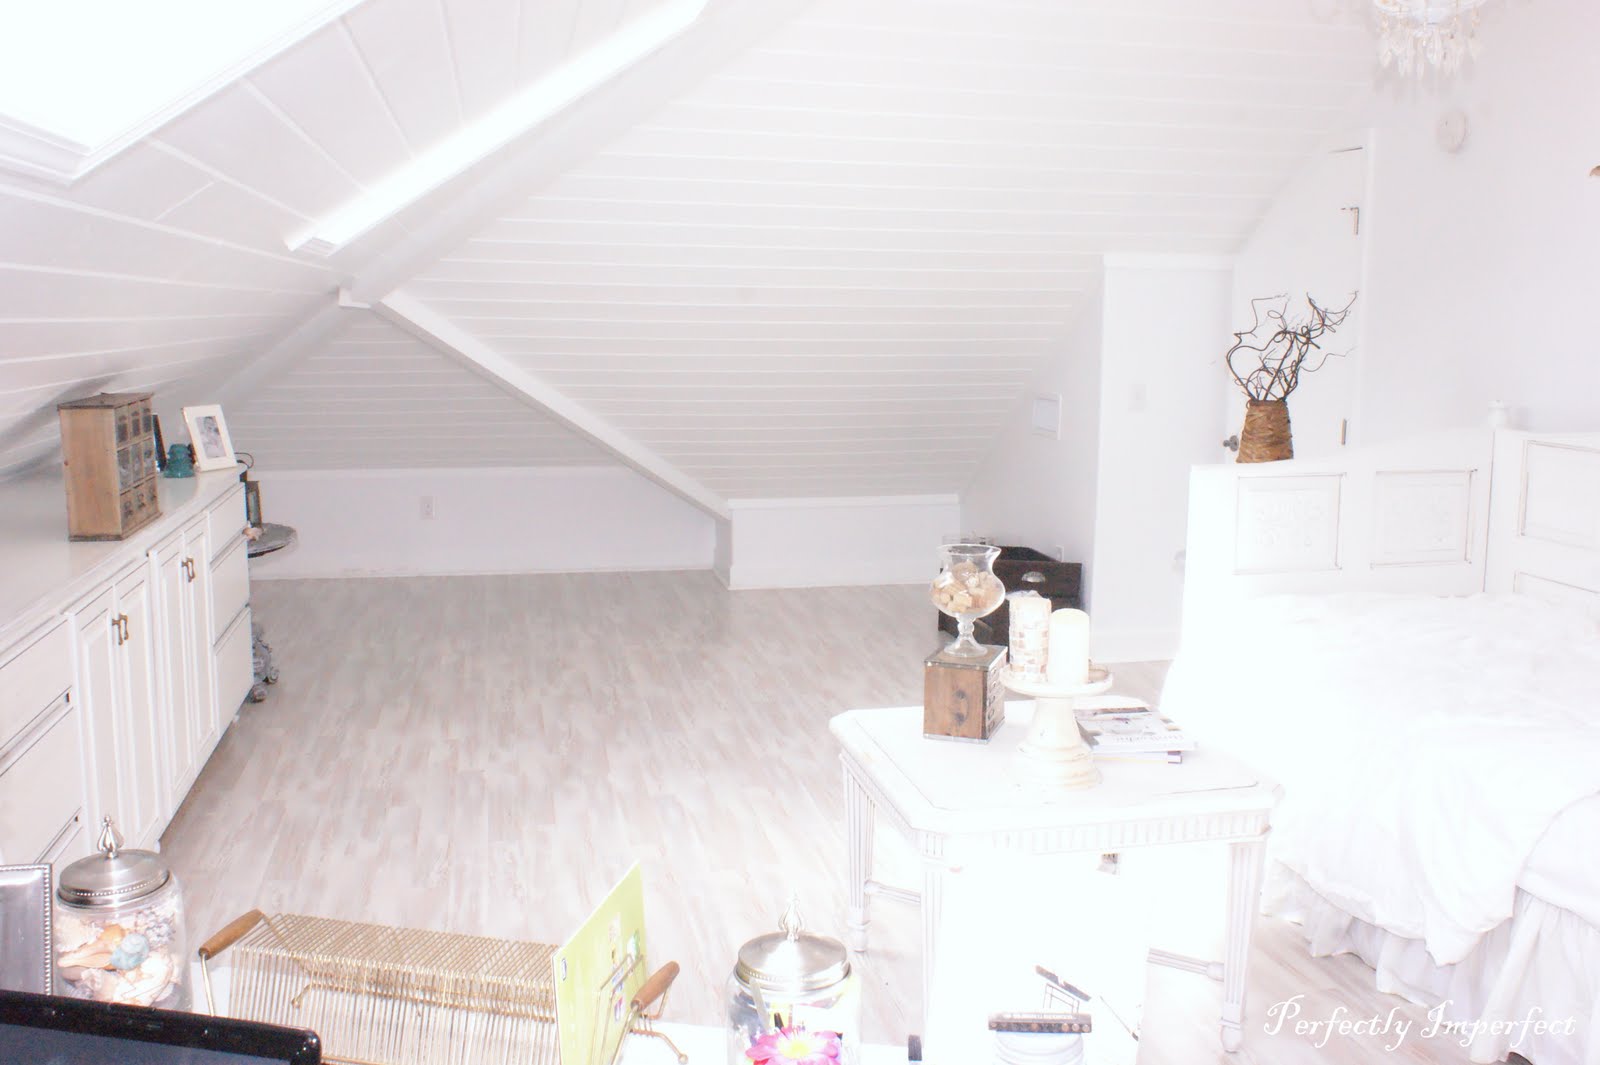
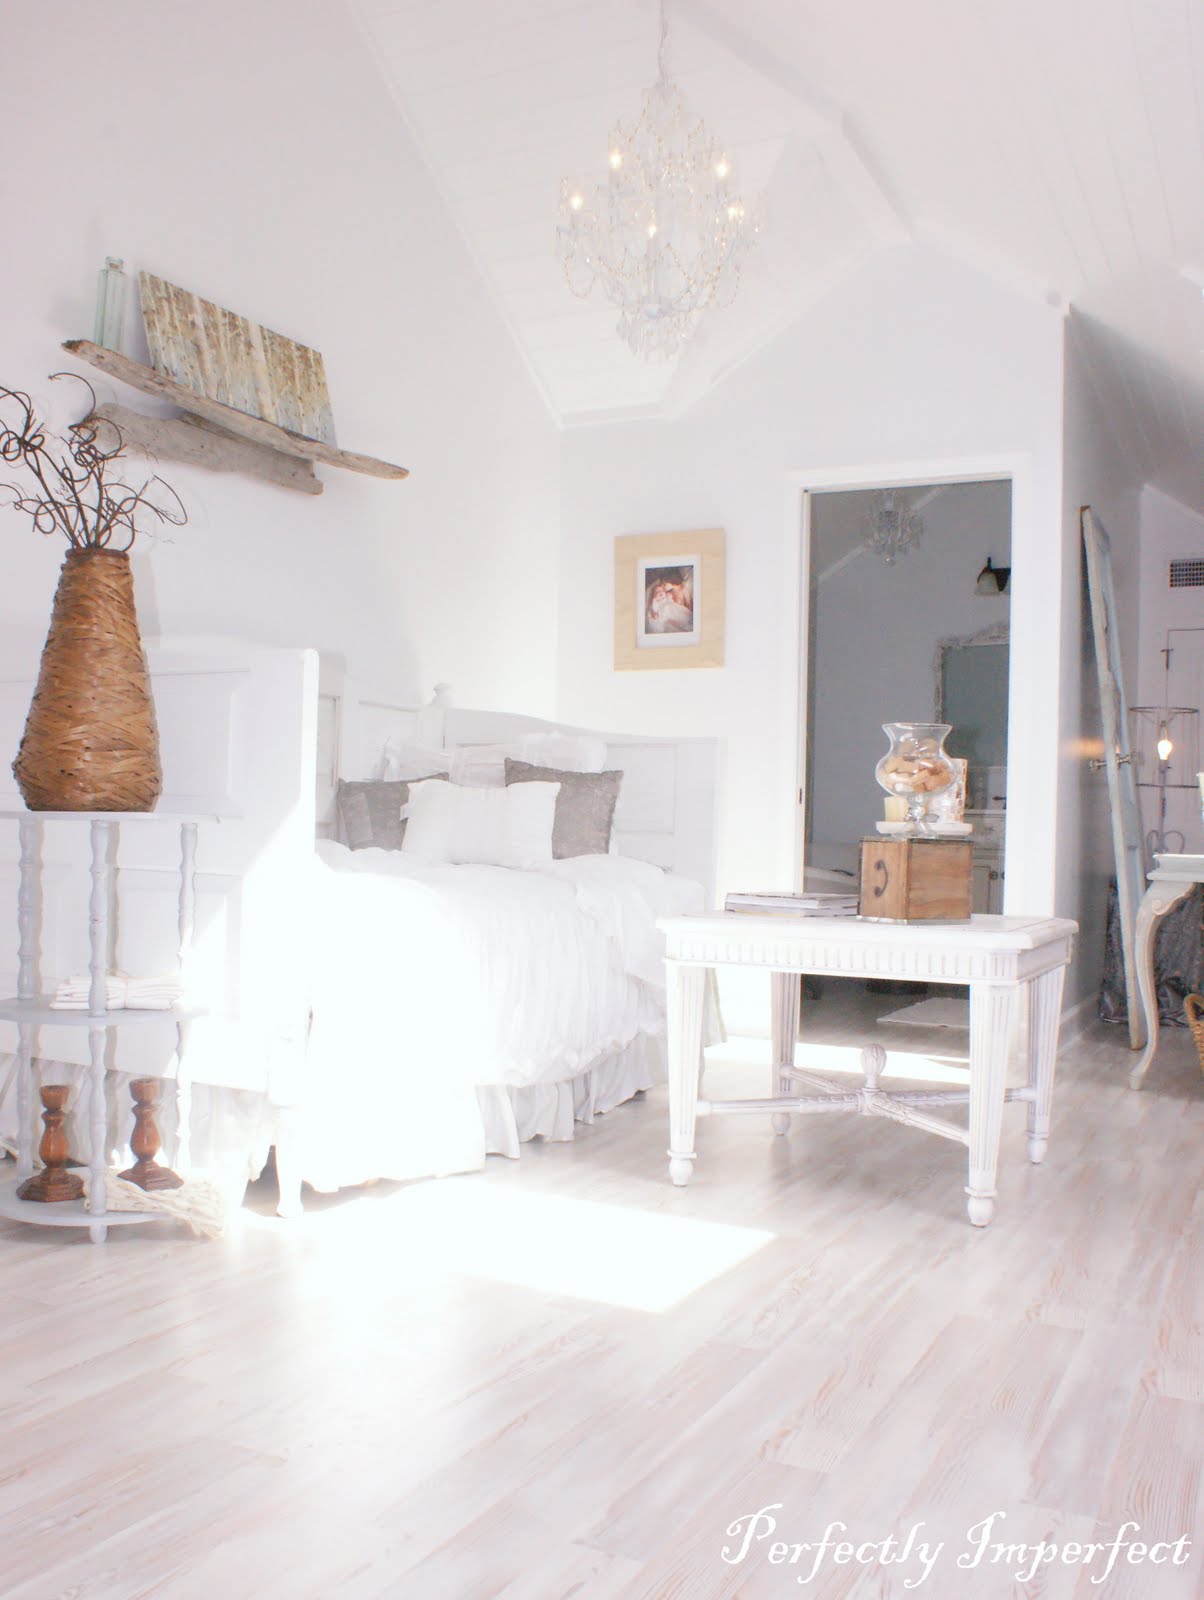
I’ve had a couple of questions on the ceiling (which due to the angles doubles as walls) in my room. That was another the crew did. The nailed V groove (a specific tongue and groove) pine straight to the 2 x 4’s. I knew I wanted to paint them white, and this groove ensured you could see the meeting of the planks, rather than a straight-edge board.
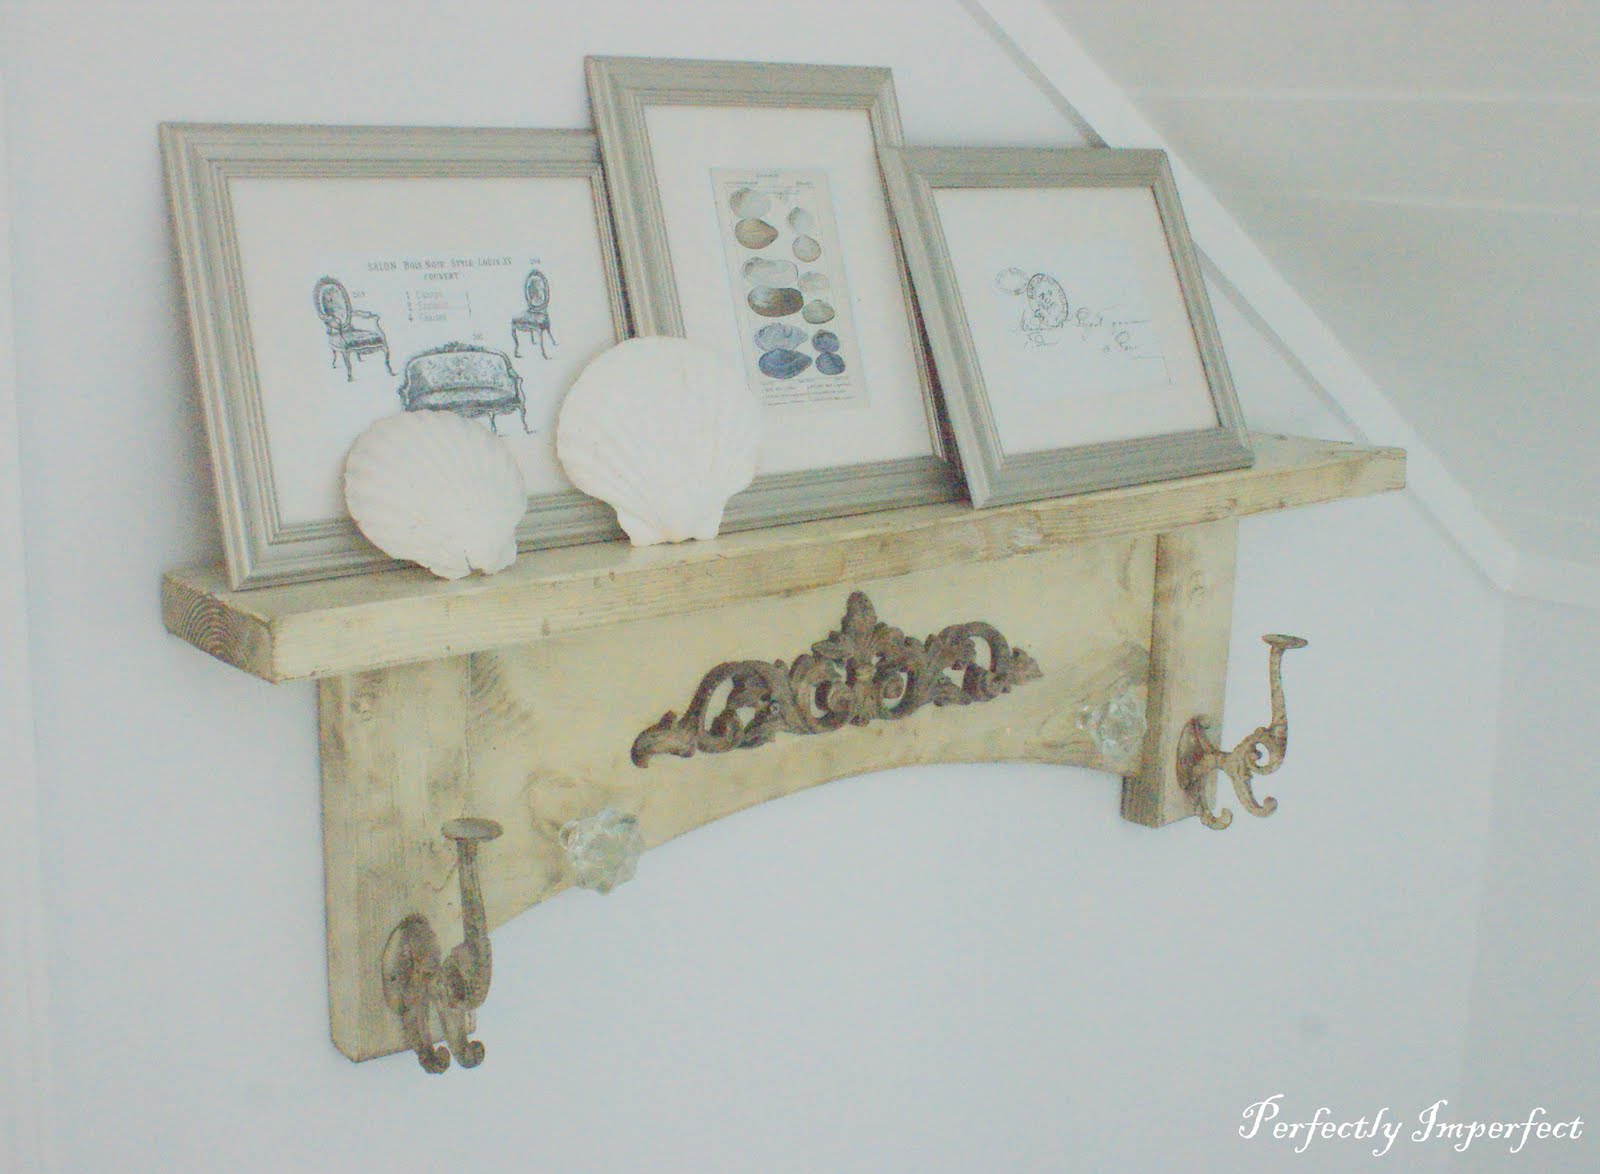
I was given this beautiful shelf by my mom for Christmas…we ran across it at a Christmas market in Birmingham. LOVE it! The art work cheap-o! I got 3 frames from walmart on clearance for $2 a piece, and painted them Krylon’s Satin Nickel. I printed graphics from the Graphics Fairy…all things that inspire me…french furniture, shells, and script. A $6 art project that paid off! I love that little display…it really speaks to the things I’m drawn to.
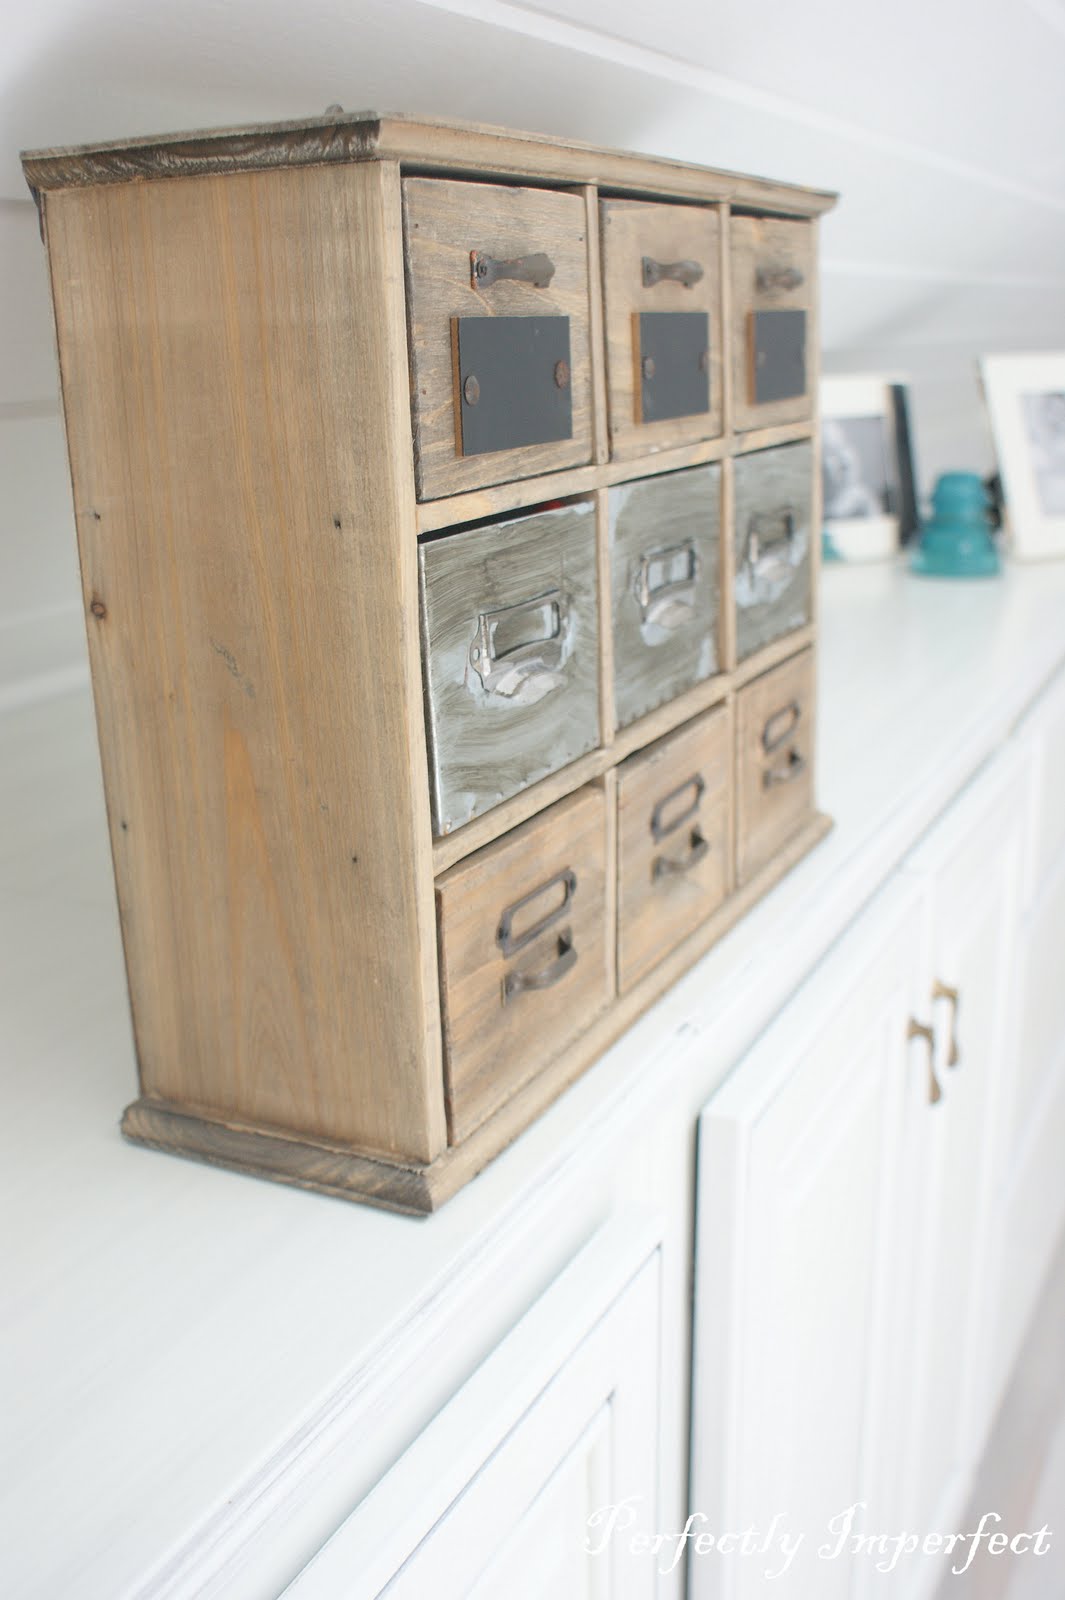
Another item of interest….the little card catalog. I thought I posted where I got it, but I must not have. This came from Hobby Lobby, and at 60% off, it was $8, I think. I use it for all my small office staples, paper clips, glue (and all that Martha Stewart glitter), tacks, etc. I bought a coordinating piece that looks like a block…but it’s really a photo album holder. So cute…you can see it on the coffee table in the pic below.
The coffee table was the first thing I found for the room, at a tiny little shop. I haven’t touched it. Ideally, I think I’d love to clean up the top a bit by removing the paint and staining it a gray or something lighter. The paint is chipping….and not in the pretty way. 🙂
The reed “vase” also came from Hobby Lobby, 50% off. The woven frame holding my precious little ones came from Pottery Barn, again, bought on clearance for $20. That’s more than I would like to spend on a frame, but it’s an 11×14 and was regularly $79.95.
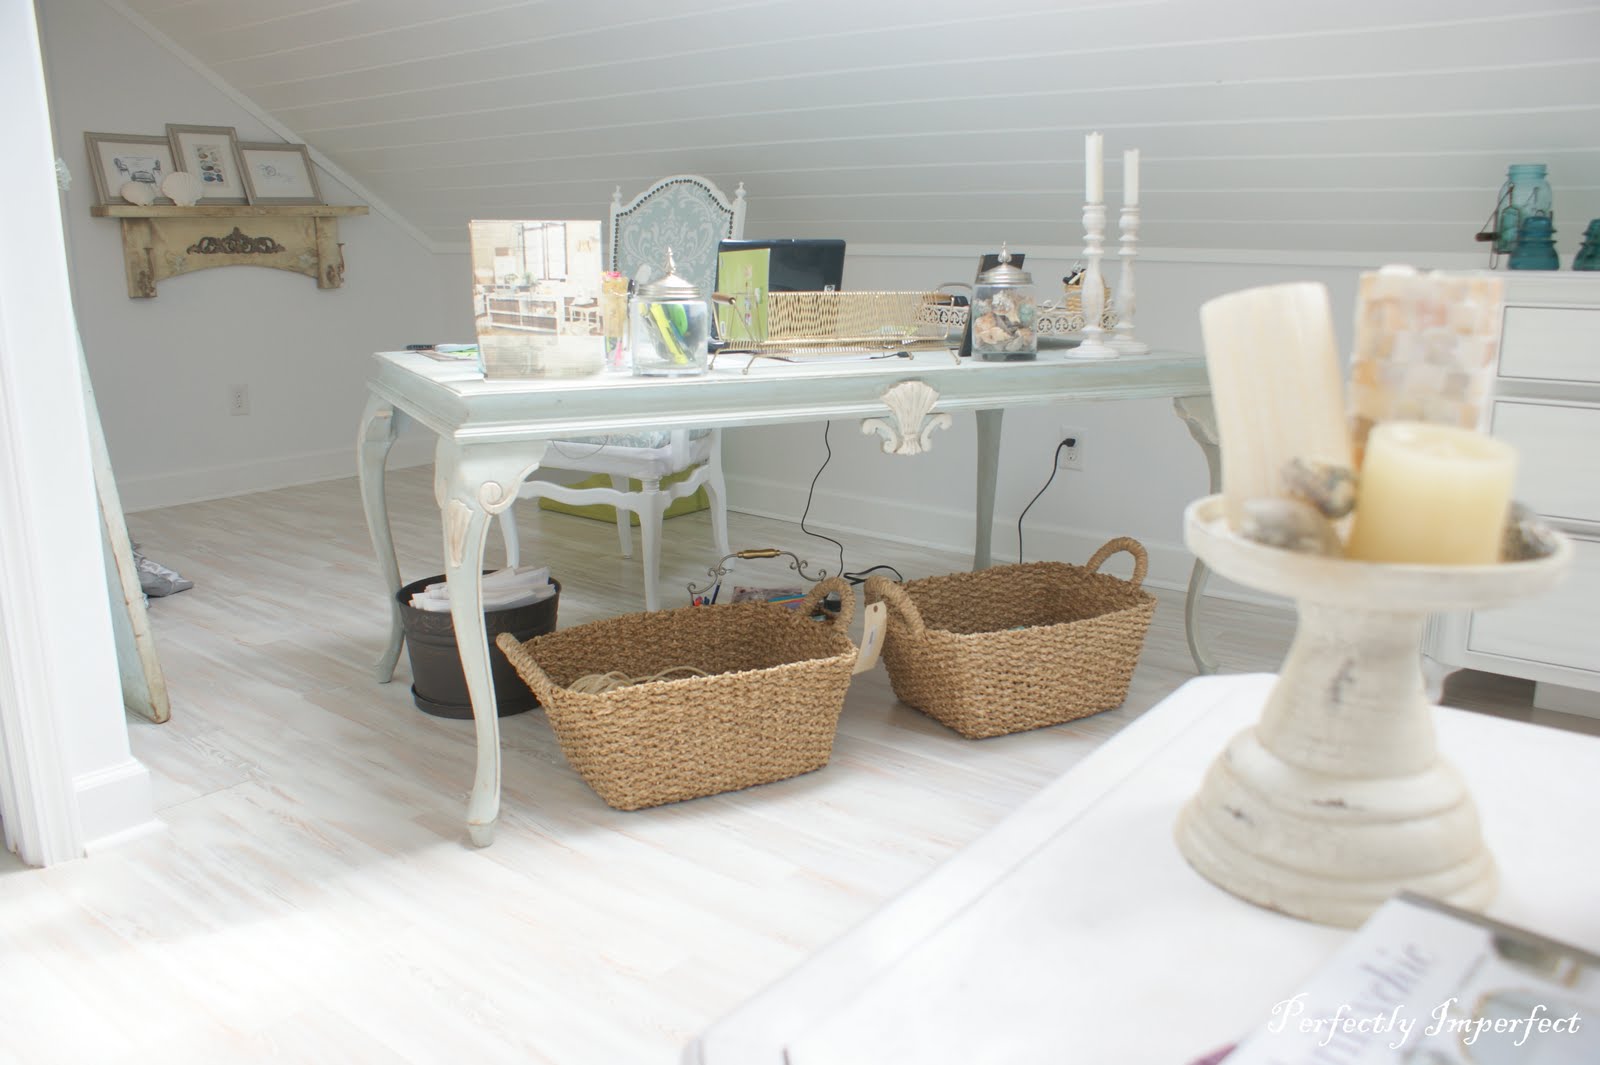
The big baskets under my desk (found at Hanna’s Antiques in Birmingham for $100–which was okay with me because the only two pieces I bought and didn’t build other than the storage cabinet were the desk and the $40 chair I made over) are a love of mine. I found them at Southeastern Salvage in Birmingham, for $5 a piece. I should have bought more….they hold a ton and I love their texture!
That answered most of the questions I’ve received…let me know if there’s more ya want to know.
🙂
I’m working away this week on the e-book while we travel with Matt. Might even snag a day at disney out of it. I’m so excited to share my next project with you guys!!
It’s the chest I found with an 1850’s stamp on the back…and this one I’m keeping! 🙂
And as soon as I get home, I’ll be revealing a layered metallic piece and a tutorial for you!
I’ve shared a little about it on Facebook…do me a favor, will you?
Be my friend…or I guess, “Like me”….please??
🙂
I’m new to the whole social network thing and am enjoying being able to post snippets of things i’m working on. It’s easy to use my phone to take and upload pics immediately to let you in on what’s going on!
Help a girl out with the whole facebook/twitter thing…I’m sort of clueless! 🙂
You can find me over there on the top of my sidebar.
See you there, friend!


oh SO PRETTY! I am so impressed what you made out of this area! REDEMPTION at its best! :D
I love it! Thanks for sharing the before and some of your tips.
Tell me about the shelf above your daybed! I love it!
You have created such a beautiful calming space. Perfection!
Beautiful job. What kind of treatment did you do to the floor? I love it.
Oh my goodness, this room is gorgeous! I really love it!
Wow, what a transformation. It is absolutely beautiful. I wish it was my space!!!!