
Hey there, folks!
For those of you who don’t know, here’s a little bit of background for you. So I started my business back in 2009 with babies on my hip (literally), and began custom painting furniture here in Troy, Alabama. You can see my very first video tutorial I did for the blog here.
Good Lord in Heaven.
After the blog got somewhat noticed and this thing really took off, I started experimenting with loads of different paints, treatments, etc. After trying Chalk Paint I was hooked and I never looked back for my custom pieces (or the pieces in my home for that matter).
I loved being able to paint inside without fumes and much mess/prep. You can read my first post about the paint here. Long story short, a couple of years later, I decided to carry the paint and open a booth in an antique store, and the rest is history.
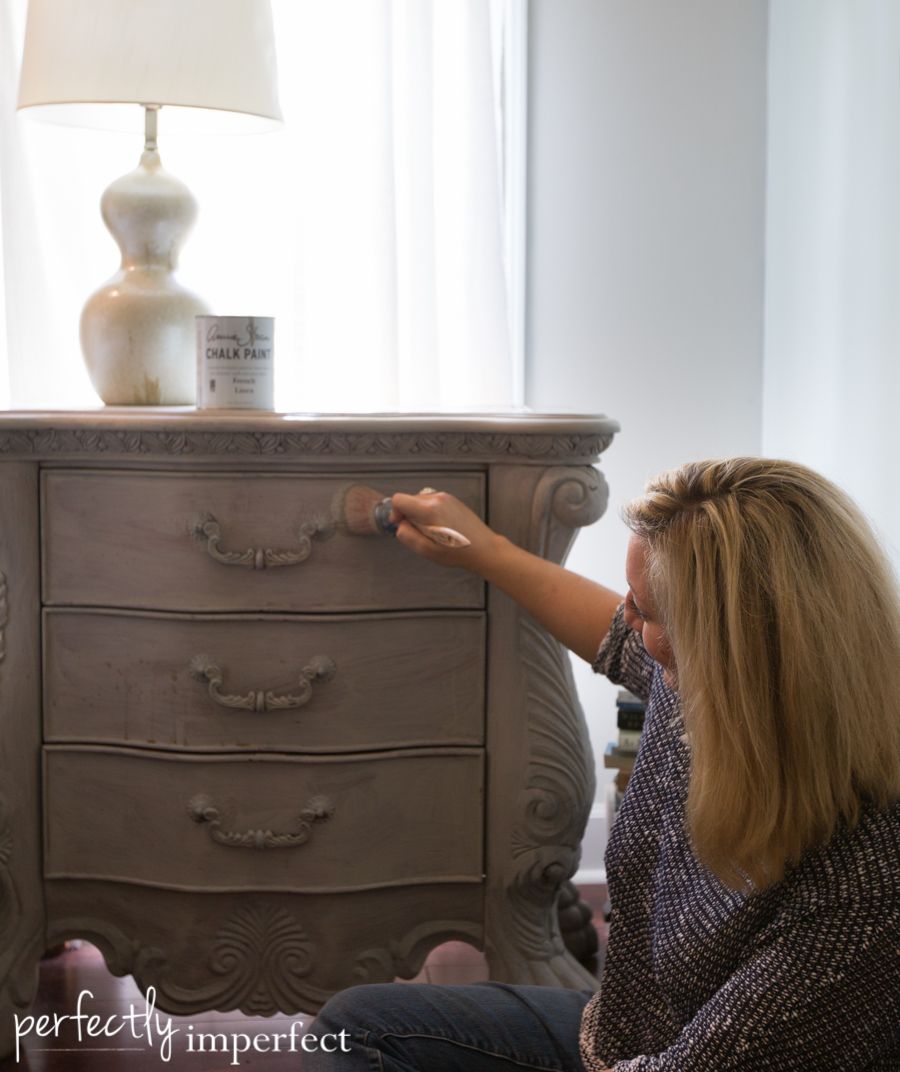
I do love being able to paint a little more artistically with Chalk Paint (and MMS Milk Paint, too, btw), and I wanted to try a bit of a metallic finish on the bedside tables in my bedroom at home.
And if I’m honest, Kaitlyn and I took these pictures almost a year ago and I’m just now getting around to sharing them with you. Winning. Ahem.
I started by painting my nightstand in two coats of a 50/50 mix of French Linen and Pure White (love this color).
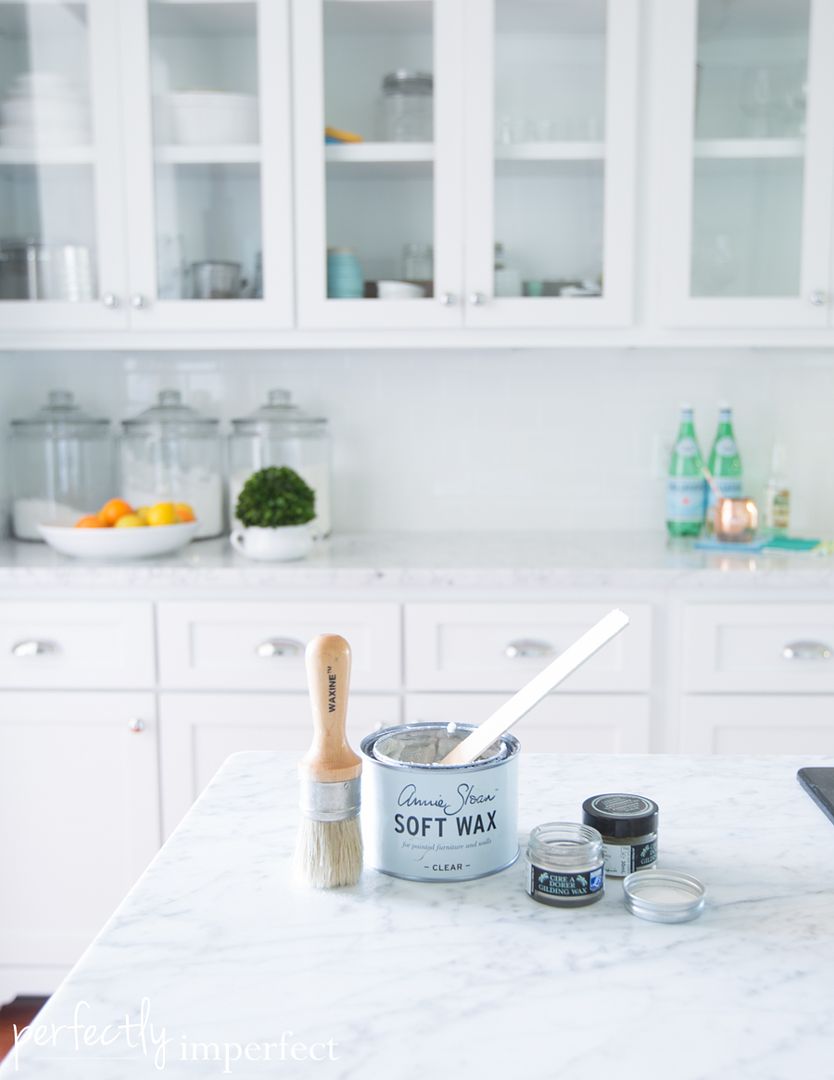
Tinting soft wax is super simple and the options really are endless. You can use craft acrylic paints, chalk paint, milk paint powder, or in this case, metallic gilding wax. Plus, tinting wax saves you a step for creating a layered treatment. You can skip layering a wash of paint, and go straight to waxing your piece. Tinting/sealing in one step.
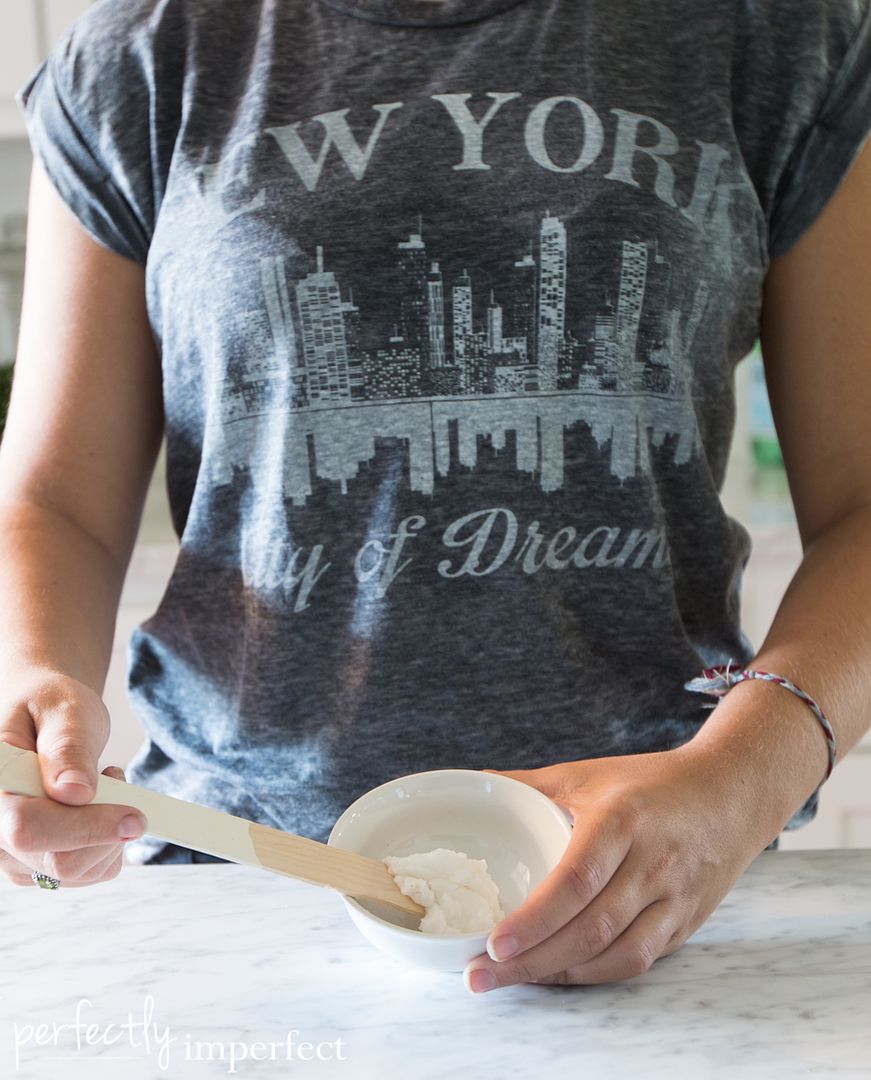
Start with desired amount of wax. Be sure to stir it well before adding your color so the tint will mix more evenly.
You’ll also need a begrudgingly willing model to hold your little bowl of wax. Thanks, Kaitlyn. You’re the best. You and your cute t shirt.
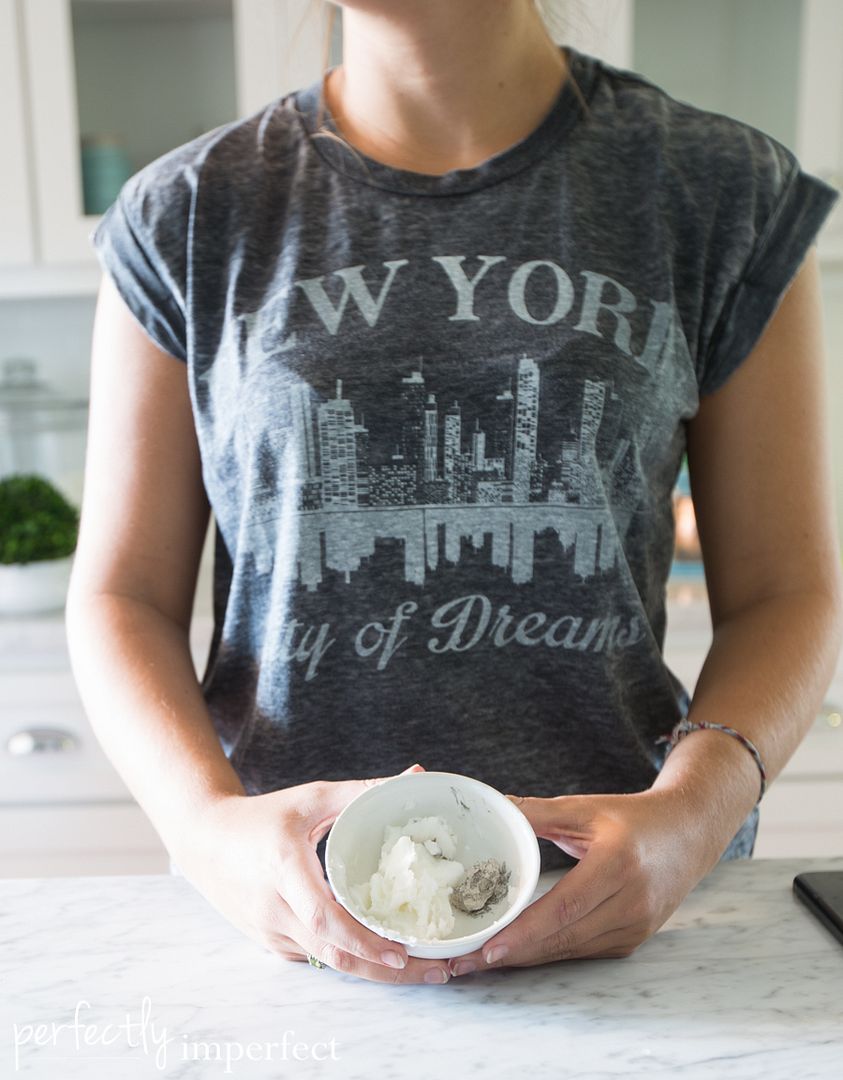
I always start with about 2:1 soft wax to my paint/wax color. You can always add more but you want the final tint to be more like a glaze, and not so saturated that it’s not workable on your piece. You can add more tint to your wax if the color is too sheer.
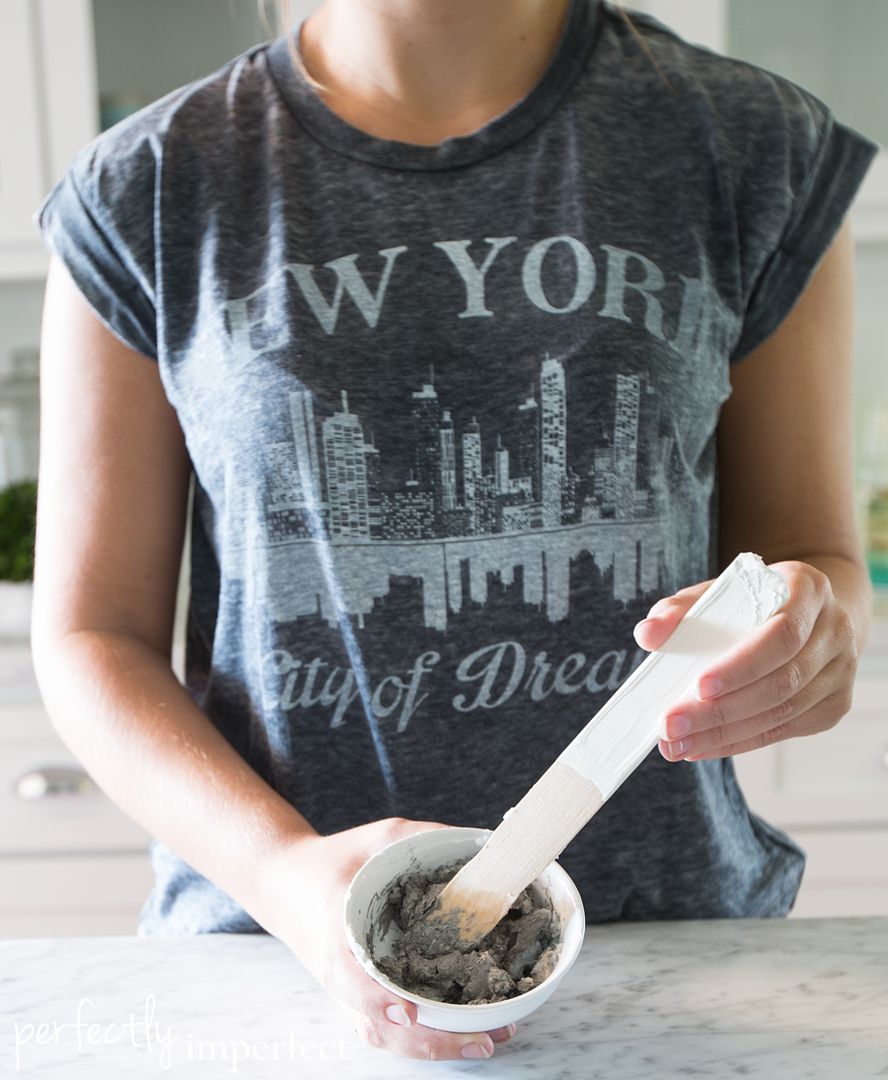
Stir that stuff and you’re ready to go.
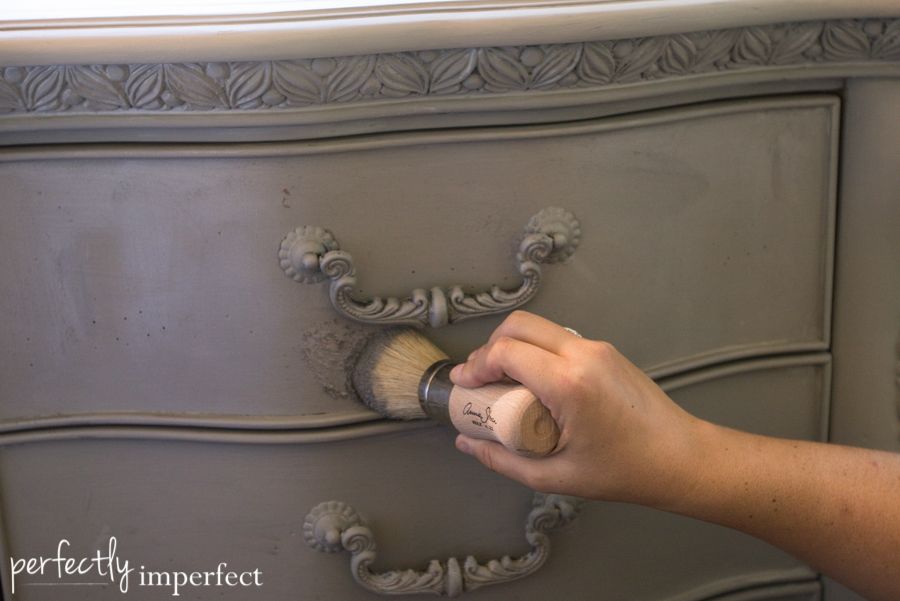
Spread on a generous amount of wax and have one cloth to wipe away the excess. I keep an additional cloth on hand to buff as I go. This saves coming back later, and I’ve found buffing immediately gives me a harder, shinier finish.
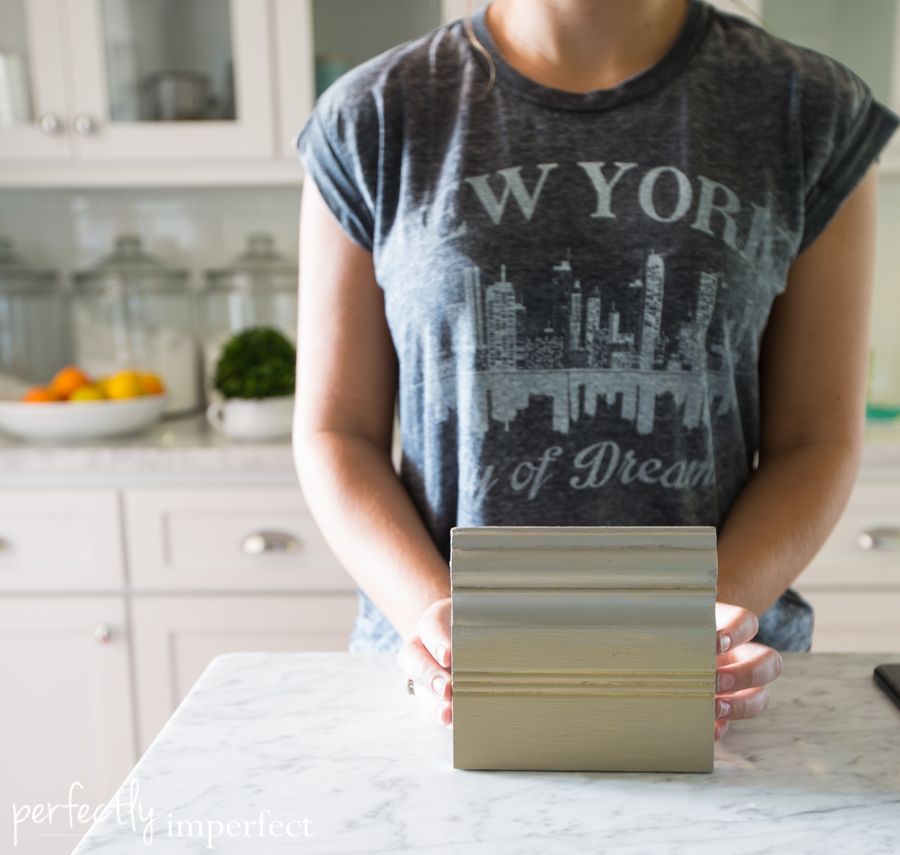
This is a sample board we’ve done for one of our workshops using metallic waxes…I’ll get my act together and snap you some pictures of the finished nightstand.
Here’s some links to the products we used for this treatment:
Waxine (my favorite wax brush)
Better than Cheesecloth (love these cloths for waxing furniture–plus, you can throw them in the wash when you’re done and reuse)


I just wanted to tell you, i love wt u did im excite… i will be buying you paint ,to use on so pieces i have……. buy the way my dad was a furniture refinisher he had hands of gold, i watch him work for many years as a kid. thanks so much blessing in your new businesses
Happy to see you posting on the blog. I’ve been a reader for about 5 years or so… This is a great little tip. I also wanted to say your site is looking awesome! I love the new layout- and the entire vibe you have going on.
I understand what it’s like to have little ones {who are growing into not so little ones!} and family and dreams, and work and and and…. Just wanted to encourage you that you are doing well- take a deep breath, and rest in HIM- even when things are kinda crazy. 🙂 Blessings on your day and your fam.
So what do you use to tint the wax?? I antique waxed a whiteish piece and want to get it back to a bit more white. I thought I would just tint the wax with white but I’m not sure what to use…