First, I want to say that I am so excited to be able to do a guest post for Shaunna! I love her blog so much and I am so envious of her amazing talent! I can’t wait to visit the vault and see some of her work in person!
I hardly deserve a spot here, I just got lucky and happened to be the first one to post when she asked for guest bloggers. So here it goes…
I have finally finished my first slipcover!
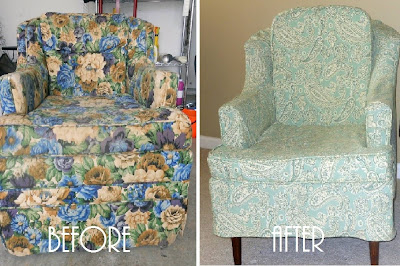
Can you believe that is even the same chair? I was sort of shocked when I did the side-by-side comparison!
This has definitely been my biggest project undertaking thus far. Thank goodness for
Miss Mustard Seed! I feel forever indebted to her and and her
video tutorials! My Mom and my washable, blue, fabric marker deserve a shout out too – I couldn’t have completed this project without them either!
You can see the earlier chapters of Adventures in Slipcovering, where I show you the original chair, how I made new cushions and my prototype made from canvas drop cloth
here,
here and
here.
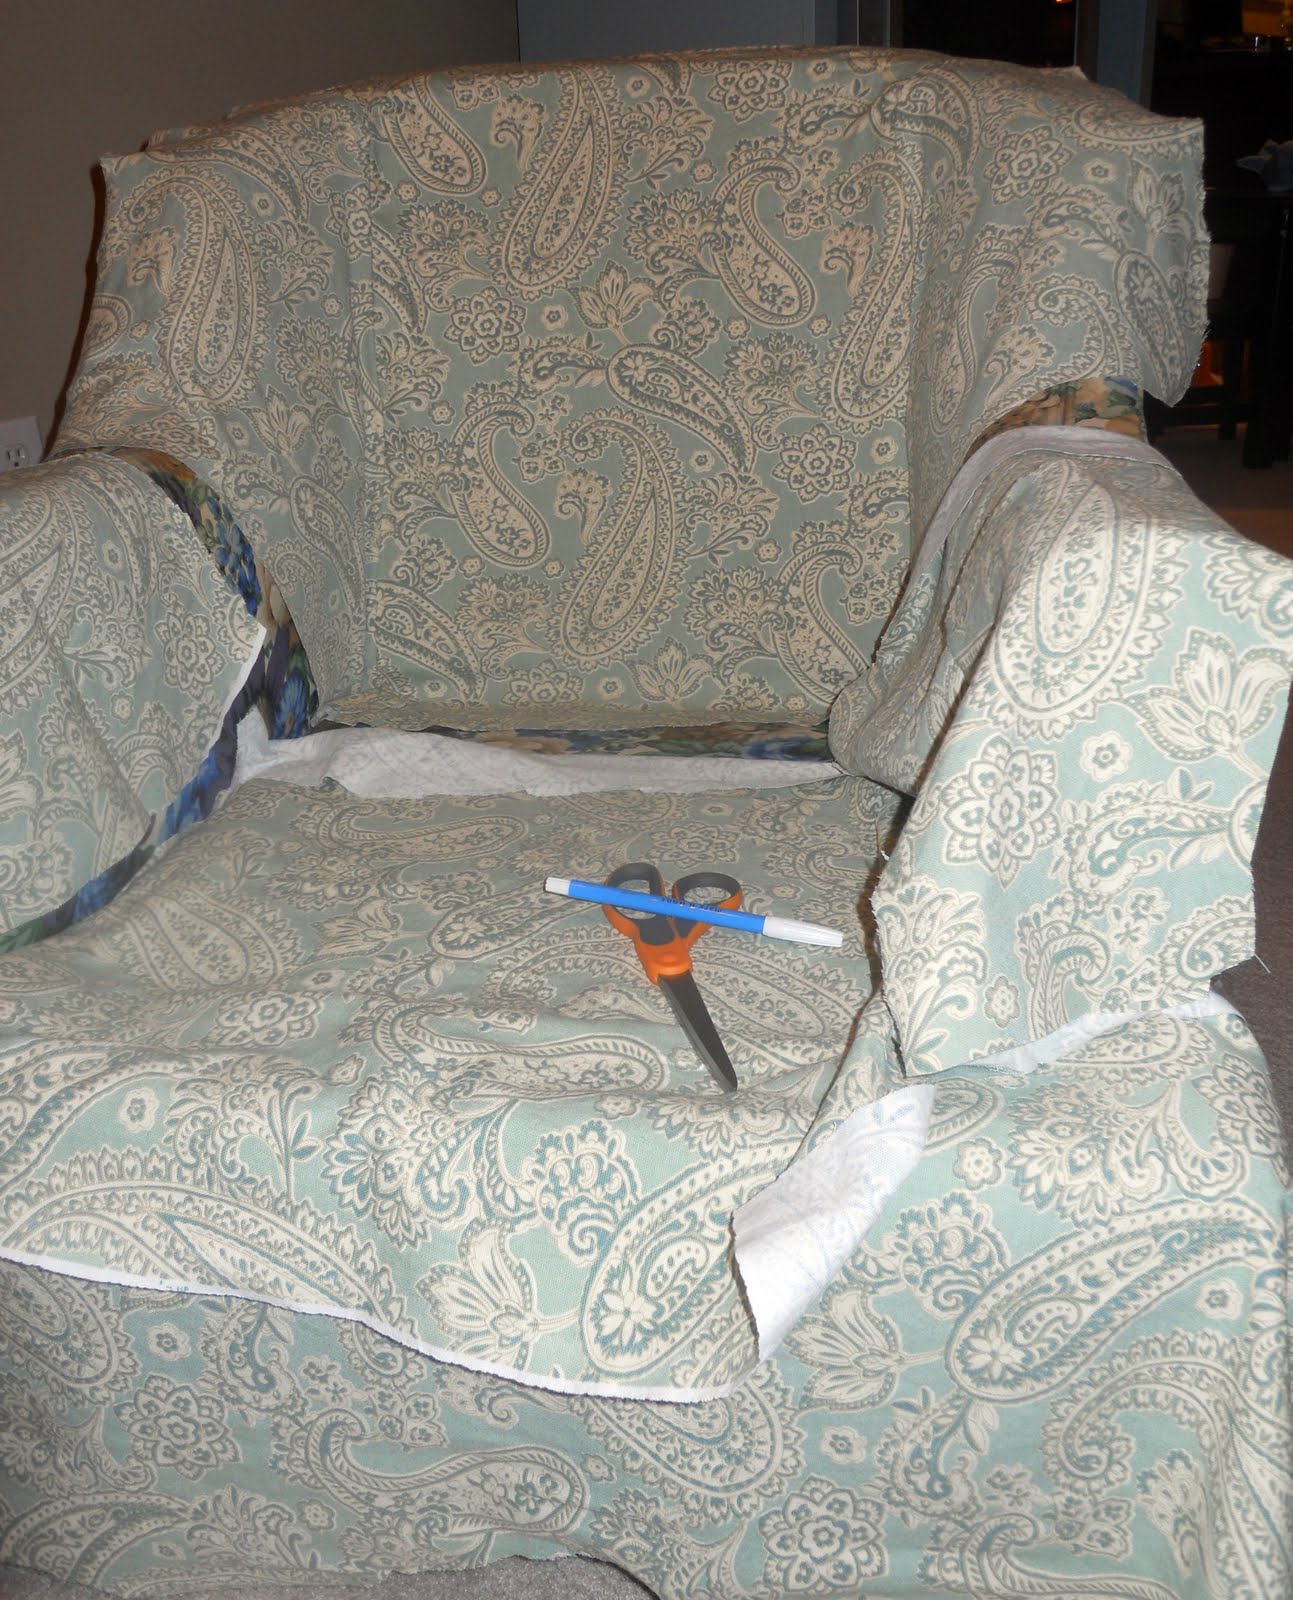
Below is the first step of laying out the fabric and cutting the pieces.
I had a hard time pinning in some areas, especially the little crevices and around curves. Here is where my little blue marker was a lifesaver! For the crevices, I would push each piece of my fabric into the crease and draw a line with the marker. Then I would match up the two pieces and pin along the my blue line. On the cushions I used my marker to mark all the rounded corners because I found it impossible to make a straight pin form a rounded corner. How Miss Mustard Seed does this without a fabric marker I have no idea. She is magical.
See the faint blue lines below? It washes right out when you wash the slip cover. Or if you dab a little water on it.
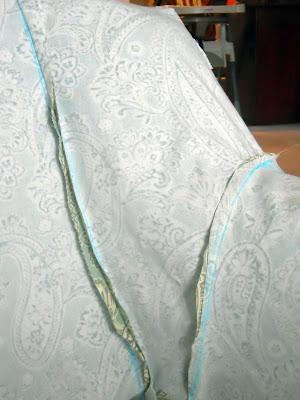
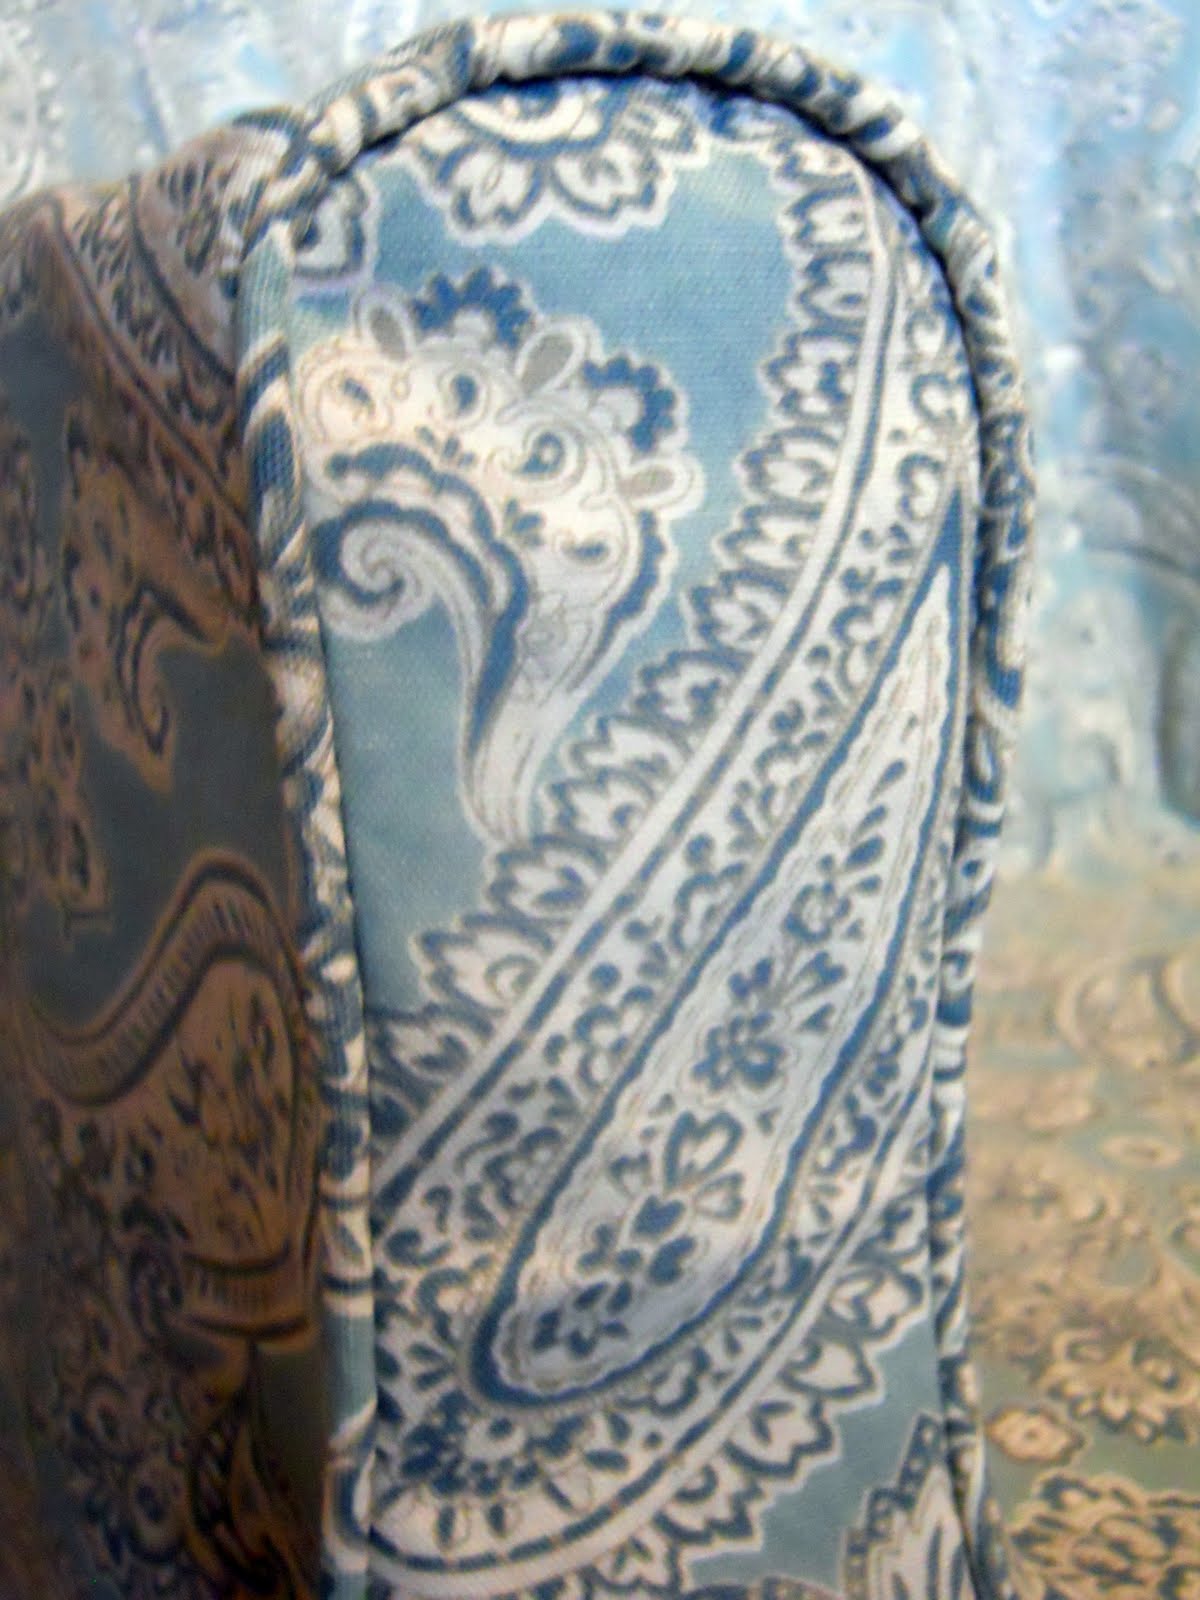
Here is a close up of the front arm piece. It’s the only piece on the body of the chair that I piped. The piping and I did not get along. I didn’t have to use my seam ripper once during this project until I got to the piping. Ugghhh. I am glad I only piped the arms and the cushions. Any more piping and I would have thrown the whole chair and the slipcover through my dining room window.
Here is the completed body of the slipcover (un-hemmed). I am really happy with the body. Much improved from my prototype, which I am so glad I did first. I really learned a lot and this second time around my seams met much smoother and the whole body just looked more neat and clean.

I did not do a prototype for my cushions for several reasons. 1) I ran out of drop cloth and 2) I have sewn pillows and I thought sewing cushion covers would be similar. Well, I guess they would have been without that darn piping! Looking back I wish I would have done a prototype. I think if I had, I would have decided to cut the size of my cushions down slightly before making my real slipcover.
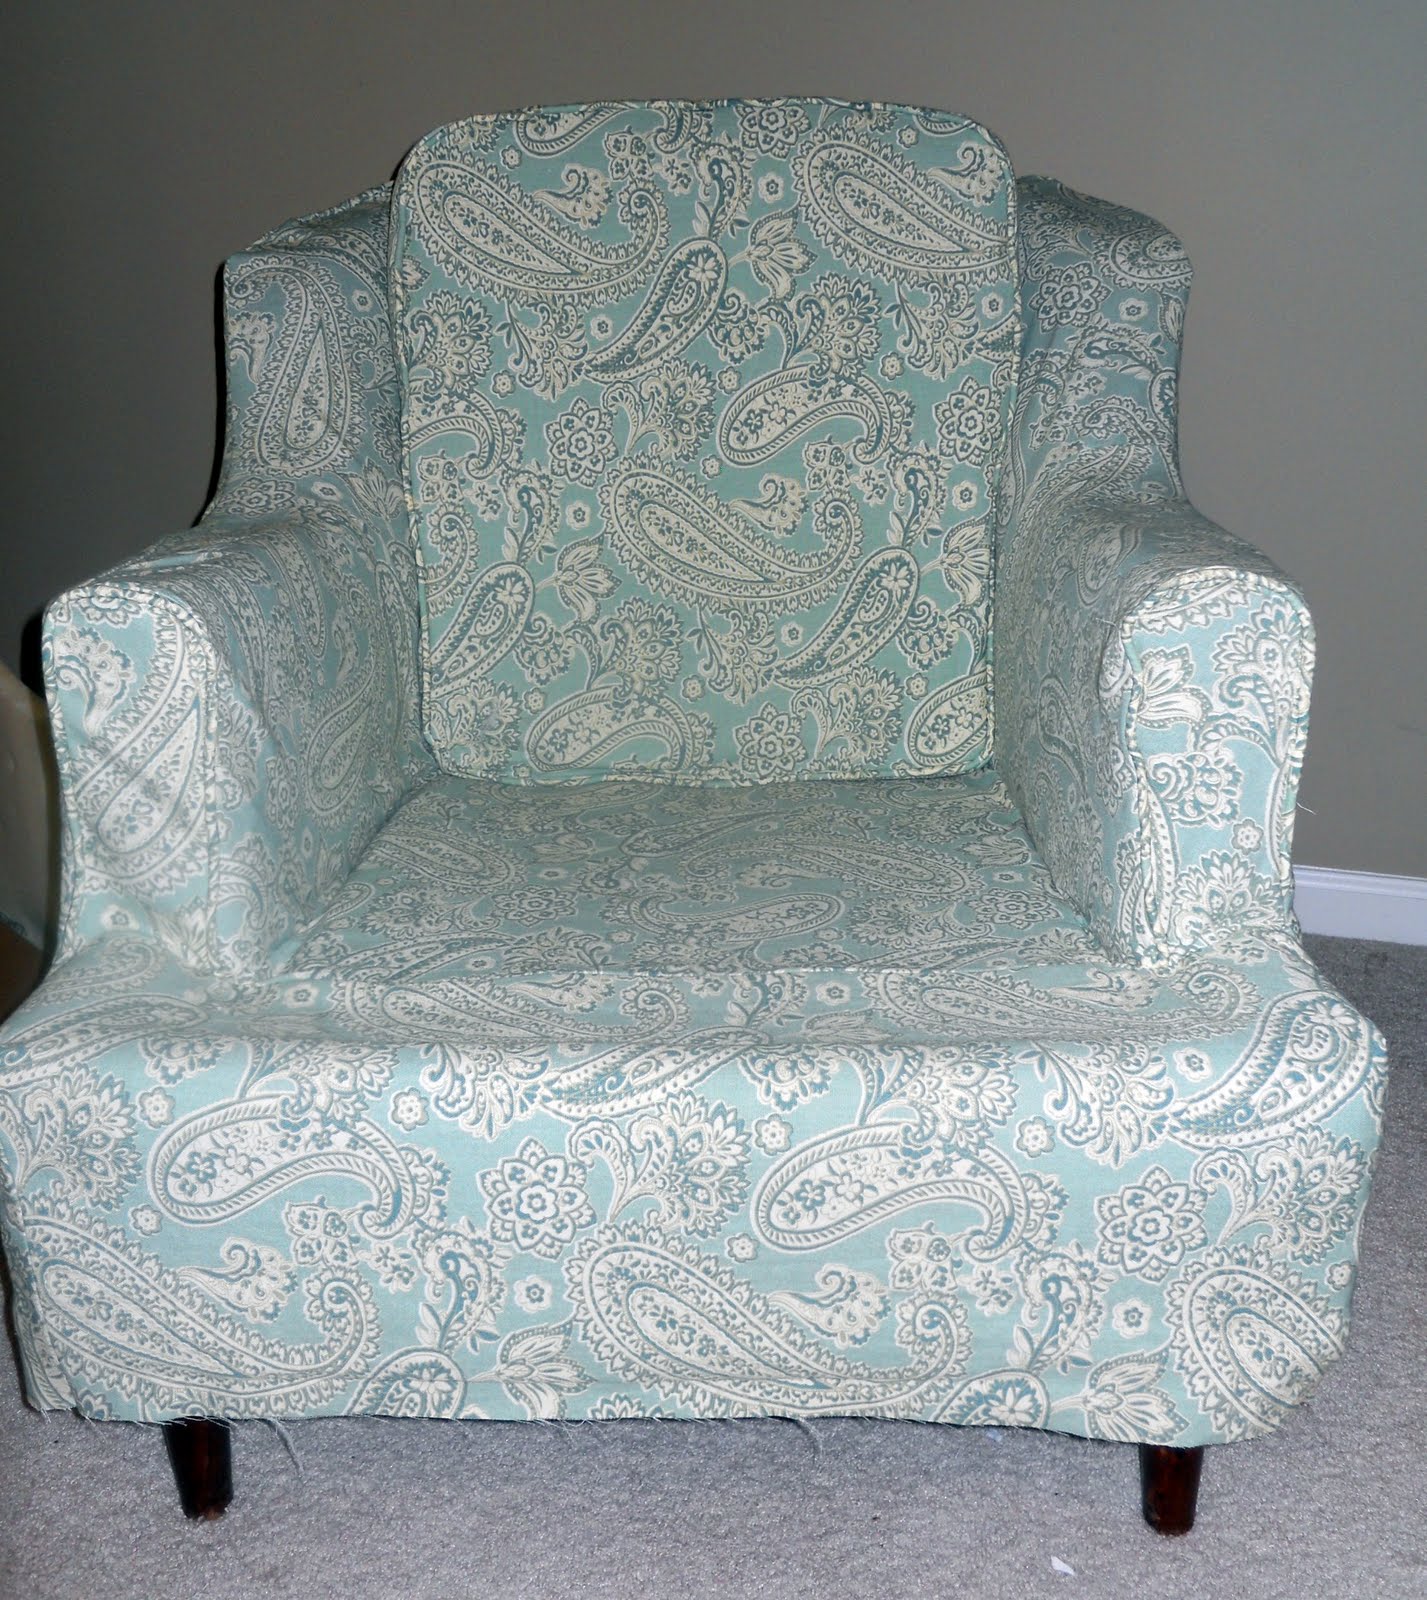
Below is a picture with the top cushion. It’s just fits a little too tight on the sides. I knew it was a tight fit when I cut the foam, but I thought the covers would pull the foam in a little making a perfect fit. I was wrong. My cushion looks taller than the old one too. However, I traced the old cushion exactly so I don’t know how that happened.
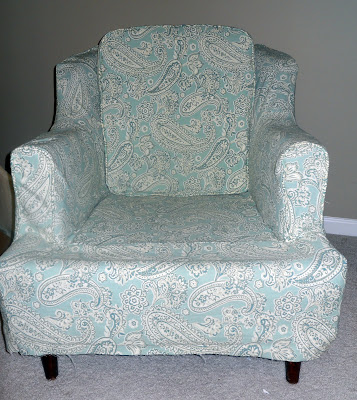
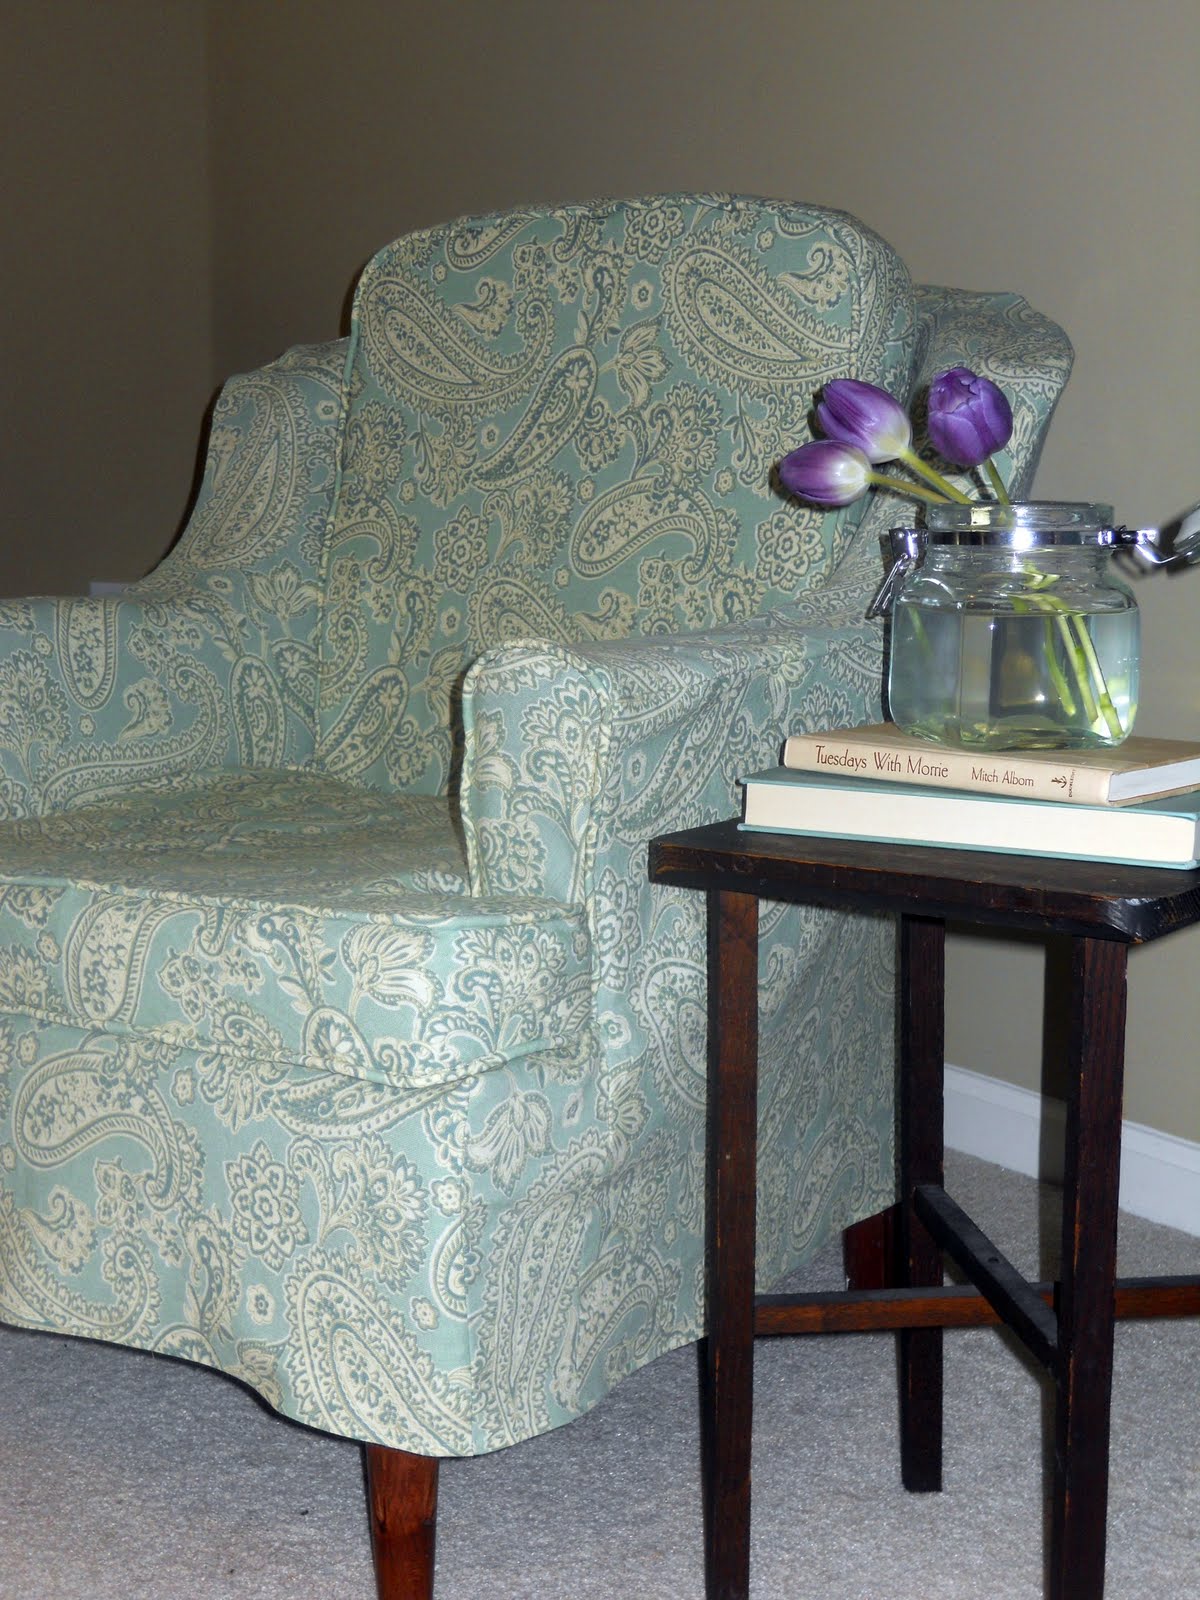
Here it is. Finally complete – both cushions piped, skirted hemmed, all done.
This is not a perfect slipcover, by any means. There are a lot of mistakes. A LOT. And if I look at some of the details up close I see all the imperfections. But if I stand back and look at the big picture I am pretty pleased. Especially considering this is my first slipcover and really my first big sewing project. Before this, I was the girl who sewed so infrequently that I had to get my manual out every time I hemmed a pair of pants to remind myself how to thread the machine. 🙂

I was very nervous about matching up the pattern. Everyone says not to use a patterned fabric for your first slipcover. Luckily I think I picked the perfect pattern. It’s very forgiving when it came to matching. I really didn’t match up the pattern on any of my pieces, but I think the separate pieces blend well and I don’t feel like you can tell.
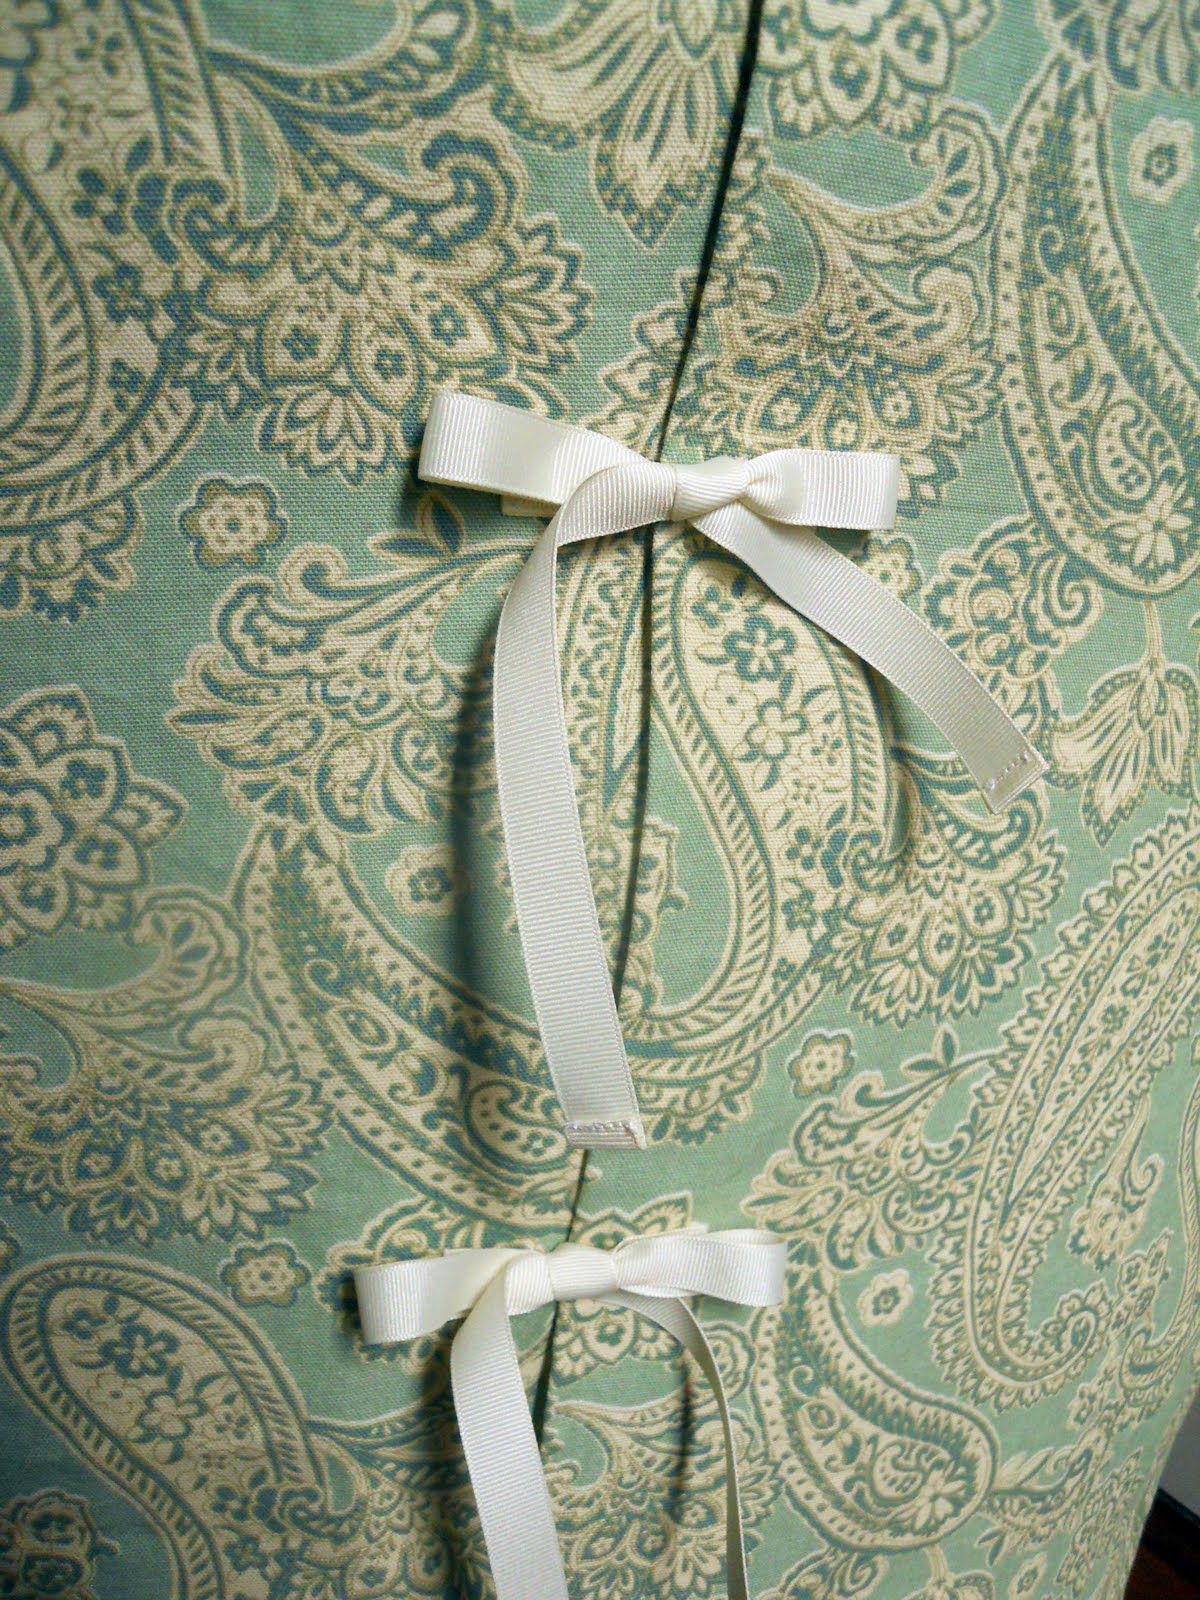
I am really happy with the back. I love the bows. I decided to go with this option because I thought it would make for a better fit and would be easier to take on and off when I have to wash it. And with a wild toddler in my home I definitely plan on washing it a lot.

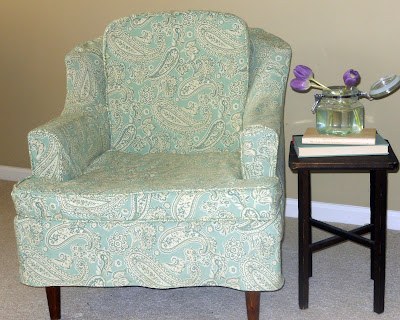
The picture below is probably the most accurate, as far as color. Still not perfect, but better than the rest.

And just for fun….the before and after one more time. 🙂
Next slipcovering project……my couch! Wish me luck!
I will be posting pics of the couch project so I hope some of you will follow along. You can find me at
1060bliss.blogspot.com
Thanks so much for giving me this opportunity Shaunna! I really appreciate it and I hope you are having a wonderful and safe trip in Honduras!
***********Thanks, Alima! Totally my pleasure. You’ve got some mad slipcovering skills…I’m jealous! 😉


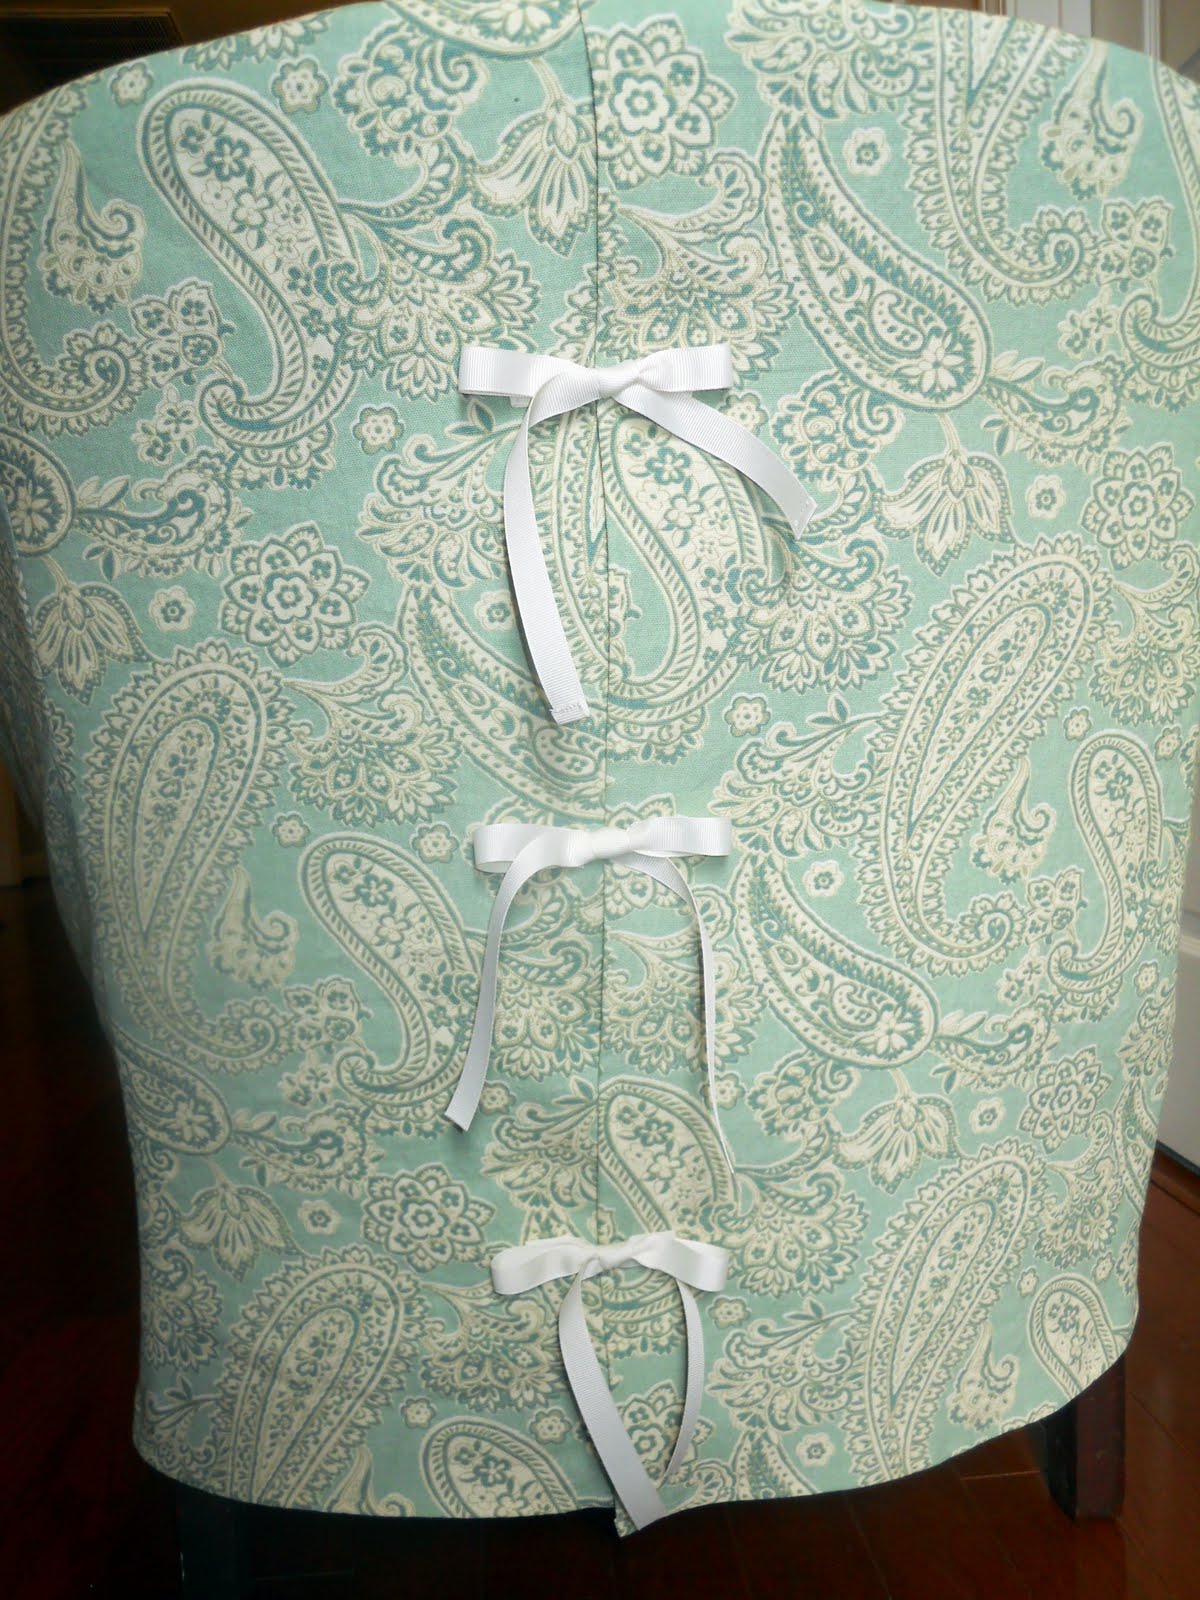


Love the back of the chair the bows may have been practical and easier for you but to me it made the chair!
Your slipcovered chair came out beautiful, what a transformatoin!
Very pretty! I love paisley and your fabric is just gorgeous. Great idea for the ties on the back too. I am debating on living room curtains, using my darker blue paisley or stripes and your chair is really inspiring me to go with the paisley. Thanks for sharing.
Thanks ladies! I agree that the bows really “make the chair.” I didn’t realize that would be the case when I decided on them, but it is definitely my favorite part of the chair now! It’s too bad it’s in the back and not the front! 🙂
I plan on doing the same bows for my couch too!
I love your slipcover! I just watched the first 3 videos yesterday. I also have a sofa that I want to slipcover. Can’t wait to see how your sofa comes out.
Wow, you are very talented!
It looks great, and I love the color of your fabric! I recently bought a chair to slipcover, this makes me want to get on with it!
Debbie
Hi,
Only thing I would add would be to paint the legs.
Love the fabric and bows.
Looks great!
Drew
Just beautiful! I’ve been wanting to do this to one of my chairs, but don’t know if I’m ready to tackle such a big task! Just curious, but how much fabric did you need for that size chair?
Hey Lisa,
You should definitely give it go! If I can do it, you can definitely do it! I used pretty much every bit of the 10 yards I bought. I had been told a chair would take 5-7 yards and to add 2-3 yards if you were matching up a pattern. So I bought 10 to be on the safe side. I thought surely I would have extra, but nope. Only scraps left. That may be because I am still newer to sewing and didn’t do a good job of placing/cutting my fabric in the most efficient way. I’m not sure.
Hope that helps!
LOVE every inch of that chair. I have been dying to find a tut on how to make that type of pleated and tied back to a slipcover. Would you share your secret on how to accomplish that wonderful back?
Hugs
Ames